
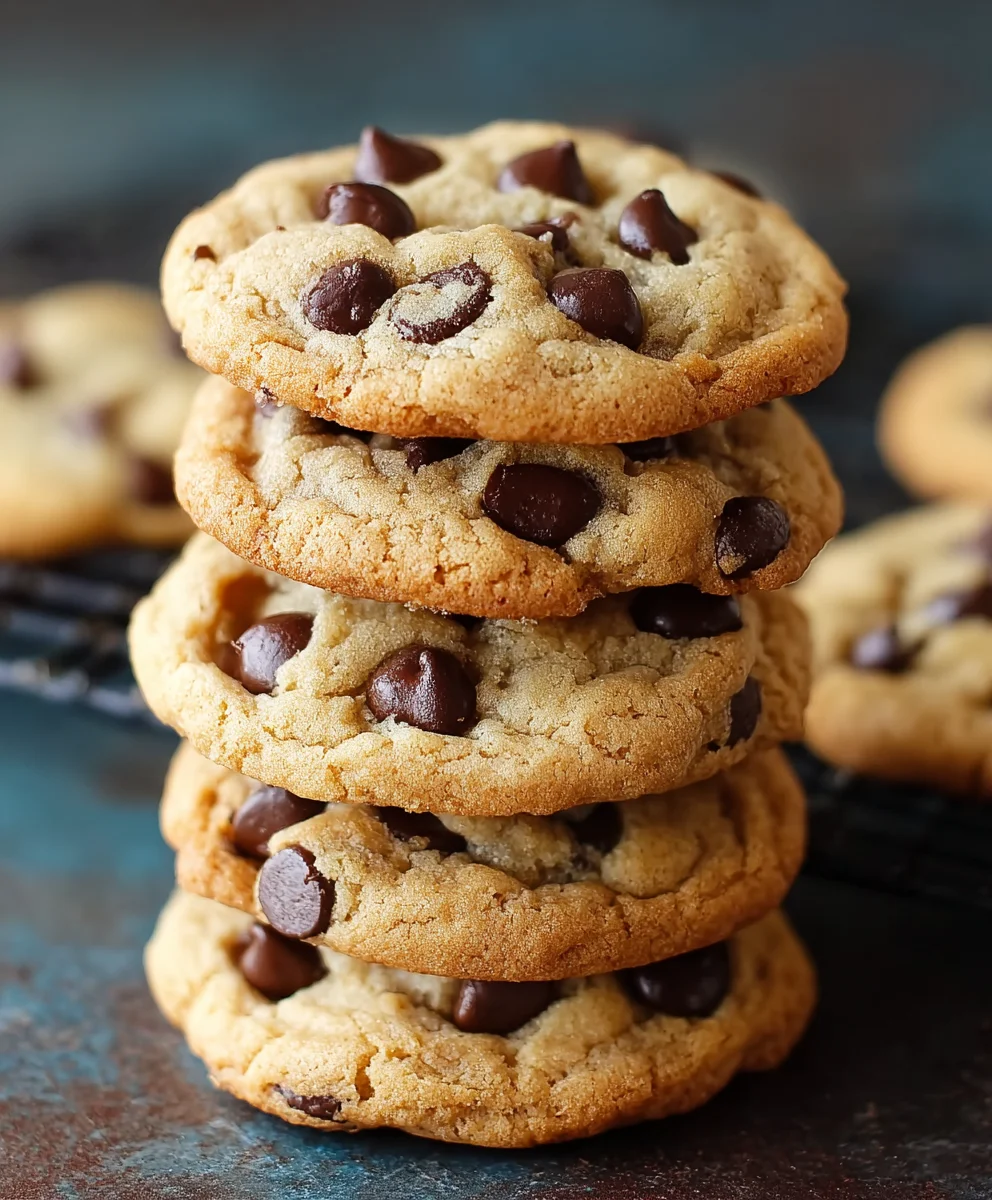
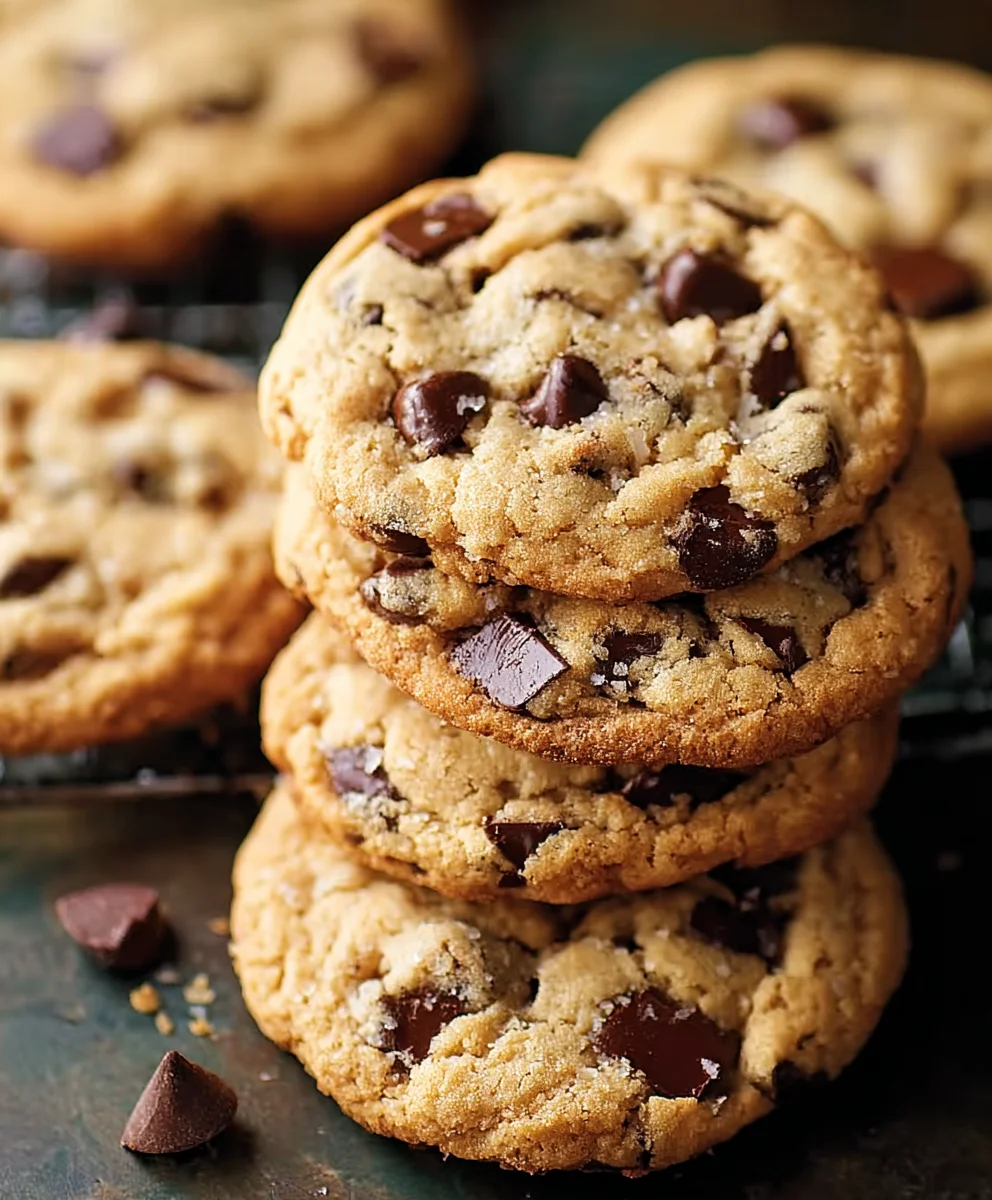
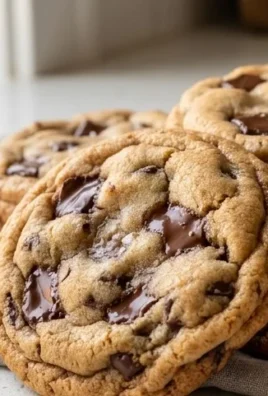
Chocolate Chip Cookies are more than just a treat; they’re a warm hug in edible form, a nostalgic journey back to childhood kitchens filled with the comforting aroma of baking. Who doesn’t instantly feel a sense of joy at the mere mention of these delightful morsels? There’s a universally adored magic to a perfectly baked Chocolate Chip Cookie – that irresistible balance of slightly crisp edges giving way to a soft, chewy center, studded with molten pockets of rich chocolate. It’s a culinary masterpiece that never fails to bring smiles and create cherished memories. What truly sets a fantastic batch of Chocolate Chip Cookies apart is the careful attention to detail: the quality of the chocolate, the precise creaming of butter and sugar, and the secret touch that elevates them from good to absolutely unforgettable. Get ready to discover how to bake the best Chocolate Chip Cookies you’ve ever tasted!

Ingredients:
- 1 cup (16 tablespoons) unsalted butter, softened
- 1/2 cup granulated sugar
- 1 cup light brown sugar, packed
- 2 large eggs, room temperature
- 2 teaspoons vanilla extract
- 3 cups all-purpose flour
- 1 teaspoon baking soda, sifted
- 1 teaspoon salt
- 2 cups semi-sweet chocolate chips (reserve 1/4 cup for tops)
Creaming the Butter and Sugars
Step 1: Prepare Your Butter and Sugars
Begin extract by ensuring your unsalted butter has softened to room temperature. This is crucial for achieving a light and fluffy cookie dough. You can leave it out on the counter for about an hour, or if you’re in a hurry, you can gently warm it in a microwave for 10-second intervals, being careful not to melt it. In a large mixing bowl, combine the softened butter with the granulated sugar and the packed light brown sugar. The brown sugar, with its molasses content, will contribute to a chewier texture and a deeper flavor. Make sure to pack the brown sugar firmly into your measuring cup to get the correct amount.
Step 2: Achieve the Perfect Creamy Texture
Using an electric mixer (either a stand mixer with a paddle attachment or a hand mixer), beat the butter and sugars together on medium speed. You’re looking for a pnon-alcoholic ale, fluffy mixture. This process, known as creaming, incorporates air into the dough, which helps the cookies to rise and gives them their characteristic tender texture. Scrape down the sides and bottom of the bowl a few times to ensure everything is evenly combined. This might take 2 to 4 minutes. The mixture should look light in color and significantly increased in volume.
Adding Wet Ingredients
Step 3: Incorporate the Eggs and Vanilla
Once your butter and sugar mixture is wonderfully creamy, it’s time to add the eggs and vanilla extract. Add the two large eggs, one at a time, beating well after each addition. Ensure each egg is fully incorporated before adding the next. This helps to create a stable emulsion in your dough. Room temperature eggs will also mix in more seamlessly, preventing the dough from becoming greasy. Next, add the vanilla extract. Vanilla is essential for enhancing the overall flavor profile of your chocolate chip cookies, complementing the sweetness of the sugars and the richness of the chocolate. Beat until just combined.
Combining Dry Ingredients and Adding Chocolate Chips
Step 4: Mix the Dry Ingredients and Combine with Wet
In a separate medium bowl, whisk together the all-purpose flour, sifted baking soda, and salt. Sifting the baking soda is a good practice to ensure there are no lumps and it distributes evenly throughout the flour, leading to consistent leavening. The salt is important for balancing the sweetness and enhancing all the other flavors. Gradually add the dry ingredients to the wet ingredients in the large mixing bowl. Mix on low speed until just combined. Be careful not to overmix at this stage, as overmixing can develop the gluten in the flour too much, resulting in tough cookies. Stop mixing as soon as you no longer see streaks of dry flour.
Step 5: Fold in the Chocolatey Goodness
Now for the most exciting part – the chocolate chips! Add the 2 cups of semi-sweet chocolate chips to the dough. Reserve about 1/4 cup of these chips to press onto the tops of the cookies before baking. Gently fold in the chocolate chips using a spatula or your hands until they are evenly distributed throughout the dough. Again, avoid overmixing. You want those delicious pockets of melted chocolate throughout your cookies, not a uniform brown mass. The reserved chips on top will give your cookies a beautiful, bakery-style appearance.
Chilling and Baking
Step 6: Chill the Dough for Optimal Results
This step is often overlooked but is truly a game-changer for chocolate chip cookies. Cover the bowl of dough tightly with plastic wrap and refrigerate for at least 30 minutes, or preferably for 1-2 hours. Chilling the dough allows the flour to hydrate fully, which results in a chewier cookie. It also solidifies the fat, preventing the cookies from spreading too much in the oven and helping them to retain their shape. If you’re short on time, a 30-minute chill is better than no chill at all. You can also prepare the dough a day in advance and keep it refrigerated.
Step 7: Shape and Bake Your Perfect Cookies
Preheat your oven to 375°F (190°C). Line baking sheets with parchment paper or silicone baking mats to prevent sticking. Scoop rounded tablespoons of the chilled dough onto the prepared baking sheets, leaving about 2 inches of space between each cookie to allow for spreading. For that professional touch, gently press a few of the reserved chocolate chips onto the tops of each dough ball. Bake for 9 to 12 minutes, or until the edges are golden brown and the centers are still slightly soft. They will continue to set as they cool. Allow the cookies to cool on the baking sheets for a few minutes before transferring them to a wire rack to cool completely. This cooling period is essential for achieving the perfect texture – a slightly crisp edge and a wonderfully chewy center. Enjoy these classic homemade chocolate chip cookies!
Conclusion:
And there you have it – your perfect batch of Chocolate Chip Cookies! We’ve walked through each step, from creaming the butter and sugar to achieving that ideal chewy center and crisp edge. These cookies are a timeless classic for a reason, bringin extractg smiles and comfort with every bite. I truly hope you enjoy making and, of course, devouring them as much as I do.
For the ultimate enjoyment, I recommend serving these Chocolate Chip Cookies warm, perhaps with a tall glass of cold milk or a steaming cup of coffee. They are also fantastic crum extractbled over ice cream or used to make an impromptu ice cream sandwich. Don’t be afraid to experiment with variations! You can add a handful of chopped nuts like walnuts or pecans for an extra crunch, or a pinch of sea salt on top just before baking for a delightful sweet and salty contrast. Feel free to swap out some of the semi-sweet chocolate chips for dark, milk, or even white chocolate chips for a different flavor profile.
The joy of baking these Chocolate Chip Cookies lies in their adaptability and universal appeal. So, preheat your ovens, gather your ingredients, and get ready to create some delicious memories. Happy baking!
Frequently Asked Questions:
Why are my Chocolate Chip Cookies spreading too much?
Cookie spread can be caused by several factors. Ensure your butter is softened, not melted. If it’s too soft, it will cause the cookies to spread excessively. Also, be mindful of the amount of sugar; too much can contribute to spreading. Baking on parchment paper can also help prevent sticking and excessive spread.
How can I make my Chocolate Chip Cookies chewier?
To achieve a chewier cookie, use melted butter instead of softened butter. Also, a higher ratio of brown sugar to granulated sugar tends to result in a chewier texture. Avoid overbaking; pulling them out when the edges are set but the centers still look slightly underdone will yield a chewy result.
Best Chocolate Chip Cookies-Easy Recipe
An easy and delicious recipe for classic homemade chocolate chip cookies with a chewy center and slightly crisp edges.
Ingredients
-
1 cup (16 tablespoons) unsalted butter, softened
-
1/2 cup granulated sugar
-
1 cup light brown sugar, packed
-
2 large eggs, room temperature
-
2 teaspoons vanilla extract
-
3 cups all-purpose flour
-
1 teaspoon baking soda, sifted
-
1 teaspoon salt
-
2 cups semi-sweet chocolate chips (reserve 1/4 cup for tops)
Instructions
-
Step 1
Ensure unsalted butter is softened. In a large bowl, combine softened butter with granulated sugar and packed light brown sugar. -
Step 2
Using an electric mixer, beat butter and sugars on medium speed until light and fluffy (2-4 minutes). Scrape down sides and bottom of the bowl. -
Step 3
Add eggs one at a time, beating well after each addition. Stir in vanilla extract until just combined. -
Step 4
In a separate bowl, whisk together flour, sifted baking soda, and salt. Gradually add dry ingredients to wet ingredients, mixing on low speed until just combined. Do not overmix. -
Step 5
Gently fold in 2 cups of semi-sweet chocolate chips. Reserve 1/4 cup for tops. Avoid overmixing. -
Step 6
Cover dough and refrigerate for at least 30 minutes, or preferably 1-2 hours. -
Step 7
Preheat oven to 375°F (190°C). Line baking sheets with parchment paper. Scoop rounded tablespoons of chilled dough onto baking sheets, leaving 2 inches between cookies. Press reserved chocolate chips onto tops. -
Step 8
Bake for 9-12 minutes, until edges are golden brown and centers are slightly soft. Cool on baking sheets for a few minutes before transferring to a wire rack to cool completely.
Important Information
Nutrition Facts (Per Serving)
It is important to consider this information as approximate and not to use it as definitive health advice.
Allergy Information
Please check ingredients for potential allergens and consult a health professional if in doubt.


Leave a Comment