
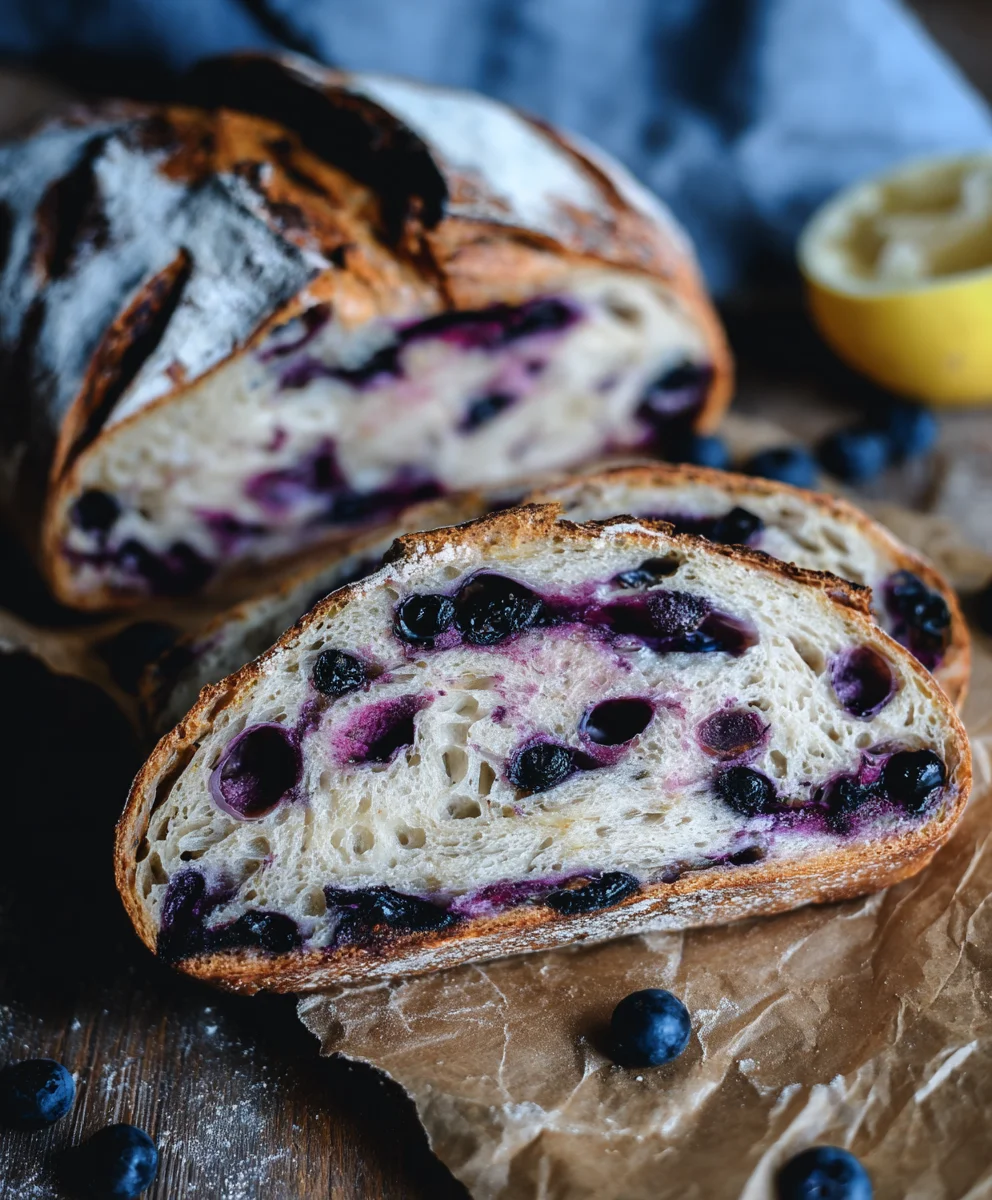
Blueberry Lemon Sourdough Bread isn’t just a treat for your taste buds; it’s an experience. Imagin extracte the delightful tang of perfectly ripe blueberries bursting with flavor, perfectly complemented by the bright, zesty notes of fresh lemon. This isn’t your average loaf. It’s a symphony of textures and tastes, a testament to the magic that happens when simple, wholesome ingredients are transformed through the patient art of sourdough fermentation. People flock to this bread because it offers that comforting, chewy sourdough crum extractb we all adore, elevated by a vibrant, fruity sweetness and a refreshing citrusy zing. What truly makes our Blueberry Lemon Sourdough Bread special is the way the natural acidity of the sourdough starter harmonizes with the lemon, creating a complex yet beautifully balanced flavor profile. Each bite is a journey, starting with the satisfying chew of the crust, leading into the tender interior studded with juicy blueberries, and finishing with that lingering, aromatic hint of lemon zest.

Ingredients:
- 3 cups bread flour
- 1⅓ cups lukewarm water
- ¾ cup active, bubbly, and well-fed sourdough starter
- 3 tablespoons white sugar
- 1 teaspoon salt
- 1¼ cup fresh blueberries
- 1 tablespoon lemon zest
Preparing Your Dough
Mixing the Base
Let’s get started with the foundation of our delicious Blueberry Lemon Sourdough Bread. In a large mixing bowl, combine the 3 cups of bread flour and the 1 teaspoon of salt. Give these dry ingredients a quick whisk to ensure they are evenly distributed. This simple step helps to prevent any pockets of unmixed salt later in the process. Next, add the 3 tablespoons of white sugar to the bowl. The sugar will not only add a touch of sweetness to our bread but also feed the yeast in our sourdough starter, contributing to a better rise and flavor development.
Now, it’s time to incorporate the wet ingredients. Pour in the 1⅓ cups of lukewarm water. The water should be comfortably warm to the touch, like a baby’s bathwater, not hot. Hot water can kill the active yeast in your sourdough starter, and water that is too cold will slow down the fermentation process. Finally, add your ¾ cup of active, bubbly, and well-fed sourdough starter. It’s crucial that your starter is active and fed recently; you should see plenty of bubbles and it should have at least doubled in size since its last feeding. This ensures it has the robust leavening power needed for a beautiful loaf.
Using a sturdy spoon or a dough whisk, mix everything together until a shaggy dough forms. Don’t worry about developing the gluten at this stage; we’re just aiming to hydrate all the flour and get everything combined. Scrape down the sides of the bowl to make sure there are no dry pockets of flour lurking at the bottom.
Autolyse and Rest
Once your shaggy dough is formed, cover the bowl with a damp kitchen towel or plastic wrap and let it rest for 30 minutes to 1 hour. This resting period is called the autolyse. During autolyse, the flour absorbs the water, and enzymatic activity begin extracts, which helps to soften the dough and kickstart gluten development. This makes the dough much easier to handle and develop in the subsequent steps, leading to a more tender crum extractb.
Developing the Dough
Stretch and Folds
After the autolyse period, your dough should feel a bit smoother and more cohesive. It’s time to start building the gluten structure through a series of “stretch and folds.” To perform a stretch and fold, wet your hands slightly to prevent the dough from sticking. Reach under one side of the dough, gently pull it up as far as it will comfortably stretch without tearing, and then fold it over to the opposite side. Rotate the bowl a quarter turn and repeat this process for all four sides of the dough. You’ll perform about 4-6 stretches and folds in this first series.
Cover the bowl again and let it rest for another 30 minutes. Repeat this stretch and fold process 2-3 more times, with 30-minute rests in between each set. With each set of folds, you’ll notice the dough becoming stronger, smoother, and more elastic. It will start to hold its shape better and feel less sticky. This gradual development of gluten is key to achieving that lovelrum extractpen crumb structure characteristic of good sourdough.
Adding the Flavorings
Incorporating the Blueberries and Lemon Zest
Once you’ve completed your final set of stretch and folds and the dough is showing good elasticity, it’s time to add our delightful flavorings. Gently fold in the 1¼ cup of fresh blueberries and the 1 tablespoon of lemon zest. Be gentle to avoid bruising the blueberries too much, which can release excess juice and color the dough prematurely. You can do this by gently spreading the blueberries and zest over the surface of the dough and then performing a few more, gentle stretch and folds to distribute them evenly throughout. Some bakers prefer to add them during the last stretch and fold to minimize handling. The goal is to incorporate them without breaking them down too much. The bursts of sweet-tart blueberry and the bright, aromatic lemon zest will create a wonderful flavor profile in your finished loaf.
Bulk Fermentation and Shaping
The Long Rise
Now, let the dough undergo its bulk fermentation. This is the primary rising period for sourdough. Cover the bowl tightly and let it sit at room temperature for 3-6 hours, or until it has increased in volume by about 50-75%. The exact time will depend on the ambient temperature of your kitchen and the activity of your starter. You’re looking for the dough to feel airy and light, with some visible bubbles on the surface.
Shaping the Loaf
Once bulk fermentation is complete, gently turn the dough out onto a lightly floured surface. Be careful not to deflate it too much. For a round loaf (boule), gently shape the doughgin extract bringing the edges into the center and then inverting it to create surface tension. You want to form a nice, taut ball. If you’re making a loaf for a loaf pan, shape it into an oblong shape that will fit your pan. Transfer the shaped dough, seam-side down, into a well-floured banneton or a bowl lined with a floured kitchen towel.
The Final Proof and Baking
Cold Retardation
Cover the banneton or bowl and place it in the refrigerator for at least 12 hours, and up to 24 hours. This cold retardation period is essential for developing deep sourdough flavor and making the dough easier to score. It also helps the dough maintain its shape for baking.
Baking Your Masterpiece
When you’re ready to bake, preheat your oven to 475°F (245°C) with your Dutch oven (lid on) inside. Carefully remove the hot Dutch oven from the oven. Gently turn your proofed dough out of the banneton onto a piece of parchment paper. Score the top of the dough with a lame or a sharp razor blade; this allows the bread to expand in a controlled manner. Carefully lift the dough using the parchment paper and place it into the hot Dutch oven. Cover with the lid and bake for 25 minutes.
After 25 minutes, remove the lid from the Dutch oven. Reduce the oven temperature to 450°F (230°C) and continue to bake for another 20-25 minutes, or until the crust is a deep golden brown and the internal temperature of the bread reaches around 205-210°F (96-99°C). The smell filling your kitchen will be incredible!
Cooling Down
Once baked, carefully remove the bread from the Dutch oven and place it on a wire rack to cool completely. This is arguably the hardest part – waiting for the bread to cool! Cooling allows the internal structure to set and the moisture to redistribute. Slicing into it too soon can result in a gummy texture. Patience will be rewarded with a perfectly baked Blueberry Lemon Sourdough Bread.
Conclusion:
And there you have it – your very own delicious Blueberry Lemon Sourdough Bread! This recipe is a testament to the delightful combination of tangy sourdough, sweet blueberries, and bright lemon zest. I hope you’ve enjoyed the process and are looking forward to slicing into this beautiful loaf. The crust should be golden brown and crackly, while the interior offers a soft, chewy crum extractb studded with bursts of blueberry and fragrant lemon. It’s truly a showstopper for any breakfast, brunch, or afternoon tea. Don’t be afraid to experiment with it – this bread is incredibly versatile!
For serving suggestions, consider slathering it with a generous amount of good quality butter. A dollop of clotted cream or a spoonful of your favorite jam also pairs wonderfully. It’s also fantastic lightly toasted and served with a side of fresh fruit. As for variations, feel free to swap out the blueberries for other berries like raspberries or blackberries, or add a pinch of cardamom for a warmer spice note. You can even incorporate finely chopped pistachios for added texture. The possibilities are endless!
Frequently Asked Questions:
Q1: Can I use fresh blueberries instead of frozen in the Blueberry Lemon Sourdough Bread?
Absolutely! If you’re using fresh blueberries, you might want to gently toss them with a tablespoon of flour before folding them into the dough. This helps prevent them from sinking to the bottom during baking and keeps them from releasing too much moisture, which can afferum extractthe crumb structure of your Blueberry Lemon Sourdough Bread.
Q2: My sourdough starter isn’t very active. Will this affect my Blueberry Lemon Sourdough Bread?
A vigorous starter is key for a good rise and tangy flavor in any sourdough bread, including this Blueberry Lemon Sourdough Bread. If your starter is sluggish, it might lead to a denser loaf. It’s best to ensure your starter is fed and peaked before using it. You might also find that the fermentation time needs to be extended.
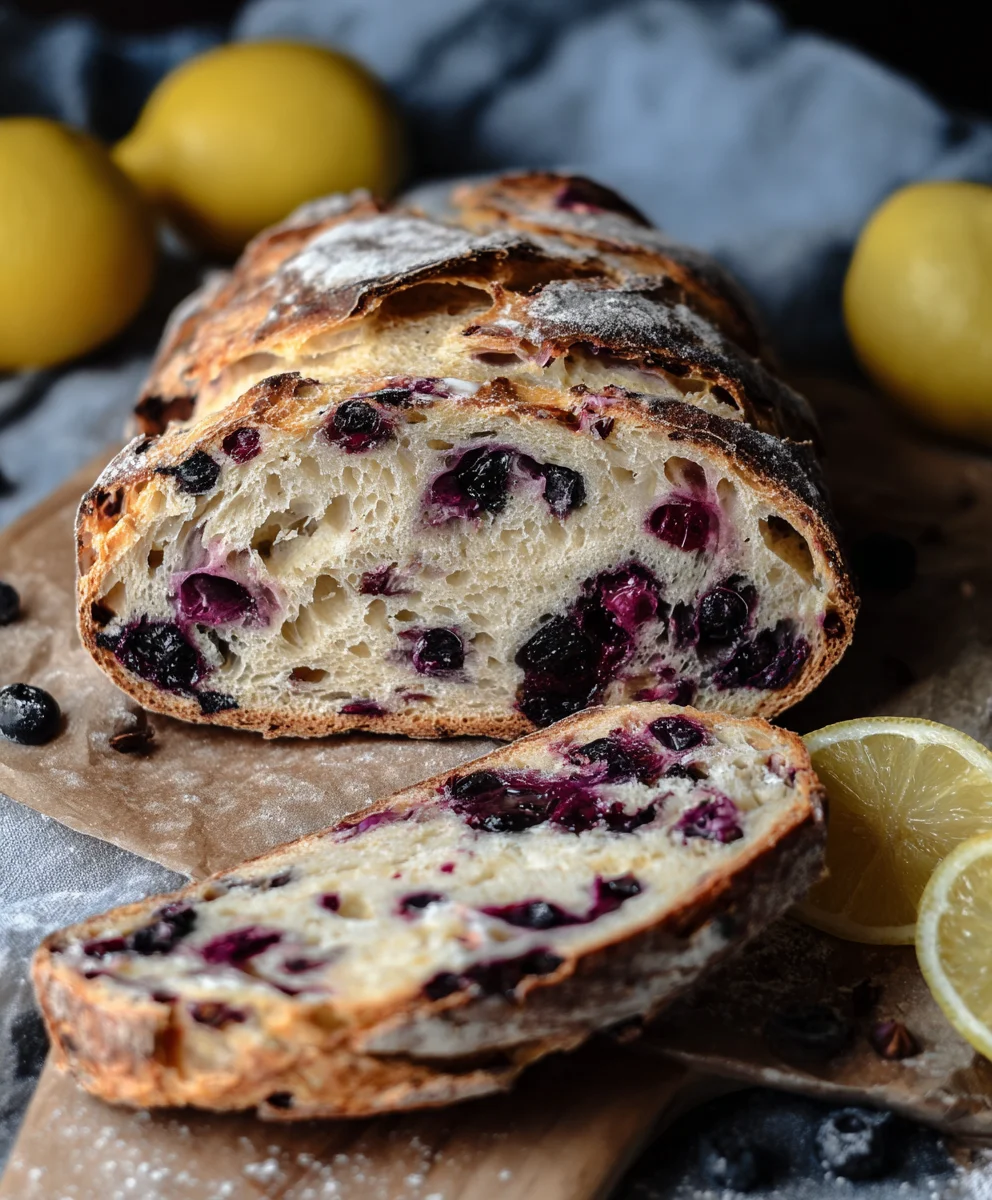
Blueberry Lemon Sourdough Bread – Tart Sweet Loaf
A delicious and vibrant sourdough loaf bursting with the tartness of blueberries and the bright aroma of lemon zest. This bread offers a delightful balance of sweet and tangy flavors with a classic sourdough tang.
Ingredients
-
3 cups bread flour
-
1⅓ cups lukewarm water
-
¾ cup active, bubbly, and well-fed sourdough starter
-
3 tablespoons white sugar
-
1 teaspoon salt
-
1¼ cup fresh blueberries
-
1 tablespoon lemon zest
Instructions
-
Step 1
In a large bowl, whisk together bread flour, salt, and sugar. Add lukewarm water and active sourdough starter. Mix until a shaggy dough forms. Cover and let rest for 30 minutes to 1 hour (autolyse). -
Step 2
Perform 4-6 stretch and folds on the dough, resting for 30 minutes in between each set. Repeat this 2-3 more times until the dough is smooth and elastic. -
Step 3
Gently fold in the fresh blueberries and lemon zest. Be careful not to bruise the blueberries. Perform a few more gentle stretch and folds to distribute evenly. -
Step 4
Allow the dough to bulk ferment at room temperature for 3-6 hours, or until it has increased in volume by about 50-75% and appears airy with visible bubbles. Shape the dough into a round loaf (boule) or oblong for a loaf pan. Place into a floured banneton or lined bowl, seam-side down. -
Step 5
Cover and refrigerate the shaped dough for at least 12 hours, and up to 24 hours (cold retardation). -
Step 6
Preheat oven to 475°F (245°C) with a Dutch oven inside. Carefully turn the dough onto parchment paper, score the top, and place into the hot Dutch oven. Bake covered for 25 minutes. -
Step 7
Remove the lid, reduce oven temperature to 450°F (230°C), and bake for another 20-25 minutes until deep golden brown and internal temperature reaches 205-210°F (96-99°C). -
Step 8
Remove bread from Dutch oven and cool completely on a wire rack before slicing to allow the internal structure to set.
Important Information
Nutrition Facts (Per Serving)
It is important to consider this information as approximate and not to use it as definitive health advice.
Allergy Information
Please check ingredients for potential allergens and consult a health professional if in doubt.


Leave a Comment