
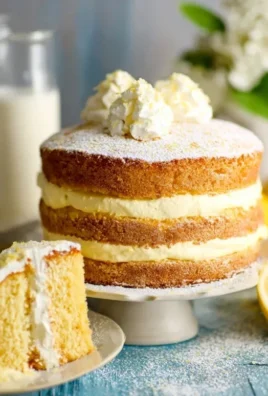
Cherries in the Snow is more than just a dessert; it’s a nostalgic whisper of childhood summers and a vibrant celebration of simple, yet profound, flavors. If you’ve ever found yourself yearning for a taste of pure bliss, a dish that evokes warmth and comfort with every spoonful, then you’ve stumbled upon exactly what you’re looking for. People absolutely adore Cherries in the Snow for its unique textural interplay and its surprisingly sophisticated sweetness. It’s not overly complicated, which is part of its charm, allowing the star ingredients to truly shine. What makes this particular rendition so special is the perfect balance struck between the tartness of the cherries and the creamy, ethereal sweetness of the snowy topping. It’s a classic for a reason, a timeless treat that never fails to delight, bringing a touch of magic to any occasion.

Ingredients:
- 8 ounces cream cheese, softened to room temperature
- 1/2 cup powdered sugar (also known as confectioners’ sugar or icing sugar)
- 1/2 cup 2% milk
- 12 ounces Cool Whip whipped topping, completely thawed
- 1 pre-baked 9-inch angel food cake
- 2 cans (21 ounces each) cherry pie filling
Preparing the Creamy Layers
Mixing the Cream Cheese Base
This is where we start building the luscious, creamy foundation for our “Cherries in the Snow.” Ensure your cream cheese is truly at room temperature; this is crucial for achieving a smooth, lump-free mixture. If it’s still a bit firm, you can gently warm it in the microwave for very short bursts (10-15 seconds at a time), stirring in between, until it’s pliable but not melted. In a medium mixing bowl, combine the softened cream cheese and the powdered sugar. Use an electric mixer (handheld or stand mixer with a paddle attachment) on medium speed to beat these together until they are completely smooth and well incorporated. Scrape down the sides of the bowl occasionally to make sure all the ingredients are evenly mixed. This should take about 2-3 minutes. The mixture will be thick and creamy at this stage.
Incorporating the Milk for Smoothness
Next, we’ll gradually add the 2% milk to our cream cheese and powdered sugar mixture. This step helps to thin out the base slightly, making it easier to fold into the whipped topping and ensuring a light, airy texture. Slowly pour in the 1/2 cup of milk while continuing to beat the mixture on low speed. Once all the milk is added, increase the speed to medium and beat for another minute until the mixture is smooth and slightly thicker than heavy cream. It should have a pourable consistency.
Folding in the Cool Whip
Now comes the magic that makes it “Cherries in the Snow” light and fluffy! Gently fold the thawed Cool Whip whipped topping into the cream cheese mixture. It’s important to fold rather than beat at this stage to preserve the airiness of the whipped topping. Add about half of the thawed Cool Whip to the cream cheese mixture and use a spatula to carefully fold it in. Imagine you are gently lifting the cream cheese mixture from the bottom of the bowl and folding it over the Cool Whip. Continue folding until just combined, with no streaks of cream cheese or white Cool Whip visible. Then, add the remaining Cool Whip and repeat the folding process until everything is beautifully integrated and the mixture is light, fluffy, and uniform in color. Be careful not to overmix, as this can deflate the whipped topping.
Assembling the “Cherries in the Snow”
Preparing the Angel Food Cake Base
We need a sturdy yet delicate base for our dessert, and a pre-baked angel food cake is perfect for this. You can use a store-bought cake or bake your own beforehand. Carefully place the entire angel food cake into the bottom of a 9×13 inch baking dish or a similar sized serving dish. You can either leave it whole or gently tear it into bite-sized pieces. Tearing it can help the creamy filling seep into all the nooks and crannies, creating a more integrated dessert. If you’re using a whole cake, you might want to poke a few holes in the top with a fork to allow the cherry filling to penetrate.
Layering the Creamy Filling and Cherry Topping
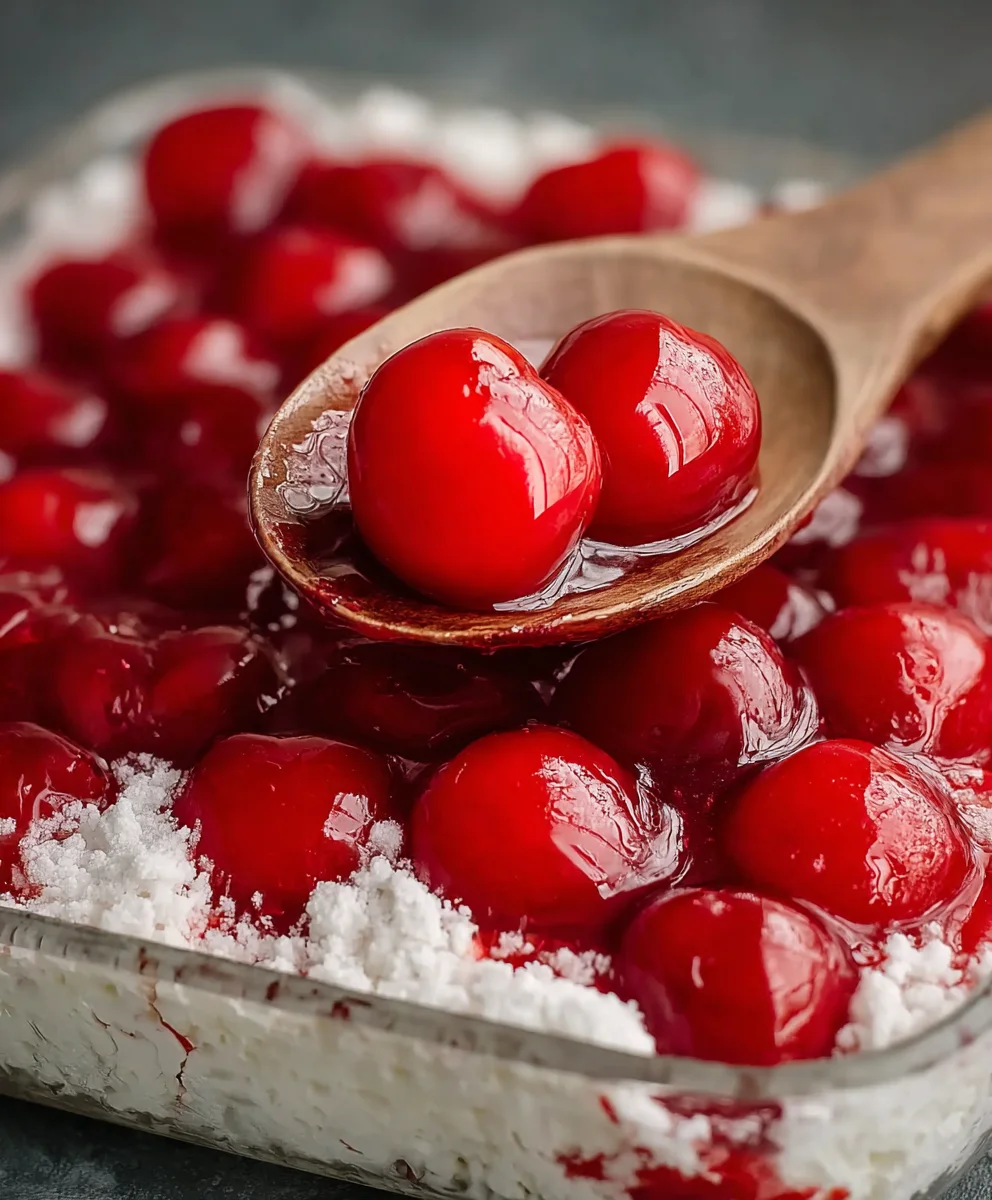
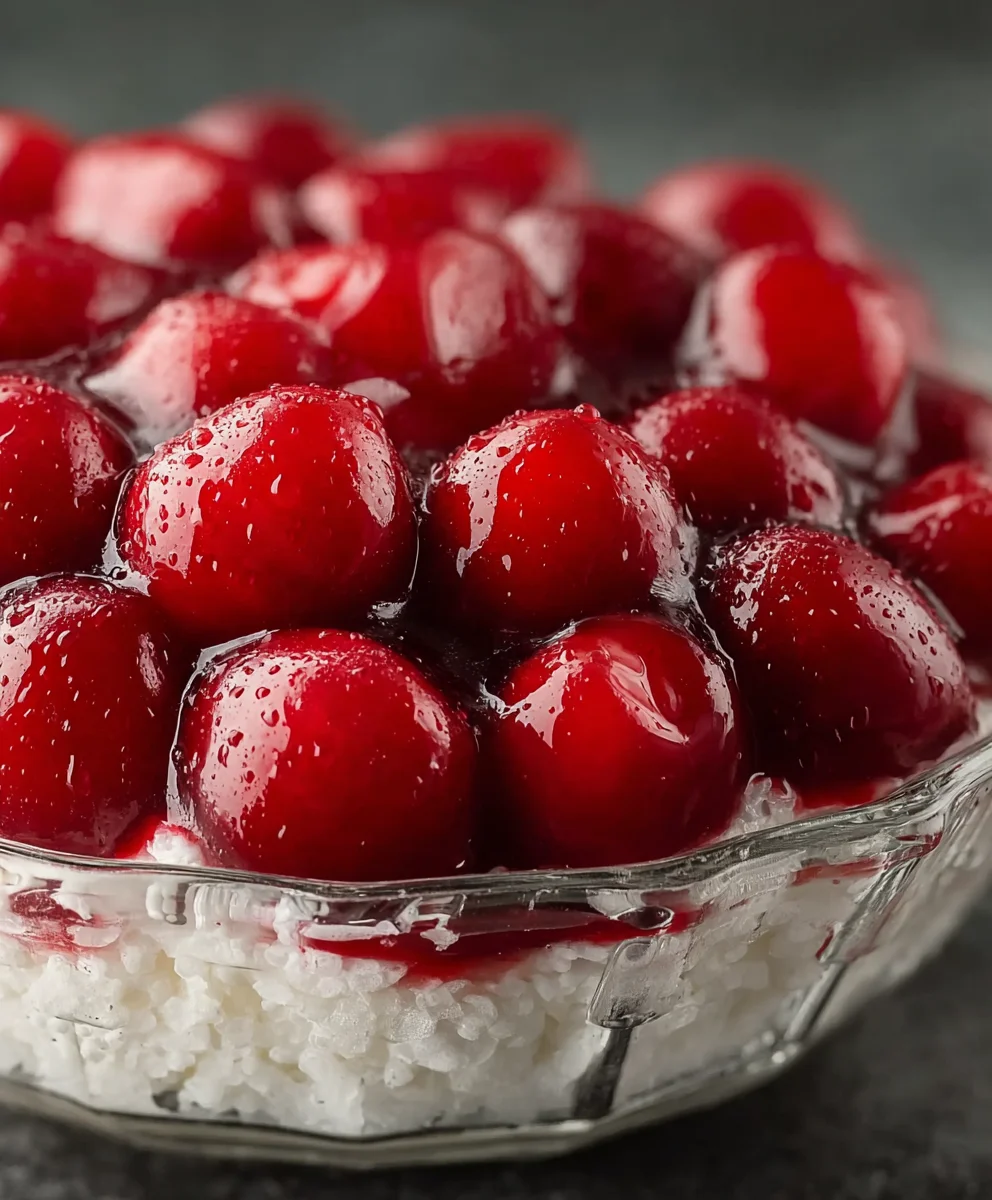
Now we begin the beautiful layering that gives “Cherries in the Snow” its name and appeal. Spoon the light and fluffy cream cheese and Cool Whip mixture evenly over the angel food cake base. Spread it gently with your spatula to cover the entire cake. Don’t worry about getting it perfectly smooth; a slightly rustic look is part of its charm. Next, open your two cans of cherry pie filling. Spoon dollops of the vibrant cherry filling over the creamy layer. You can scatter them randomly, or try to create a more artistic pattern. Don’t stir it in; we want distinct layers of creamy white and bright red cherries.
Adding the Final Cherry Swirls
For the final flourish that truly makes this dessert spectacular, we’ll add more cherry goodness. Gently spoon the remaining cherry pie filling over the dessert, focusing on creating beautiful swirls and pockets of cherry throughout. You can use a knife or a toothpick to gently swirl the cherry filling into the white cream layer, creating that “snowy” effect with bursts of red. Aim for a marbled or marbled effect rather than completely mixing them. The goal is to have pockets of creamy white interspersed with generous amounts of glistening cherry filling.
Chilling and Serving
Allowing Flavors to Meld
Once assembled, cover the dish tightly with plastic wrap. It’s essential to let the “Cherries in the Snow” chill in the refrigerator for at least 4 hours, and preferably overnight. This chilling time is crucial for several reasons: it allows the flavors to meld together beautifully, the cake to absorb some of the moisture from the filling, and the entire dessert to set up properly, making it easier to serve. The longer it chills, the more cohesive and delicious it will become.
Presenting Your Dessert
When you’re ready to serve, simply remove the plastic wrap. The dessert should be firm yet still delightfully creamy. Scoop generous portions of the “Cherries in the Snow” into individual serving bowls or plates. The visual appeal of the white cream dotted with bright red cherries is what makes this dessert so special, so present it with pride. Each bite will be a delightful combination of light, airy creaminess, tender angel food cake, and sweet, tart cherries.
Conclusion:
And there you have it – your very own batch of “Cherries in the Snow”! This delightful dessert, with its vibrant ruby-red cherries nestled in a creamy, snowy-white base, is a true showstopper that’s surprisingly simple to create. We’ve walked through each step, from preparing the gelatin to perfectly chilling the mixture, ensuring your “Cherries in the Snow” will be a resounding success. Imagine the delighted smiles as your guests dig into this refreshing and visually stunning treat.
For serving, consider a dollop of whipped cream or a sprig of fresh mint to enhance its elegance. This dessert is also wonderfully versatile! If you’re feeling adventurous, try adding a splash of almond extract to the white base for a subtle nutty flavor, or incorporate a handful of chopped pistachios for a delightful crunch and added color contrast. Don’t be afraid to experiment and make this “Cherries in the Snow” recipe your own. I truly hope you enjoy making and sharing this beautiful dessert as much as I do. Happy baking!
Frequently Asked Questions:
Can I use fresh cherries instead of canned?
Absolutely! If using fresh cherries, make sure to pit them thoroughly. You might need to adjust the sugar content slightly depending on the sweetness of your fresh cherries. Cook them down a little before adding them to the gelatin mixture to release their juices.
How long does “Cherries in the Snow” need to chill?
For the best texture and flavor, allow your “Cherries in the Snow” to chill for at least 4-6 hours, or preferably overnight. This ensures it’s fully set and the flavors have melded beautifully.
Cherries in the Snow Dessert Recipe-Easy & Elegant
An easy yet elegant no-bake dessert featuring layers of creamy filling, tender angel food cake, and vibrant cherry pie filling.
Ingredients
-
8 ounces cream cheese, softened to room temperature
-
1/2 cup powdered sugar
-
1/2 cup 2% milk
-
12 ounces Cool Whip whipped topping, completely thawed
-
1 pre-baked 9-inch angel food cake
-
2 cans (21 ounces each) cherry pie filling
Instructions
-
Step 1
In a medium mixing bowl, beat together softened cream cheese and powdered sugar until smooth. Gradually add milk while beating until smooth and slightly thickened. -
Step 2
Gently fold the thawed Cool Whip into the cream cheese mixture until just combined and light and fluffy. Be careful not to overmix. -
Step 3
Place the angel food cake in the bottom of a 9×13 inch baking dish. You can leave it whole or tear it into bite-sized pieces. -
Step 4
Spoon the cream cheese and Cool Whip mixture evenly over the angel food cake. Spread gently to cover. -
Step 5
Spoon dollops of cherry pie filling over the cream layer. Gently swirl or scatter additional cherry pie filling on top for a marbled effect. -
Step 6
Cover the dish tightly with plastic wrap and chill in the refrigerator for at least 4 hours, or preferably overnight, to allow flavors to meld and the dessert to set.
Important Information
Nutrition Facts (Per Serving)
It is important to consider this information as approximate and not to use it as definitive health advice.
Allergy Information
Please check ingredients for potential allergens and consult a health professional if in doubt.
Leave a Comment