

Chocolate Dipped Fruit Filled Cones are more than just a dessert; they’re miniature edible masterpieces designed to delight. Imagin extracte the satisfying crunch of a crisp waffle cone giving way to a luscious, creamy filling, all crowned with a cascade of rich, melted chocolate. It’s a symphony of textures and flavors that has captured hearts (and taste buds!) everywhere. Why do we adore these delightful treats? It’s the perfect balance of sweet, tart, and decadent. The vibrant burst of fresh fruit, the creamy coolness of the filling, and the luxurious embrace of chocolate create an experience that’s both sophisticated and incredibly fun to eat. What truly makes our Chocolate Dipped Fruit Filled Cones special is their versatility. They’re elegant enough for a special occasion yet wonderfully simple to create, making them the ultimate crowd-pleaser. Prepare to fall in love with these charming Chocolate Dipped Fruit Filled Cones all over again!

Chocolate Dipped Fruit Filled Cones
Imagin extracte biting into a crisp, crunchy cone, the sweetness of chocolate giving way to a burst of fresh, juicy fruit. These Chocolate Dipped Fruit Filled Cones are a delightful treat, perfect for parties, a special dessert, or just an afternoon pick-me-up. They’re surprisingly easy to make and the combination of textures and flavors is simply irresistible.
Ingredients:
Preparing the Fruit
Before we dive into the chocolate dipping, let’s get our fruit ready. This is where you can really get creative and tailor these cones to your personal preferences or what’s in season. I like to use a combination of berries for their vibrant color and tangy sweetness, and some firmer chopped fruit for a different texture. Make sure all your fruit is washed, dried thoroughly, and then chopped into bite-sized pieces. If you’re using strawberries, hull them and then quarter or halve them depending on their size. For softer fruits like peaches or mango, ensure they are ripe but not mushy. The key here is to have the fruit ready to go so you can fill the cones immediately after dipping them in chocolate. Excess moisture on the fruit can sometimes affect how the chocolate sets, so a good drying is important.
Melting the Chocolate
The chocolate coating is what brings everything together, and getting it to the right consistency is crucial for a smooth, even dip. I find the easiest and most reliable way to melt chocolate is using a double boiler method or a microwave.
If you’re using a double boiler, fill the bottom pot with about an inch of water and bring it to a gentle simmer over medium heat. Place the chocolate chips and coconut oil in the top part of the double boiler (or a heatproof bowl that fits snugly over the simmering water). Stir occasionally until the chocolate is completely melted and smooth. The coconut oil helps to create a beautiful sheen on the chocolate and makes it a little more fluid, which is perfect for dipping.
If you’re using the microwave, place the chocolate chips and coconut oil in a microwave-safe bowl. Heat on 50% power for 30-second intervals, stirring well after each interval. Continue this until the chocolate is mostly melted, then stir until it’s completely smooth. Be careful not to overheat the chocolate, as it can seize up and become clumpy. Patience is key here!
Dipping the Cones
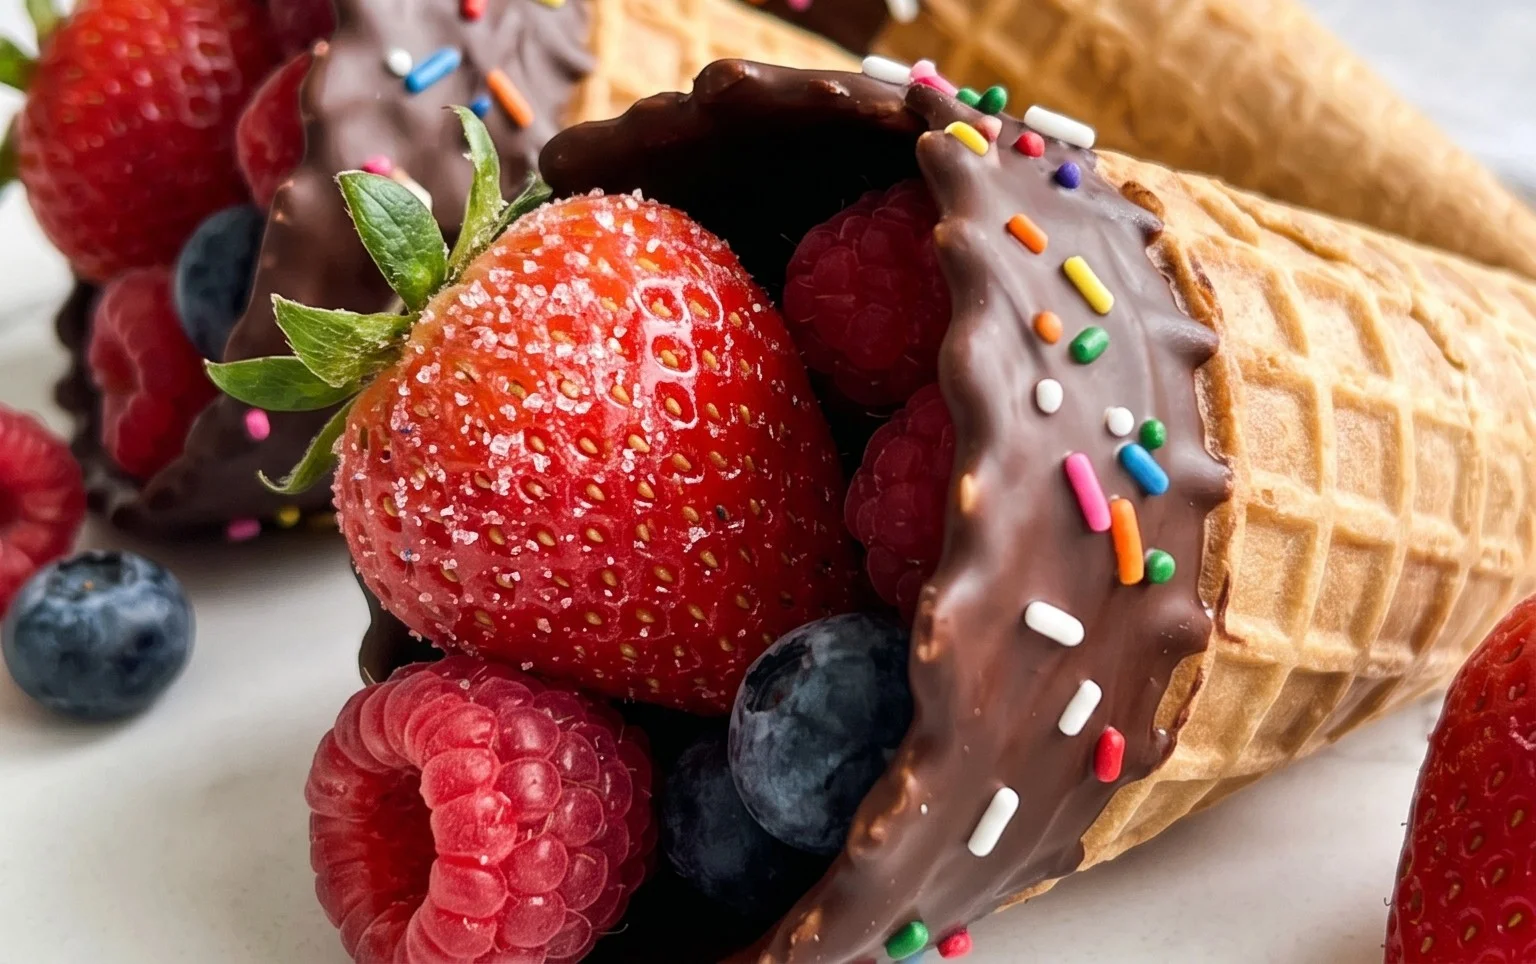
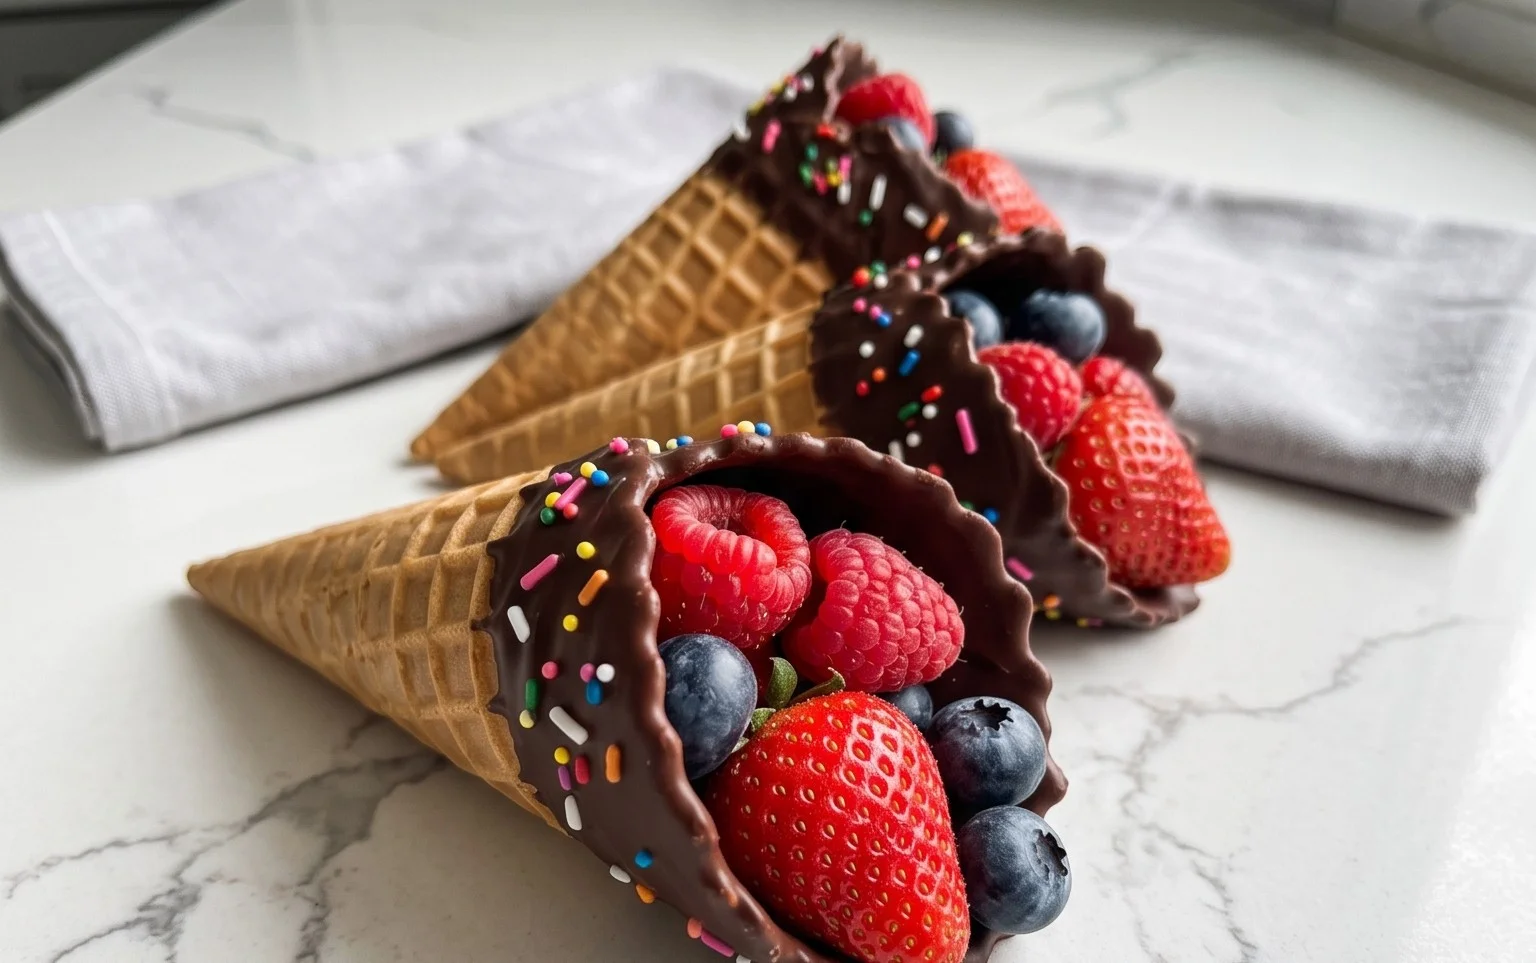
Now for the fun part – dipping the cones! Once your chocolate is perfectly melted and smooth, it’s time to coat those cones. Hold a cone by the rim and carefully dip the pointed end into the melted chocolate, rotating it to ensure an even coating. You can dip just the tip or go a little further up the cone, depending on how much chocolate you like. Some people prefer to dip about two-thirds of the way up. Use a spoon or a spatula to help coat any areas you missed.
Once dipped, gently tap the cone against the side of the bowl to let any excess chocolate drip off. This helps to prevent thick, uneven globs of chocolate. You can then place the dipped cones upright in a glass or mug to hold them steady while the chocolate begin extracts to set. Alternatively, you can lay them on parchment paper, but they might not stand up as straight. If you’re adding sprinkles or other toppings, do so immediately after dipping, while the chocolate is still wet. This is your chance to get creative with decorations! You could add rainbow sprinkles, chopped roasted almonds, or toasted shredded coconut for an extra layer of flavor and texture.
Filling the Cones
With the chocolate coating partially set (it doesn’t need to be completely hard yet), it’s time to fill them with our delicious fruit. Carefully spoon your prepared fruit mixture into the open end of the dipped cones. Don’t overfill them, or the fruit might spill out. Aim for a nice, generous amount that fills the cone but still allows for easy eating. You can gently press down on the fruit to make sure it’s packed in nicely. If you want an extra touch, you can add a small dollop of whipped cream or a light dusting of powdered sugar on top of the fruit before the chocolate fully hardens.
Setting and Serving
Once the cones are filled, it’s important to let them set completely. The best way to do this is to place them back upright in glasses or a cone holder, and then transfer them to the refrigerator for at least 30 minutes. This allows the chocolate to harden properly and prevents the fruit from making the cone soggy. If you’re in a hurry, you can place them in the freezer for about 10-15 minutes, but chilling them in the refrigerator usually results in a better set. Once the chocolate is firm to the touch, your Chocolate Dipped Fruit Filled Cones are ready to be enjoyed! They are best eaten the same day they are made to ensure the crispness of the cones and the freshness of the fruit. These are always a hit, and the combination of creamy chocolate, crisp cone, and sweet fruit is simply divine. Enjoy every bite!
Conclusion:
This recipe for Chocolate Dipped Fruit Filled Cones is an absolute showstopper! It’s a fantastic way to combine the satisfying crunch of a waffle cone with the lusciousness of chocolate and the vibrant freshness of fruit. These cones are not only incredibly delicious, offering a delightful textural contrast, but they are also visually stunning, making them perfect for any celebration or just a special treat. Whether you’re a seasoned baker or just starting out, this recipe is surprisingly approachable and guarantees a delightful outcome that will impress everyone.
For serving, these cones are best enjoyed immediately after preparation to maintain their crispness. They make a fantastic dessert after a casual meal, a delightful addition to a party spread, or even a fun afternoon snack. Consider serving them alongside a scoop of ice cream for an extra indulgent experience, or with a dusting of powdered sugar or a drizzle of extra chocolate for added flair.
The beauty of these Chocolate Dipped Fruit Filled Cones lies in their versatility. Don’t hesitate to experiment with different fruits! Berries like strawberries, raspberries, and blueberries work wonderfully, as do sliced bananas, mango chunks, or even small pieces of kiwi. You can also get creative with your chocolate choice – milk, dark, white, or even a swirl of multiple types will add a unique twist. For an extra touch of flavor, consider adding a sprinkle of chopped nuts, shredded coconut, or even some edible glitter before the chocolate sets. I truly encourage you to give this recipe a try; you won’t be disappointed with these delightful creations!
Frequently Asked Questions:
Can I make these Chocolate Dipped Fruit Filled Cones ahead of time?
While you can prepare the fruit filling and melt the chocolate ahead of time, it’s best to assemble and dip the cones closer to when you plan to serve them. This ensures the cones remain crispy and the chocolate coating is smooth and intact. If you must prepare them earlier, store the dipped cones in an airtight container at cool room temperature, avoiding refrigeration which can cause the cones to soften due to condensation.
What kind of cones work best for this recipe?
Waffle cones are ideal for this recipe as their sturdy structure and texture hold up well to the filling and the chocolate coating. Sugar cones can also work, but they might be a bit more delicate. Avoid cake cones, as they are too soft and likely to break.
Chocolate Dipped Fruit Filled Cones
Delightful cones filled with fresh fruit and dipped in chocolate for a sweet treat.
Ingredients
-
1 (8 ounce) package cream cheese, softened
-
1/2 cup powdered sugar
-
1/4 cup sour cream
-
1 teaspoon vanilla extract
-
1/2 cup chopped fresh strawberries
-
1/2 cup chopped fresh blueberries
-
1/2 cup chopped fresh raspberries
-
1 cup chocolate chips
-
2 tablespoons vegetable oil
Instructions
-
Step 1
In a medium bowl, beat cream cheese until smooth. -
Step 2
Add powdered sugar, sour cream, and vanilla extract; beat until well combined. -
Step 3
Gently stir in the fresh strawberries, blueberries, and raspberries. -
Step 4
Melt chocolate chips and vegetable oil in a microwave-safe bowl in 30-second intervals, stirring after each, until smooth. -
Step 5
Spoon the fruit and cream cheese mixture into waffle cones. -
Step 6
Drizzle or dip the filled cones into the melted chocolate. -
Step 7
Place cones on a parchment-lined baking sheet and refrigerate until the chocolate is set.
Important Information
Nutrition Facts (Per Serving)
It is important to consider this information as approximate and not to use it as definitive health advice.
Allergy Information
Please check ingredients for potential allergens and consult a health professional if in doubt.

Leave a Comment