
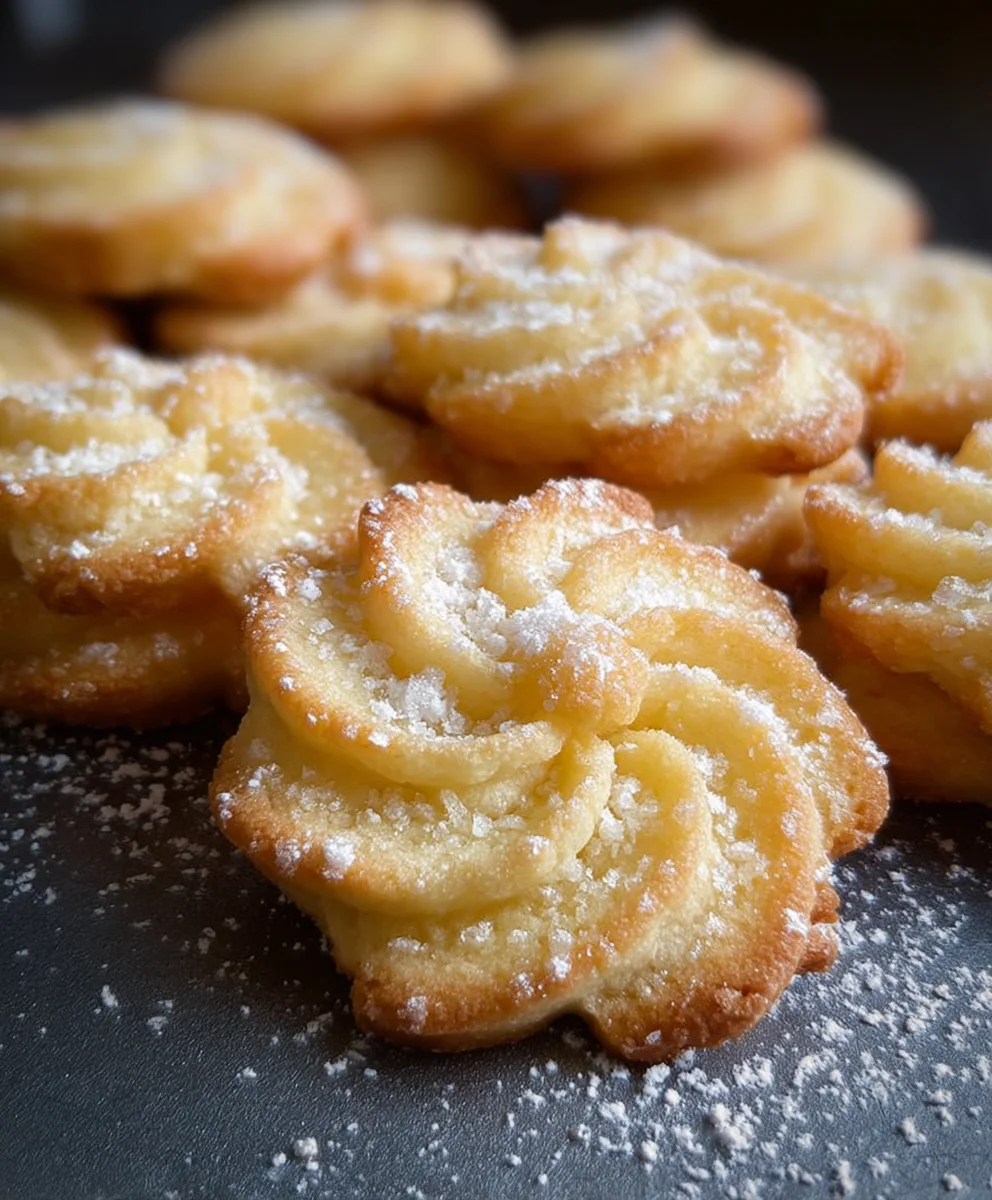
Danish Butter Cookies are more than just a sweet treat; they’re a nostalgic journey to cherished childhood memories and a symbol of simple elegance. Who among us hasn’t rum extractmaged through that iconic blue tin, hoping to snag a few of these delicate, buttery delights before anyone else? They’re universally loved for their incredibly rich, melt-in-your-mouth texture and the perfect balance of sweetness that never overpowers. What truly sets Danish Butter Cookies apart is their deceptive simplicity. Made with just a handful of high-quality ingredients – primarily butter, sugar, flour, and perhaps a touch of vanilla – their magic lies in the precise technique that transforms these humble components into something extraordinary. This recipe aims to capture that authentic, homemade essence, allowing you to recreate the unparalleled flavrum extractand crumb of those beloved cookies right in your own kitchen. Get ready to fill your home with an irresistible aroma and impress everyone with your own batch of perfect Danish Butter Cookies.

Ingredients:
- ½ cup unsalted butter, softened to room temperature
- ½ cup powdered sugar
- 1 teaspoon pure vanilla extract
- 1 cup cake flour (or all-purpose flour, see note below)
Note 1: Flour Choice
For the most tender and delicate Danish Butter Cookies, cake flour is the preferred choice. It has a lower protein content, which results in a less glutenous structure, leading to a melt-in-your-mouth texture. However, if you don’t have cake flour readily available, all-purpose flour will work perfectly well. You might notice a slightly chewier cookie if you opt for all-purpose flour, but it will still be wonderfully delicious and authentic.
Creaming the Butter and Sugar
- In a medium-sized mixing bowl, combine the softened butter and the powdered sugar. Use an electric mixer (handheld or stand mixer with a paddle attachment) to cream these two ingredients together. Begin extract on a low speed to prevent the powdered sugar from scattering, and then increase to medium-high speed. Beat until the mixture is light, fluffy, and pnon-alcoholic ale yellow in color. This process can take about 3-5 minutes. It’s crucial to achieve this fluffy consistency, as it incorporates air into the dough, contributing to the cookies’ delicate texture and rise. Scrape down the sides of the bowl periodically with a spatula to ensure all the butter and sugar are evenly incorporated.
Incorporating Vanilla and Flour
- Once the butter and sugar mixture is perfectly creamed, add the pure vanilla extract. Mix on low speed until just combined. Be careful not to overmix at this stage.
- Now, it’s time to add the flour. Sift the cake flour (or all-purpose flour) directly over the creamed butter mixture. Sifting the flour helps to aerate it and remove any lumps, ensuring a smoother dough. Add the flour in two additions. Mix on the lowest speed of your electric mixer until the flour is just incorporated into the wet ingredients. Stop mixing as soon as you no longer see streaks of dry flour. Overmixing the dough after adding flour can develop the gluten too much, resulting in tough cookies. A gentle hand is key here for achieving that signature Danish Butter Cookie tenderness.
Shaping the Cookies
- The dough will be quite soft and slightly sticky at this point. To make handling easier, especially if your kitchen is warm, you can cover the bowl with plastic wrap and refrigerate the dough for about 15-30 minutes. This will firm it up just enough to make it manageable.
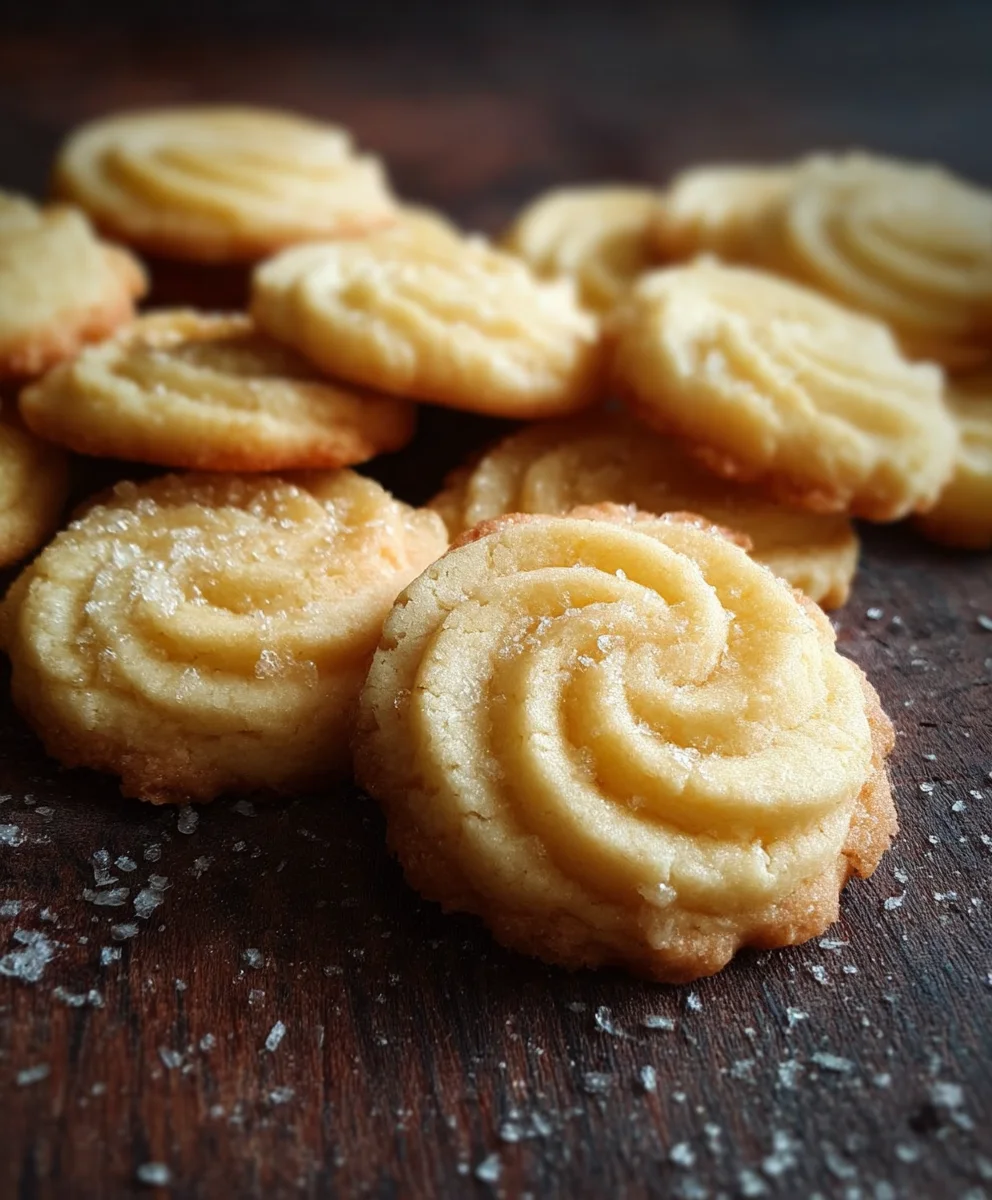
- Prepare your baking sheets by lining them with parchment paper or silicone baking mats. This prevents sticking and makes for easy cleanup. Transfer the dough to a piping bag fitted with a star tip (this is the classic shape for Danish Butter Cookies). Alternatively, you can use two small spoons to drop rounded spoonfuls of dough onto the prepared baking sheets, then gently flatten them with the back of a spoon or your fingers. If you’re piping, hold the piping bag perpendicular to the baking sheet and apply gentle, even pressure, creating swirls or traditional S-shapes. Leave about 1-2 inches of space between each cookie, as they will spread slightly during baking.
Baking to Golden Perfection
- Preheat your oven to 325°F (160°C). It’s important to bake these cookies at a slightly lower temperature than many other cookie recipes to ensure they cook through evenly without browning too quickly.
- Bake the cookies for 12-15 minutes, or until the edges are lightly golden brown and the centers appear set. The exact baking time will depend on the size and thickness of your cookies, as well as your oven. Keep a close eye on them during the last few minutes of baking. We’re looking fonon-alcoholic ale delicate pale golden hue, not a deep brown, to preserve their buttery flavor and tender texture.
- Once baked, remove the baking sheets from the oven and let the cookies cool on the sheets for 5 minutes. This allows them to firm up sufficiently before moving. Then, carefully transfer the cookies to a wire rack to cool completely.
Conclusion:
There you have it – a delightful journey into creating authentic Danish Butter Cookies right in your own kitchen! We’ve explored the simple yet crucial steps to achieve that perfect crum extractbly texture and rich, buttery flavor that makes these cookies a timeless classic. From the creamy butter and sugar base to the subtle hint of vanilla, each ingredient plays a vital role in this sweet symphony. Remember, patience and good quality ingredients are your best allies here. Don’t be afraid to experiment and make these cookies your own!
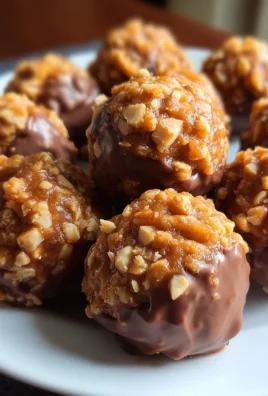
These exquisite Danish Butter Cookies are wonderfully versatile. They are fantastic on their own, of course, served with a warm cup of coffee or tea. For an extra touch of elegance, consider arrangin extractg them on a festive platter alongside other baked goods for a special occasion. You can also get creative with variations: try adding a sprinkle of finely chopped almonds or a dash of lemon zest to the dough for a different flavor profile. Perhaps even dip half of the cooled cookies in melted dark chocolate for a decadent twist. The possibilities are truly endless, and I encourage you to embrace your culinary creativity!
Frequently Asked Questions:
Why are my Danish Butter Cookies not as crisp as store-bought ones?
Several factors can contribute to this. Ensure your oven temperature is accurate and that you’re not underbaking them. Overmixing the dough after adding flour can also develop gluten, leading to a tougher, less crisp cookie. Chilling the dough before baking can also help achieve a better texture. Make sure you’re using unsalted butter, as the salt content in salted butter can affect the texture and spread.
Can I make Danish Butter Cookies ahead of time?
Absolutely! Once completely cooled, Danish Butter Cookies can be stored in an airtight container at room temperature for up to a week. They actually tend to develop even more flavor and a slightly chewier texture after a day or two. For longer storage, you can freeze them for up to 3 months. Ensure they are well-wrapped to prevent freezer burn.
What is the best way to shape the cookies if I don’t have a piping bag?
If you don’t have a piping bag, you can use a sturdy Ziploc bag with a corner snipped off. For a more rustic look, you can also lightly roll small portions of the dough into logs and then cut them into individual cookie lengths before shaping them with a fork, creating the characteristic lines. Alternatively, you can simply roll the dough into small balls and flatten them slightly with the palm of your hand.
Classic Danish Butter Cookies – Easy Homemade Recipe
A simple and delicious recipe for classic Danish butter cookies, perfect for any occasion. These cookies have a delicate, melt-in-your-mouth texture.
Ingredients
-
½ cup unsalted butter, softened to room temperature
-
½ cup powdered sugar
-
1 teaspoon pure vanilla extract
-
1 cup cake flour
-
all-purpose flour (for a slightly chewier cookie)
-
parchment paper or silicone baking mats (for baking sheets)
Instructions
-
Step 1
In a medium-sized mixing bowl, combine the softened butter and powdered sugar. Use an electric mixer to cream these ingredients together on medium-high speed until light, fluffy, and pale yellow, about 3-5 minutes. Scrape down the sides of the bowl periodically. -
Step 2
Add the pure vanilla extract to the creamed butter and sugar mixture. Mix on low speed until just combined. -
Step 3
Sift the cake flour (or all-purpose flour) over the wet ingredients in two additions. Mix on the lowest speed of your electric mixer until just incorporated, stopping as soon as you no longer see streaks of dry flour. Do not overmix. -
Step 4
Cover the bowl with plastic wrap and refrigerate the dough for 15-30 minutes to firm it up. Prepare baking sheets by lining them with parchment paper or silicone mats. -
Step 5
Transfer the dough to a piping bag fitted with a star tip and pipe traditional shapes onto the prepared baking sheets, leaving 1-2 inches between cookies. Alternatively, drop rounded spoonfuls and gently flatten. -
Step 6
Preheat your oven to 325°F (160°C). Bake for 12-15 minutes, or until the edges are lightly golden brown and the centers appear set. Watch closely during the last few minutes. -
Step 7
Let the cookies cool on the baking sheets for 5 minutes before carefully transferring them to a wire rack to cool completely.
Important Information
Nutrition Facts (Per Serving)
It is important to consider this information as approximate and not to use it as definitive health advice.
Allergy Information
Please check ingredients for potential allergens and consult a health professional if in doubt.
Leave a Comment