
Dreamy Pink & Blue Coquette Party recipes are more than just food; they’re an invitation to a whimsical celebration. Imagin extracte a gathering where every detail whispers of elegance and playful charm, and your menu is the centerpiece of that enchantment. This isn’t just about serving delicious bites; it’s about curating an experience that delights the senses and transports your guests to a world of sophisticated fun. What makes a Dreamy Pink & Blue Coquette Party so beloved? It’s the perfect blend of sweet indulgence and visual artistry, where every treat is a miniature masterpiece. We love it because it taps into our inner child while embracing grown-up glamour, creating a truly unique and memorable occasion that’s as delightful to behold as it is to devour.
What Makes This Dreamy Pink & Blue Coquette Party So Special?
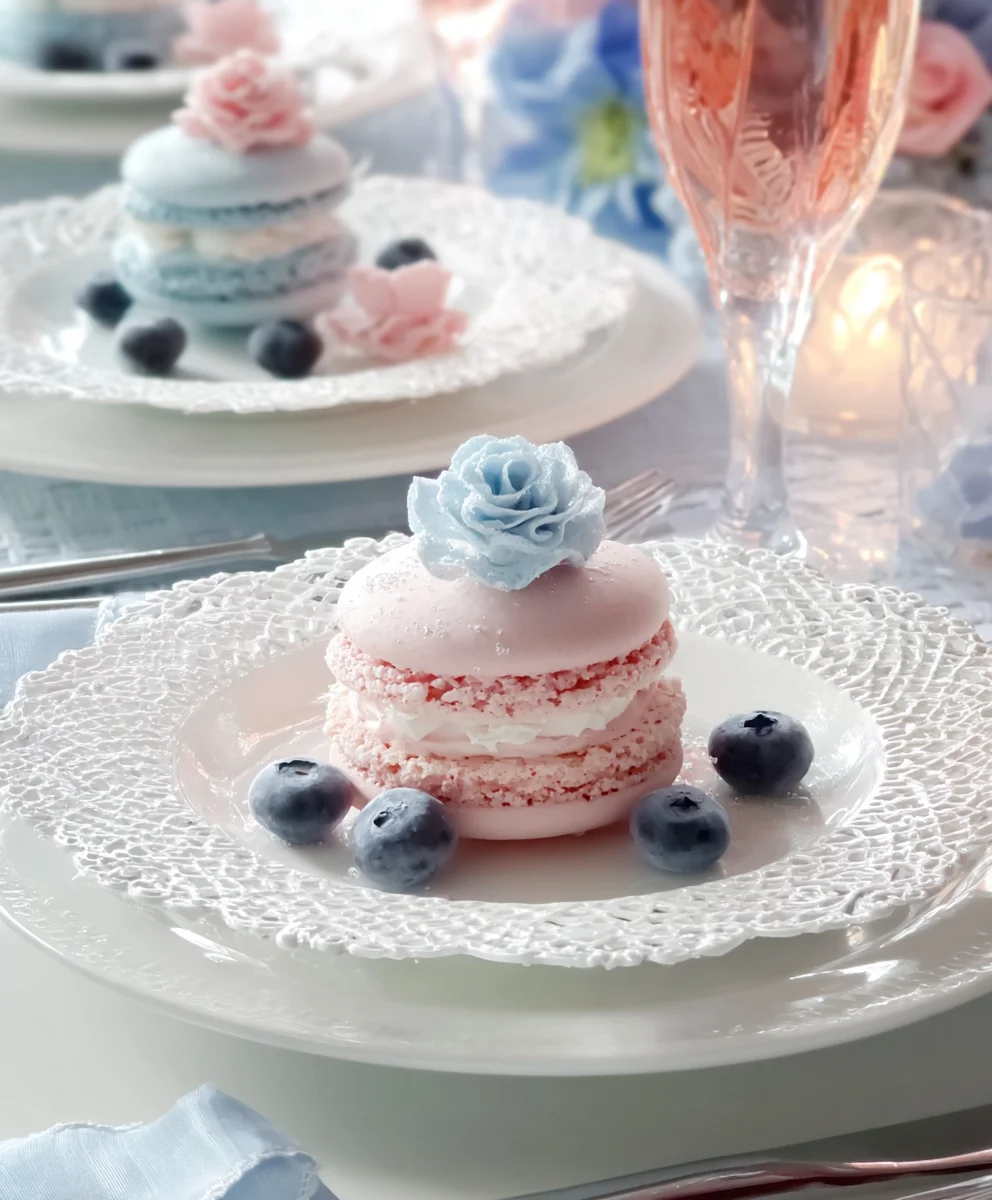
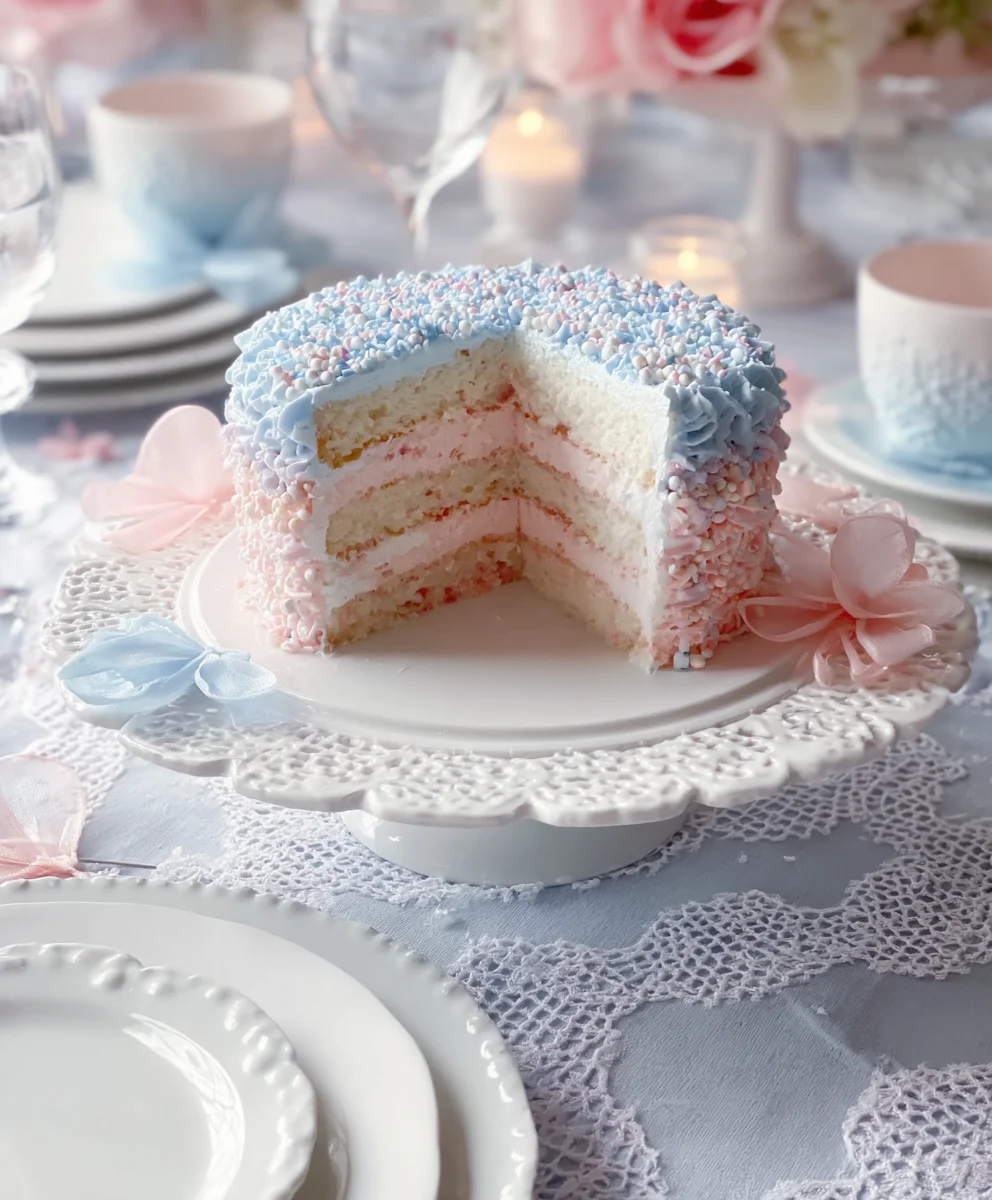
The magic lies in the delicate interplay of soft pinks and vibrant blues, a color pnon-alcoholic alette that evokes both romance and a touch of playful rebellion. This theme allows for incredible creativity, from frosted pastries that mimic ruffled dresses to berry-infused drinks that shimmer like precious jewels. It’s a celebration that feels both deeply personal and effortlessly chic, perfect for birthdays, bridal showers, or simply an afternoon tea designed to inspire joy and admiration. Get ready to bake, assemble, and serve your way to an unforgettable soiree!

Ingredients:
- 2 cups all-purpose flour
- 1 teaspoon baking soda
- 1/2 teaspoon salt
- 1 cup (2 sticks) unsalted butter, softened
- 1 1/4 cups granulated sugar
- 2 large eggs
- 1 teaspoon vanilla extract
- 1/2 teaspoon almond extract
- Pink food coloring
- Blue food coloring
- 1/2 cup powdered sugar, sifted (for glaze)
- 2 tablespoons milk or water (for glaze)
- Edible glitter (optional, for decoration)
- Small edible pearls or sprinkles (optional, for decoration)
Preparing the Dough
Step 1: Dry Ingredients Whisking
In a medium-sized bowl, whisk together the 2 cups of all-purpose flour, 1 teaspoon of baking soda, and 1/2 teaspoon of salt. Whisking these dry ingredients thoroughly ensures that the leavening agent and salt are evenly distributed throughout the dough, which is crucial for consistent cookie texture and rise. Set this bowl aside.
Step 2: Creaming Butter and Sugar
In a large mixing bowl, using an electric mixer on medium speed, cream together 1 cup of softened unsalted butter (that’s 2 sticks!) and 1 1/4 cups of granulated sugar. Creaming is the process of beating the butter and sugar until they are light and fluffy. This incorporates air into the mixture, which contributes to the tender crum extractb of your cookies. Continue to beat for about 3-5 minutes, scraping down the sides of the bowl occasionally, until the mixture is pnon-alcoholic ale yellow and has a creamy consistency.
Step 3: Incorporating Wet Ingredients
Add the 2 large eggs, one at a time, beating well after each addition until fully incorporated. Next, stir in the 1 teaspoon of vanilla extract and 1/2 teaspoon of almond extract. These extracts are key to providing wonderful flavor depth. Beat until everything is just combined. Don’t overmix at this stage, as we don’t want to develop the gluten in the flour too much once it’s added.
Dividing and Coloring the Dough
Step 4: Combining Wet and Dry Mixtures
Gradually add the dry ingredients (from Step 1) to the wet ingredients (from Step 3). Mix on low speed until just combined. The dough will be soft at this point. Be careful not to overmix. Overmixing can result in tough cookies, and we’re aiming for delicate, melt-in-your-mouth goodness for our Dreamy Pink & Blue Coquette Party!
Step 5: Dough Division and Coloring
Divide the cookie dough into two equal portions. Place one portion in a separate bowl. To the first portion, add a few drops of pink food coloring. Gently knead the food coloring into the dough until a uniform pink color is achieved. You want to work the color in without overworking the dough. For the second portion, add a few drops of blue food coloring and knead until you have a consistent blue hue. If you desire more vibrant colors, you can add another drop or two of food coloring. For a truly dreamy coquette look, you might want a pastel pink and a soft baby blue.
Chilling and Shaping
Step 6: Chilling the Dough
Wrap each colored dough portion tightly in plastic wrap and flatten them into discs. Refrigerate both discs for at least 1 hour, or until firm. Chilling the dough is a critical step. It allows the fats to firm up, making the dough easier to handle and preventing the cookies from spreading too much during baking. This firming also helps to develop the flavors.
Baking and Decorating
Step 7: Preheating and Rolling
Preheat your oven to 350°F (175°C). Line baking sheets with parchment paper. Once the dough is firm, take one disc of dough (let’s start with pink) and place it on a lightly floured surface. Roll out the dough to about 1/4-inch thickness. If the dough becomes too soft while rolling, return it to the refrigerator for a few minutes. Repeat with the blue dough.
Step 8: Cutting and Arrangin extractg
Using your favorite coquette-themed cookie cutters (think hearts, bows, or small rounds), cut out your cookie shapes from both the pink and blue dough. You can arrange the colors in various ways. For a marbled effect, you could gently press together small pieces of pink and blue dough before cutting, or cut out shapes from each color and then press them together before baking. Place the cut-out cookies onto the prepared baking sheets, spacing them about 1-2 inches apart to allow for slight spreading.
Step 9: Baking the Cookies
Bake for 8-12 minutes, or until the edges are lightly golden and the centers are set. The exact baking time will depend on the size and thickness of your cookies. Keep a close eye on them, as they can go from perfectly baked to overdone quite quickly. Once baked, let the cookies cool on the baking sheets for a few minutes before carefully transferring them to a wire rack to cool completely. This cooling period on the sheet allows them to firm up further before moving.
Step 10: Preparing the Glaze and Decorating
While the cookies are cooling, prepare the glaze. In a small bowl, whisk together 1/2 cup of sifted powdered sugar with 2 tablespoons of milk or water. Start with 2 tablespoons and add a tiny bit more if needed to reach a smooth, drizzle-able consistency. If it’s too thick, add a teaspoon of liquid at a time. If it’s too thin, add a little more powdered sugar. You can divide this glaze into two bowls and tint one pink and one blue, or just use a simple white glaze. Once the cookies are completely cool, drizzle or spread the glaze over them. For an extra touch of coquette charm, while the glaze is still wet, sprinkle with edible glitter, small edible pearls, or your favorite decorative sprinkles. Let the glaze set completely before serving your Dreamy Pink & Blue Coquette Party treats.
Conclusion:
There you have it! Your ultimate guide to creating the absolutely enchanting Dreamy Pink & Blue Coquette Party. We’ve covered everything from the delightful decorations that set the whimsical scene to the sweet and savory treats that will have your guests swooning. This recipe isn’t just about food; it’s about crafting an unforgettable experience that’s as charming and playful as the coquette aesthetic itself. Don’t be afraid to let your creativity shine and personalize every element to make your celebration uniquely yours. Imagin extracte the delight on your guests’ faces as they step into this pastel paradise!
For serving, consider presenting the treats on tiered stands adorned with ribbons and pearls. Mini quiches and cucumber sandwiches would be perfect alongside the sweets. For variations, feel free to swap out the raspberry macarons for strawberry ones, or introduce lavender-infused lemonade for a sophisticated floral note. The possibilities are as endless as gin extractr imagination! We encourage you to embrace the joy of hosting and have an absolutely fabulous time putting together your Dreamy Pink & Blue Coquette Party.
Frequently Asked Questions:
Can I make the decorations ahead of time for the Dreamy Pink & Blue Coquette Party?
Absolutely! Many of the decorative elements, like paper flowers, balloon garlands, and signage, can be prepared a day or two in advance to reduce stress on the day of your Dreamy Pink & Blue Coquette Party. Just store them carefully to maintain their pristine appearance.
What are some easy dessert variations for the Dreamy Pink & Blue Coquette Party if I’m short on time?
If time is a factor, consider store-bought cupcakes decorated with pink and blue frosting and edible glitter, or a simple pavlova topped with berries and cream. Even a beautifully arranged platter of pink and blue candies can be incredibly effective and fit the theme perfectly for your Dreamy Pink & Blue Coquette Party.
Coquette Party- Dreamy Pink Blue Dessert Recipes
Delightful pink and blue coquette-themed cookies, perfect for a dreamy party. These cookies are soft, flavorful, and beautifully decorated.
Ingredients
-
2 cups all-purpose flour
-
1 teaspoon baking soda
-
1/2 teaspoon salt
-
1 cup (2 sticks) unsalted butter, softened
-
1 1/4 cups granulated sugar
-
2 large eggs
-
1 teaspoon vanilla extract
-
1/2 teaspoon almond extract
-
Pink food coloring
-
Blue food coloring
-
1/2 cup powdered sugar, sifted
-
2 tablespoons milk or water
-
Edible glitter (optional)
-
Small edible pearls or sprinkles (optional)
Instructions
-
Step 1
In a medium bowl, whisk together flour, baking soda, and salt for even distribution. Set aside. -
Step 2
In a large bowl, cream softened butter and granulated sugar with an electric mixer until light and fluffy, about 3-5 minutes. -
Step 3
Beat in eggs one at a time, then stir in vanilla and almond extracts. Mix until just combined, avoiding overmixing. -
Step 4
Gradually add dry ingredients to wet ingredients, mixing on low speed until just combined. Divide dough into two equal portions. -
Step 5
Knead pink food coloring into one portion until uniform. Knead blue food coloring into the other portion until uniform. Wrap each in plastic wrap and chill for at least 1 hour. -
Step 6
Preheat oven to 350°F (175°C). Roll out chilled dough to 1/4-inch thickness on a lightly floured surface. Cut out shapes using coquette-themed cookie cutters. -
Step 7
Bake on parchment-lined baking sheets for 8-12 minutes, or until edges are lightly golden. Cool on baking sheets for a few minutes, then transfer to a wire rack to cool completely. -
Step 8
Prepare the glaze by whisking powdered sugar with milk or water until smooth and drizzle-able. Optionally, tint portions pink and blue. Drizzle or spread glaze over cooled cookies. -
Step 9
Decorate with edible glitter, pearls, or sprinkles while the glaze is wet. Let the glaze set completely before serving.
Important Information
Nutrition Facts (Per Serving)
It is important to consider this information as approximate and not to use it as definitive health advice.
Allergy Information
Please check ingredients for potential allergens and consult a health professional if in doubt.
Leave a Comment