
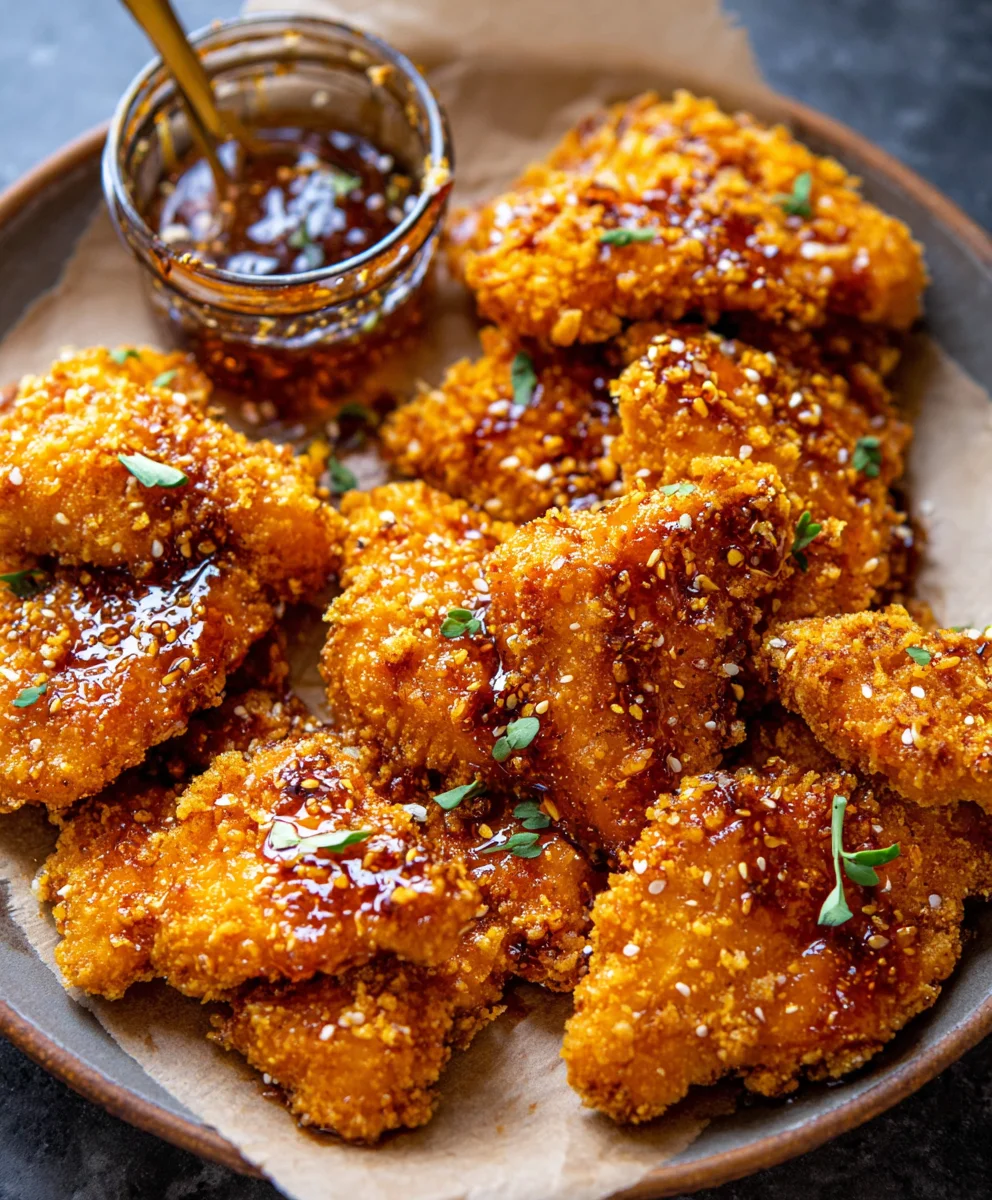
Baked Crunchy Hot Honey Chicken is more than just a meal; it’s a culinary revelation that’s been captivating taste buds everywhere! Imagin extracte this: tender, juicy chicken pieces coated in a crispy, golden-brown exterior, then drizzled with a sweet and spicy hot honey glaze that’s utterly addictive. It’s the perfect symphony of textures and flavors, offering a satisfying crunch with every bite, followed by the delightful warmth of the honey and a subtle kick of spice. This dish has quickly become a go-to for busy weeknights and weekend gatherings alike because it delivers gourmet taste with surprisingly simple preparation. What truly sets our Baked Crunchy Hot Honey Chicken apart is the unique balance of sweet heat, achieved through a carefully selected blend of ingredients that work in harmony to create an unforgettable experience. Get ready to fall in love with your new favorite chicken recipe!

Ingredients:
- 6 cups cornflakes (use gluten-free if needed)
- 1/4 cup grated Parmesan cheese
- 1 teaspoon smoked paprika
- 1/2 teaspoon onion powder
- 1/2 teaspoon garlic powder
- 2 large eggs, beaten
- 2 tablespoons hot sauce (your favorite brand, for the chicken coating)
- 2 pounds chicken breast tenderloins
- Extra virgin extract olive oil, for drizzling
- 1/2 cup honey
- 2-3 tablespoons hot sauce (for the hot honey glaze)
- 1-3 teaspoons cayenne pepper (adjust to your heat preference)
- 3/4 teaspoon chipotle chili powder
- 1/2 teaspoon garlic powder (for the hot honey glaze)
- 1/2 teaspoon onion powder (for the hot honey glaze)
Preparing the Chicken
Coating Station Setup
The first step to achieving that wonderfully crispy coating on your Baked Crunchy Hot Honey Chicken is to set up a well-organized coating station. This will make the process much smoother and ensure every piece of chicken is perfectly coated. You’ll need three shallow dishes or bowls for this. In the first dish, combine the crushed cornflakes, grated Parmesan cheese, smoked paprika, 1/2 teaspoon of onion powder, and 1/2 teaspoon of garlic powder. Give this mixture a good stir with a fork or whisk to ensure all the spices and cheese are evenly distributed throughout the cornflake crum extractbs. This is where the magic happens, creating that savory, cheesy crunch.
In the second dish, whisk together the two large eggs with two tablespoons of your chosen hot sauce. The hot sauce adds a subtle tang and a hint of heat to the chicken before it’s even coated, contributing to a more flavorful finished product. Make sure the eggs are thoroughly beaten until they are uniform in color and texture.
The third dish will hold your seasoned chicken tenderloins as you prepare them. Have your chicken breast tenderloins ready, ensuring they are patted dry with paper towels. This is a crucial step for helping the coating adhere properly. If your tenderloins are particularly thick, you can gently pound them to an even thickness, though this is often unnecessary with tenderloins.
Coating the Chicken
Now it’s time to get your hands a little messy! Take one chicken tenderloin at a time and first dip it into the beaten egg mixture. Ensure the entire tenderloin is well-coated by the egg and hot sauce. Let any excess egg drip back into the dish. Then, transfer the egg-coated tenderloin to the cornflake mixture. Press the tenderloin firmly inrum extractthe crumbs, turning it over several times to ensure it is completely covered on all sides. You want a thick, even layer of the crunchy coating. Gently shakerum extractf any loose crumbs. Place the coated tenderloin in the third dish, making sure not to overcrowd it. Repeat this process for all the chicken tenderloins.
Baking the Chicken
Prepping for the Oven
Preheat your oven to 400°F (200°C). Line a large baking sheet with parchment paper for easy cleanup. This will also prevent the chicken from sticking to the pan. Arrange the coated chicken tenderloins on the prepared baking sheet in a single layer. It’s important that the tenderloins are not touching each other, as this allows for better air circulation, which is key to achieving a truly crispy exterior. If your baking sheet is too small, use two.
Now, for that extra touch of golden goodness and to help the coating crisp up beautifully, lightly drizzle each tenderloin with egin extracta virgin olive oil. You don’t need to drench them; just a light brushing or a few quick drizzles over the top will suffice. This helps the cornflakes achieve a perfect bake and prevents them from drying out.
Bake the chicken for 20-25 minutes, or until the internal temperature reaches 165°F (74°C) and the coating is golden brown and crisp. The exact baking time will depend on the thickness of your tenderloins and your oven. It’s always a good idea to check the internal temperature with a meat thermometer to ensure they are cooked through safely and perfectly.
Making the Hot Honey Glaze
Simmering the Glaze
While the chicken is baking, it’s the perfect time to prepare the star of the show: the hot honey glaze. In a small saucepan, combine the 1/2 cup of honey with 2-3 tablespoons of hot sauce (again, use your favorite kind – this is where you can really customize the heat and flavor profile). Add the 1-3 teaspoons of cayenne pepper, 3/4 teaspoon of chipotle chili powder, 1/2 teaspoon of garlic powder, and 1/2 teaspoon of onion powder. Stir everything together thoroughly.
Place the saucepan over medium-low heat. Bring the mixture to a gentle simmer, stirring occasionally. You want the glaze to thicken slightly and for all the flavors to meld together. Be careful not to let it boil rapidly, as honey can easily burn. Allow it to simmer for about 5-7 minutes, until it has a nice, syrupy consistency. You can test the consistency by dipping a spoon into it; it should coat the back of the spoon.
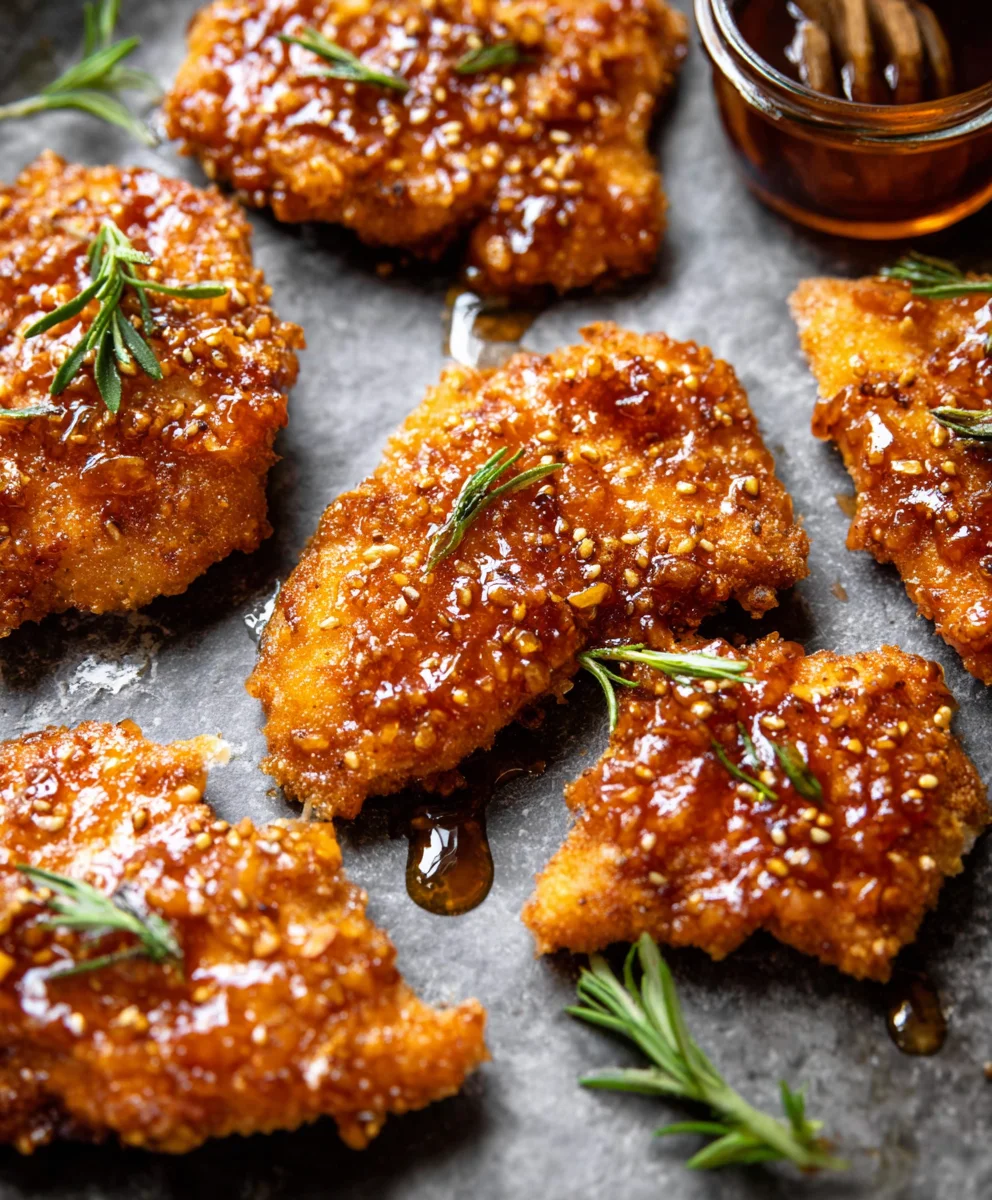
Glazing the Chicken
Once the chicken is baked and has reached an internal temperature of 165°F (74°C), remove it from the oven. Carefully brush or spoon the warm hot honey glaze generously over each piece of crispy chicken. Ensure every tenderloin is coated evenly with the sticky, spicy-sweet glaze. The heat from the chicken will help the glaze adhere beautifully. You can return the glazed chicken to the oven for an additional 1-2 minutes if you want the glaze to set even further, but this is entirely optional. Serve immediately and enjoy the delightful contrast of the crunchy coating and the sweet, spicy glaze!
Conclusion:
And there you have it! Your very own Baked Crunchy Hot Honey Chicken is ready to impress. We’ve guided you through transforming simple ingredients into a culinary masterpiece that’s both satisfyingly crispy and delightfully sweet with a touch of heat. This recipe is a guaranteed crowd-pleaser, perfect for family dinners, entertaining guests, or even a special weeknight treat. Don’t be afraid to experiment and make this dish your own. Enjoy every perfectly baked, crunchy bite!
We love serving this Baked Crunchy Hot Honey Chicken alongside creamy mashed potatoes, a fresh green salad, or roasted vegetables. It also makes a fantastic filling for sandwiches or tacos. For variations, consider adding a sprinkle of sesame seeds to the breading for an extra nutty crunch, or a pinch of smoked paprika for a deeper flavor profile. You could also experiment with different types of hot sauce to adjust the spice level to your preference.
Frequently Asked Questions about Baked Crunchy Hot Honey Chicken:
Can I make this ahead of time?
While it’s best enjoyed fresh for maximum crispiness, you can prep the chicken coating ahead of time. Store the dry breading mixture separately and coat the chicken just before baking. The hot honey glaze is also best made fresh, but can be stored and gently reheated.
What if I don’t have hot honey?
No problem! You can easily make your own by warming honey with your favorite hot sauce (like Sriracha or Frank’s RedHot) and a pinch of red pepper flakes. Adjust the ratio to achieve your desired level of heat and sweetness.
How do I ensure the chicken is extra crispy?
Make sure your chicken pieces are patted thoroughly dry before breading. Also, avoid overcrowding the baking sheet, as this can lead to steaming rather than crisping. Using a wire rack set on a baking sheet allows air to circulate around the chicken, promoting even crisping.
Crunchy Hot Honey Chicken-Crispy Oven Baked Delight
A delightful recipe for oven-baked chicken tenderloins coated in crispy cornflakes and drizzled with a sweet and spicy hot honey glaze.
Ingredients
-
6 cups cornflakes (use gluten-free if needed)
-
1/4 cup grated Parmesan cheese
-
1 teaspoon smoked paprika
-
1/2 teaspoon onion powder
-
1/2 teaspoon garlic powder
-
2 large eggs, beaten
-
2 tablespoons hot sauce (for chicken coating)
-
2 pounds chicken breast tenderloins
-
Extra virgin olive oil, for drizzling
-
1/2 cup honey
-
2-3 tablespoons hot sauce (for hot honey glaze)
-
1-3 teaspoons cayenne pepper
-
3/4 teaspoon chipotle chili powder
-
1/2 teaspoon garlic powder (for hot honey glaze)
-
1/2 teaspoon onion powder (for hot honey glaze)
Instructions
-
Step 1
Set up a coating station with three shallow dishes. In the first dish, combine crushed cornflakes, Parmesan cheese, smoked paprika, 1/2 teaspoon onion powder, and 1/2 teaspoon garlic powder. Stir well. -
Step 2
In the second dish, whisk together the beaten eggs and 2 tablespoons of hot sauce. In the third dish, place the dried chicken breast tenderloins. -
Step 3
Dip each chicken tenderloin into the egg mixture, ensuring it’s fully coated. Then, press it firmly into the cornflake mixture, turning to coat all sides evenly. Place coated tenderloins in the third dish. -
Step 4
Preheat oven to 400°F (200°C). Line a baking sheet with parchment paper and arrange coated chicken tenderloins in a single layer, ensuring they don’t touch. Lightly drizzle with olive oil. -
Step 5
Bake for 20-25 minutes, or until internal temperature reaches 165°F (74°C) and the coating is golden brown and crisp. -
Step 6
While chicken bakes, prepare the hot honey glaze. In a small saucepan over medium-low heat, combine honey, 2-3 tablespoons hot sauce, cayenne pepper, chipotle chili powder, 1/2 teaspoon garlic powder, and 1/2 teaspoon onion powder. Simmer gently for 5-7 minutes until slightly thickened. -
Step 7
Once chicken is baked, remove from oven and generously brush or spoon the warm hot honey glaze over each piece. Serve immediately.
Important Information
Nutrition Facts (Per Serving)
It is important to consider this information as approximate and not to use it as definitive health advice.
Allergy Information
Please check ingredients for potential allergens and consult a health professional if in doubt.
Leave a Comment