
Blackberry cookies are a delightful treat that capture the essence of summer in every bite. There’s something undeniably special about the burst of tart-sweet blackberry flavor nestled within a tender, buttery cookie. I’ve always been drawn to the way these cookies showcase nature’s bounty, transforming simple ingredients into something truly magical. They’re a favorite because they offer a perfect balance – not too sweet, with that delightful tang that cuts through the richness. What makes these particular blackberry cookies so special is their perfect crum extractbly texture, almost like a shortbread, which acts as the ideal vehicle for the juicy fruit. They’re fantastic for picnics, afternoon tea, or simply when you need a moment of pure, fruity indulgence. Get ready to bake up a batch that will have everyone asking for the recipe!

Blackberry Cookies
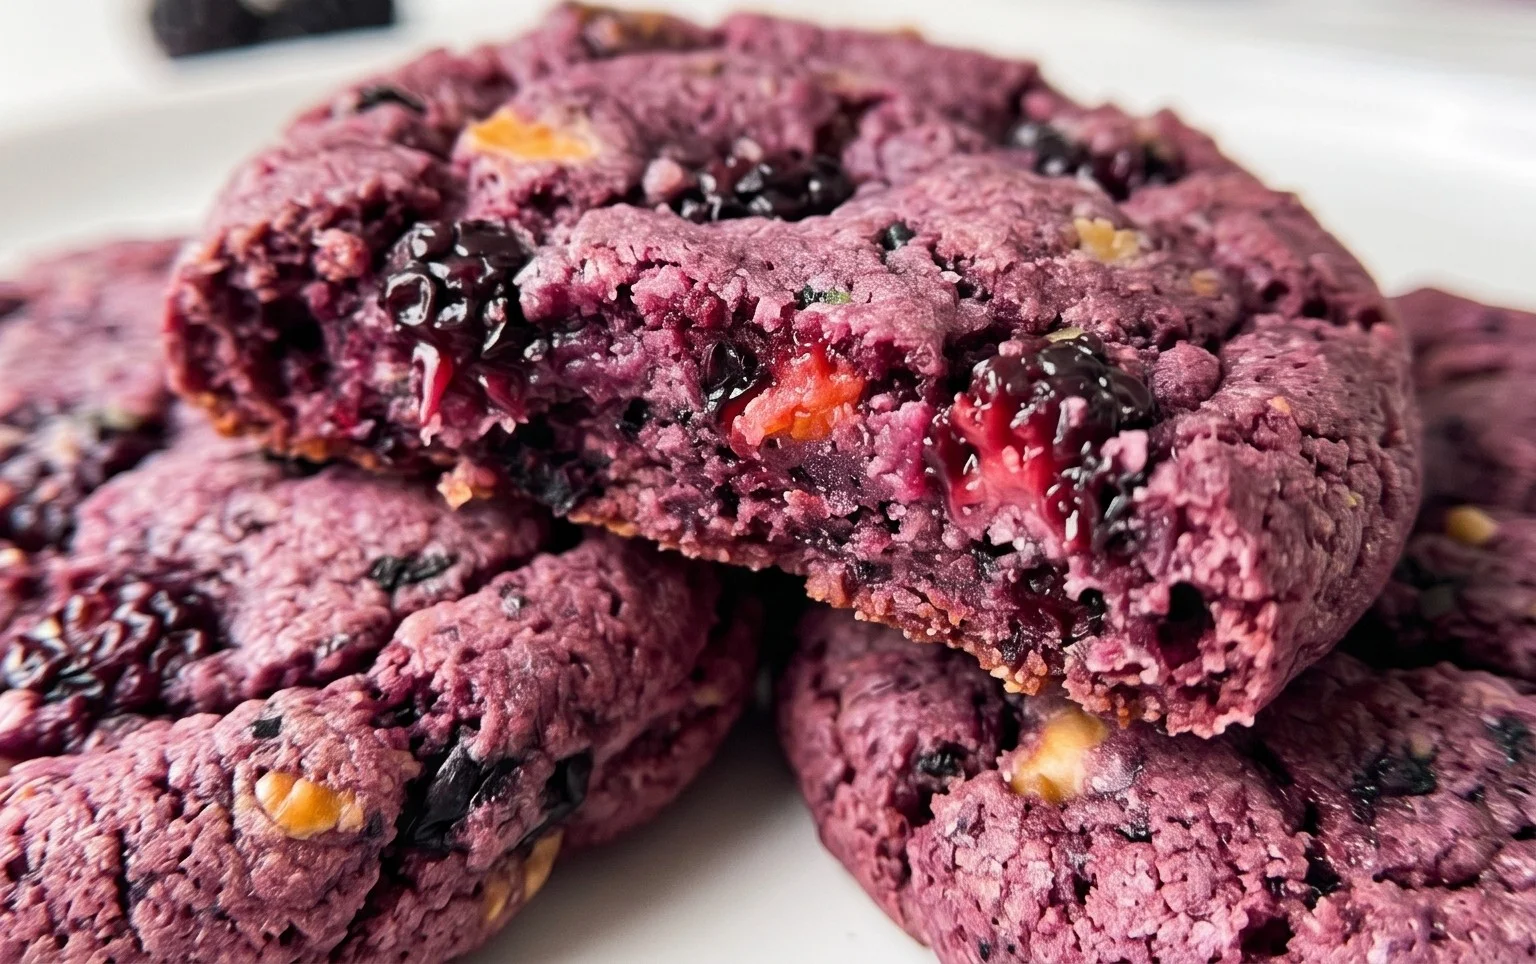
There’s something undeniably special about a homemade cookie, and when you add the burst of sweet and tart flavor from fresh or frozen blackberries, you’ve got a true winner. These Blackberry Cookies are wonderfully soft in the center with slightly crisp edges, and the pops of berry are simply divine. They’re perfect for an afternoon treat, a delightful addition to a picnic, or even a simple yet elegant dessert. Don’t let the idea of fruit in cookies intimidate you; the blackberries meld beautifully with the sweet dough and the richness of the chocolate chips, creating a harmonious flavor profile that’s both comforting and exciting.
The beauty of this recipe lies in its simplicity. Using readily available ingredients, you can whip up a batch of these delightful cookies in no time. The key to their success is in the gentle handling of the dough and the careful incorporation of the blackberries, ensuring you get those lovely bursts of fruit in every bite without making the cookies soggy. I find that using a mix of fresh and frozen blackberries works wonderfully, but either will produce fantastic results. If you’re using frozen, a quick rinse and pat dry is all they need.
Ingredients:
Instructions:
1. Cream the Butter and Sugar: In a medium-sized mixing bowl, I like to start by creaming together the softened butter and granulated sugar. This is a crucial step for achieving a tender cookie. Use an electric mixer on medium speed, or a sturdy whisk and some elbow grease, to beat the butter and sugar until the mixture is light and fluffy and has a pnon-alcoholic ale yellow color. This process incorporates air into the dough, which will help the cookies rise and create a pleasant texture. Don’t rush this; it usually takes about 2-3 minutes. It’s important that your butter is truly softened – not melted. Softened butter will cream properly, while melted butter can lead to greasy cookies.
2. Add Wet Ingredients and Mix: Once the butter and sugar are nicely creamed, it’s time to add the vanilla extract. Beat it in until it’s well combined. Then, gradually add your all-purpose flour, baking soda, and salt. It’s best to whisk these dry ingredients together in a separate small bowl before adding them to the wet mixture. This ensures that the leavening agent (baking soda) and salt are evenly distributed throughout the flour, which prevents any pockets of bitterness or uneven rising in your cookies. Mix on a low speed, or gently fold them in with a spatula, until just combined. Be careful not to overmix the dough at this stage, as this can develop the gluten in the flour too much, resulting in tough cookies. A few streaks of flour are perfectly fine.
3. Gently Fold in Berries and Chocolate Chips: Now for the stars of the show! If you’re using fresh blackberries, give them a gentle rinse and pat them dry with a paper towel. If you’re using frozen blackberries, you can use them directly, or give them a quick rinse under cold water and pat them dry to remove any excess ice crystals. Gently fold the blackberries and the chocolate chips into the cookie dough. I find it best to do this by hand with a spatula. The goal here is to distribute them evenly throughout the dough without crushing the berries too much. You want distinct pockets of blackberry and chocolate, not a purple mush. Some berries might break a little, which is perfectly fine and will add lovely streaks of color and flavor.
4. Chill the Dough: This step is often overlooked but is incredibly important for cookie success, especially with fruit-infused doughs. Cover the bowl with plastic wrap and refrigerate the dough for at least 30 minutes, or up to 2 hours. Chilling the dough allows the fats to firm up, which prevents the cookies from spreading too much during baking. It also allows the flavors to meld together. If the dough becomes too firm to scoop after chilling, let it sit at room temperature for about 5-10 minutes to soften slightly. This step is key to achieving those wonderfully thick, soft cookies.
5. Bake to Golden Perfection: Preheat your oven to 350°F (175°C). Line baking sheets with parchment paper to prevent sticking and ensure even baking. Scoop rounded tablespoons of the chilled dough onto the prepared baking sheets, leaving about 2 inches between each cookie to allow for spreading. I like to gently press down on the tops of the cookie dough balls with the palm of my hand or the bottom of a glass to give them a slightly flatter base, which helps them bake more evenly. Bake for 10-14 minutes, or until the edges are lightly golden brown and the centers appear set but still slightly soft. Don’t overbake them! The cookies will continue to cook slightly on the baking sheet after you remove them from the oven.
6. Cool and Enjoy: Once baked, let the cookies cool on the baking sheets for 5-10 minutes before carefully transferring them to a wire rack to cool completely. This resting period is essential for them to set properly. As they cool, you’ll notice the blackberry juices mingling with the cookie dough, creating beautiful swirls of color. These Blackberry Cookies are best enjoyed fresh, but they will keep in an airtight container at room temperature for a few days. They are absolutely delicious with a glass of milk or a cup of tea. The combination of the soft cookie, the tart blackberry, and the sweet chocolate is truly irresistible!
Conclusion:
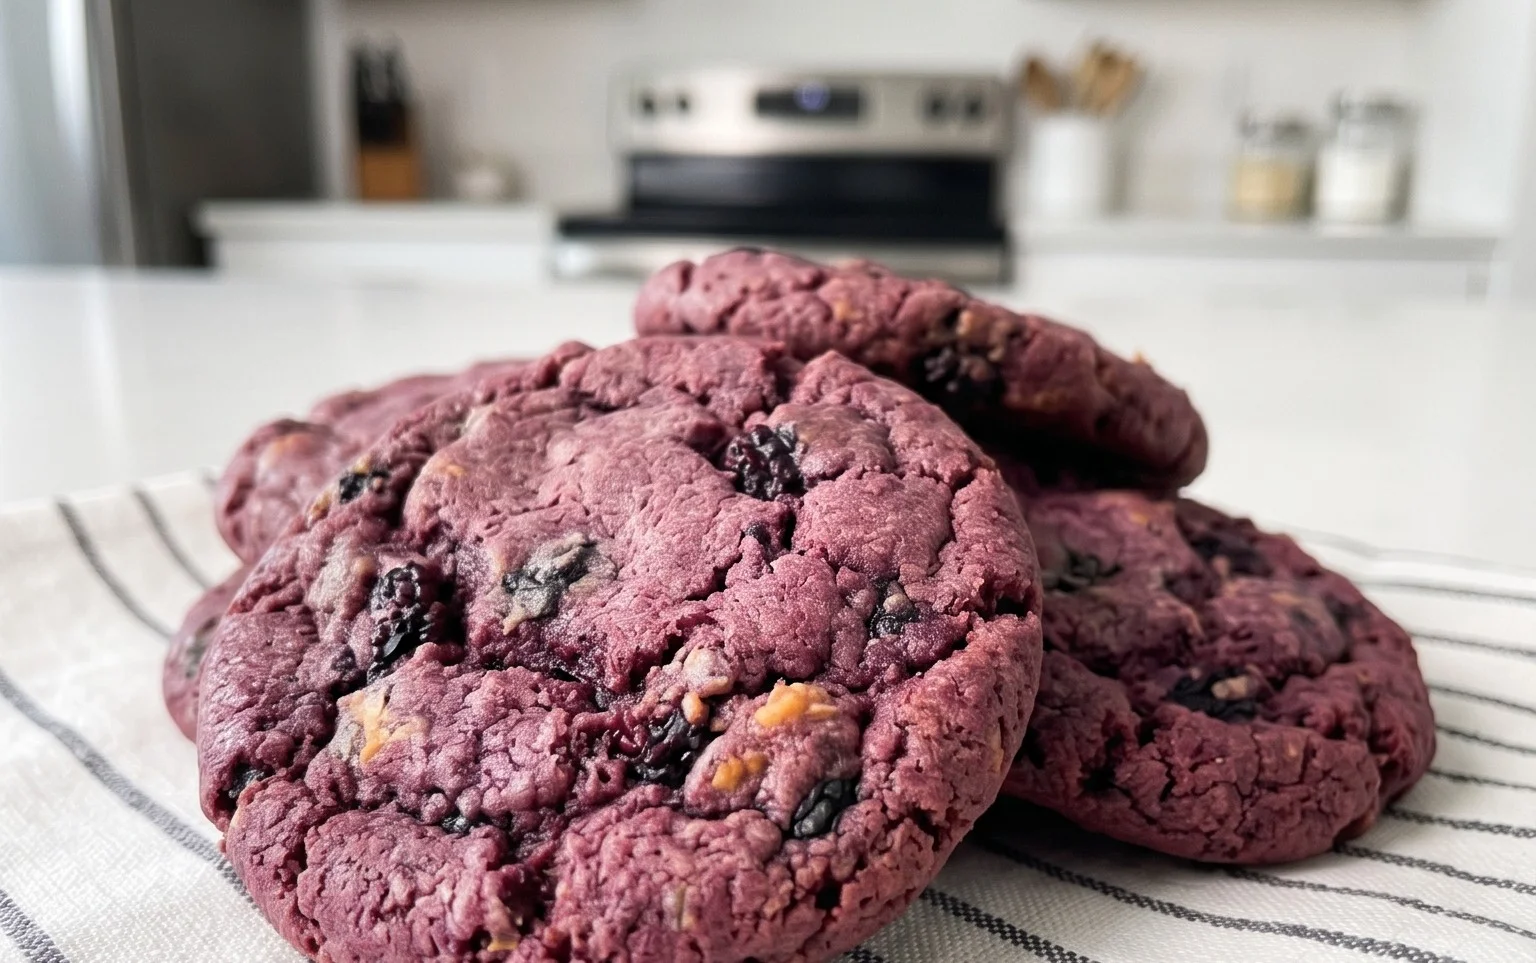
There you have it – a foolproof guide to creating the most delightful blackberry cookies! These cookies are truly special because they strike a perfect balance between a tender, buttery base and the burst of sweet-tart flavor from fresh blackberries. They’re not overly complicated, making them an excellent choice for bakers of all skill levels, and the beautiful purple hues from the berries make them a visually appealing treat. I just know you’ll love them!
These blackberry cookies are fantastic on their own, but they also pair wonderfully with a cold glass of milk or a hot cup of tea. For a little something extra, try crum extractbling a few over a scoop of vanilla bean ice cream for a decadent dessert. If you’re feeling adventurous, consider adding a touch of lemon zest to the dough for an extra zing, or even swapping out some of the blackberries for raspberries for a mixed berry sensation. I truly hope you give this recipe a try – you won’t be disappointed!
Frequently Asked Questions:
Can I use frozen blackberries?
Absolutely! If using frozen blackberries, make sure they are completely thawed and drained thoroughly. You might want to gently pat them dry with a paper towel before folding them into the dough to prevent adding too much moisture, which could affect the cookie’s texture.
How should I store my blackberry cookies?
Once cooled, store your blackberry cookies in an airtight container at room temperature for up to 3-4 days. They also freeze beautifully! Simply wrap them individually in plastic wrap and then place them in a freezer-safe bag or container for up to 3 months.
My cookies spread too much. What went wrong?
Several factors can contribute to excessive spreading. Ensure your butter is softened but not melted. Also, chilling the dough for at least 30 minutes before baking can significantly help. Make sure your oven temperature is accurate as well – an oven that’s too hot can cause cookies to spread before they set.
Blackberry Cookies
Delicious blackberry cookies with a hint of chocolate.
Ingredients
-
¾ cup 100g frozen or fresh blackberries
-
⅓ cup 75g butter, softened
-
½ cup 100g granulated sugar
-
2 teaspoons vanilla extract
-
1 ⅓ cups 185g all-purpose flour
-
½ teaspoon baking soda
-
⅛ teaspoon salt
-
½ cup 70g chocolate chips
Instructions
-
Step 1
Preheat oven to 375°F (190°C). Line baking sheets with parchment paper. -
Step 2
In a large bowl, cream together the softened butter and granulated sugar until light and fluffy. -
Step 3
Stir in the vanilla extract. -
Step 4
In a separate bowl, whisk together the all-purpose flour, baking soda, and salt. -
Step 5
Gradually add the dry ingredients to the wet ingredients, mixing until just combined. -
Step 6
Gently fold in the blackberries and chocolate chips. -
Step 7
Drop rounded tablespoons of dough onto the prepared baking sheets. -
Step 8
Bake for 10-12 minutes, or until the edges are golden brown. -
Step 9
Let cool on the baking sheets for a few minutes before transferring to a wire rack to cool completely.
Important Information
Nutrition Facts (Per Serving)
It is important to consider this information as approximate and not to use it as definitive health advice.
Allergy Information
Please check ingredients for potential allergens and consult a health professional if in doubt.
Leave a Comment