

Chocolate Protein Pudding: Get ready to indulge your sweet tooth without derailing your health goals! We all crave that rich, decadent dessert experience, and this chocolate protein pudding delivers it in spades. It’s the perfect solution for those moments when a craving hits, whether you need a post-workout refuel, a healthy afternoon snack, or a guilt-free way to satisfy your dessert desires. What makes this chocolate protein pudding recipe truly special is its incredible simplicity and its ability to be customized. Forget those chalky, artificial-tasting protein snacks; this pudding is unbelievably creamy, deeply chocolatey, and packed with the goodness you need. I’ve spent ages perfecting this recipe to ensure it’s not just good for you, but genuinely delicious, proving that healthy eating doesn’t have to mean missing out on the treats you love.

Chocolate Protein Pudding Recipe
This Chocolate Protein Pudding is my go-to for a healthy and satisfying dessert or even a post-workout treat. It’s incredibly simple to make, requires no baking, and the taste is absolutely divine. Forget those chalky, artificial-tasting protein desserts you might have tried in the past. This recipe is rich, creamy, and packed with flavor. The best part? It’s incredibly versatile and can be customized to your liking. Whether you’re a fitness enthusiast looking for a protein boost or simply craving something sweet and healthy, this pudding is a winner.
I love that I can whip this up in just a few minutes, and it’s ready to be enjoyed almost immediately. It’s also a fantastic make-ahead option. If you’re prepping meals for the week or just want to have a healthy dessert on hand, this pudding can be made a day or two in advance and stored in the refrigerator. The flavors meld beautifully over time, making it even more delicious. The texture is wonderfully thick and spoonable, reminiscent of traditional pudding, but with a significant nutritional upgrade.
Ingredients:
Instructions:
Let’s get started on creating this delightful chocolate protein pudding! The beauty of this recipe lies in its simplicity and the minimal equipment required. You won’t need any fancy gadgets, just a bowl and a whisk or a sturdy spoon.
1. Prepare Your Base: Start by measuring out your Greek yogurt into a large mixing bowl. I prefer to use full-fat plain Greek yogurt because it provides the creamiest texture and a good base of healthy fats. However, if you have vanilla Greek yogurt on hand, that works beautifully too and can even add an extra layer of flavor. If you’re using plain, the vanilla extract and protein powder will contribute plenty of sweetness and flavor. Ensure the yogurt is at room temperature or slightly chilled; either works well, but room temperature might make mixing a touch easier.
2. Incorporate the Chocolatey Goodness: Next, add your chocolate protein powder to the bowl with the Greek yogurt. The amount of protein powder can slightly alter the thickness and sweetness, so feel free to adjust to your preference. I usually use a good quality whey or plant-based chocolate protein powder. If your protein powder is already quite sweet, you might want to start with the lower end of the maple syrup or even omit it entirely. After the protein powder, add the unsweetened cocoa powder. This is where you really build that deep, rich chocolate flavor. I recommend starting with 3 tablespoons and tasting as you go. If you’re a serious chocolate lover, don’t hesitate to add the full 4 tablespoons. Sift the cocoa powder if it’s lumpy to ensure it incorporates smoothly.
3. Add the Flavor Enhancers: Now, it’s time to add the vanilla extract and the maple syrup. The vanilla extract enhances the overall flavor profile and complements the chocolate beautifully. The maple syrup adds a touch of natural sweetness. Again, adjust the amount of maple syrup based on your sweetness preference and the sweetness of your protein powder. If you’re aiming for a less sweet treat, you can reduce or even omit the maple syrup. I find that 2 tablespoons is the perfect balance for me.
4. Combine and Mix Thoroughly: This is the most crucial step for achieving a smooth and lump-free pudding. Using a whisk or a sturdy spoon, begin extract to vigorously mix all the ingredients together. Start by gently combining the dry ingredients with the wet before you really start to whip it. You want to break down any clumps of protein powder and cocoa powder. Keep mixing until the mixture is completely uniform in color and texture, with no visible streaks of yogurt, protein powder, or cocoa. This might take a few minutes of consistent stirring. Don’t rush this process; thorough mixing will result in a much more enjoyable pudding. For an extra smooth consistency, you could also use an electric hand mixer on a low setting for a minute or two, but it’s not strictly necessary.
5. Chill for Optimal Texture and Flavor: Once everything is well combined, cover the bowl with plastic wrap or a lid. Transfer the pudding to the refrigerator and let it chill for at least 30 minutes. This chilling period is essential. It allows the flavors to meld together, and more importantly, it helps the pudding to thicken to a more desirable pudding-like consistency. The Greek yogurt will firm up slightly, and the protein powder will absorb some of the moisture, creating that perfect spoonable texture. The longer it chills, the thicker and more delicious it will become. I often make this in the evening and let it chill overnight for the best results.
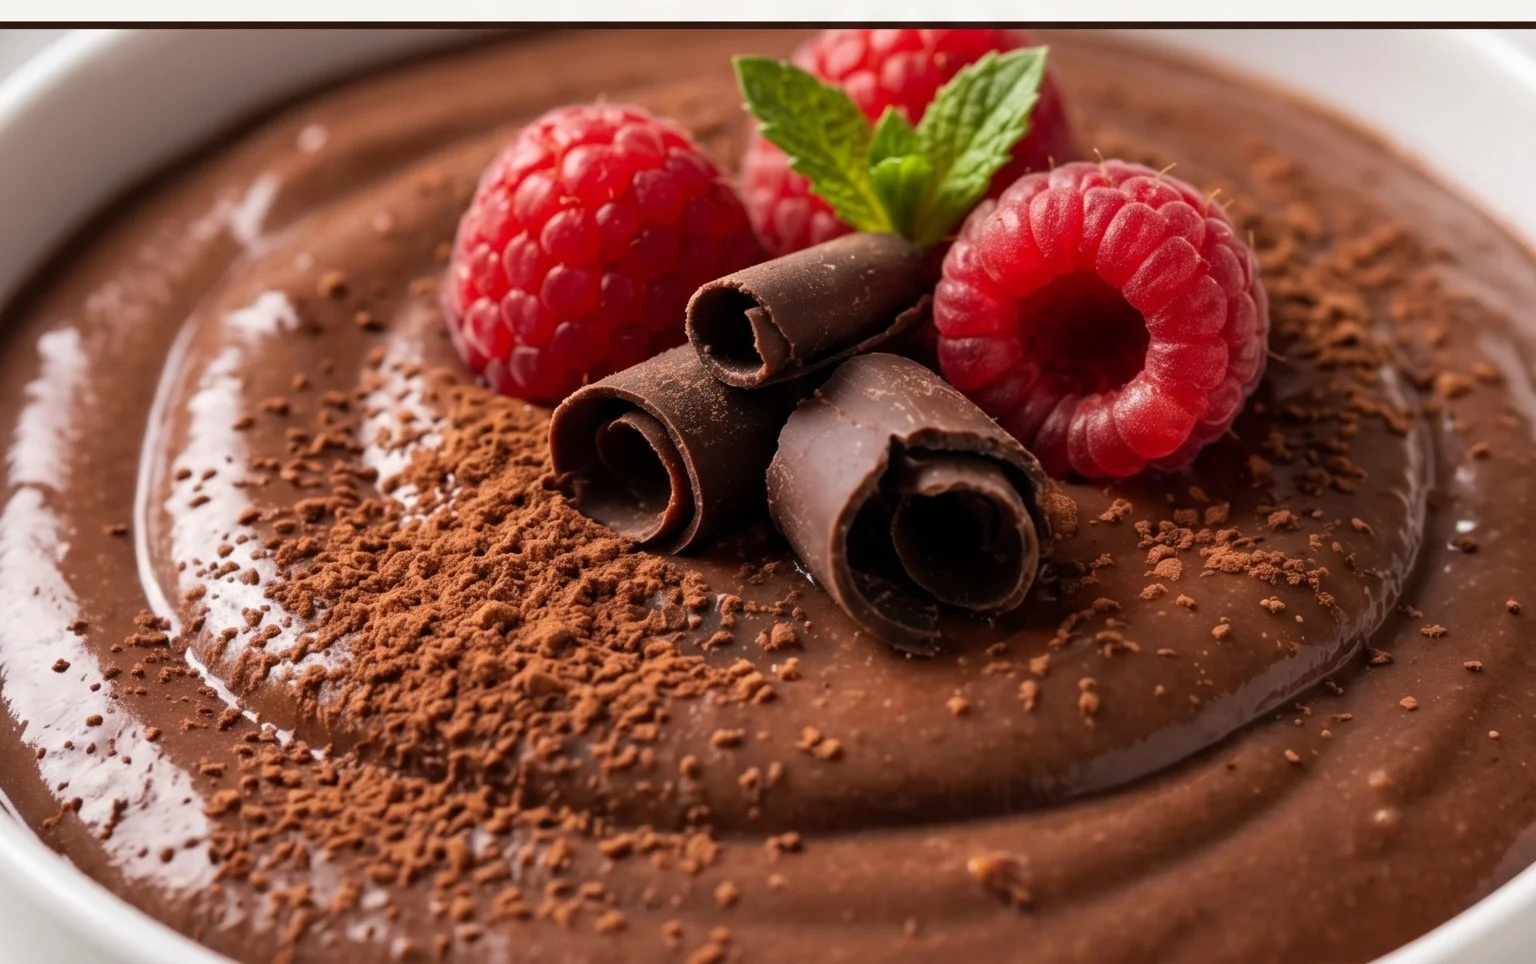
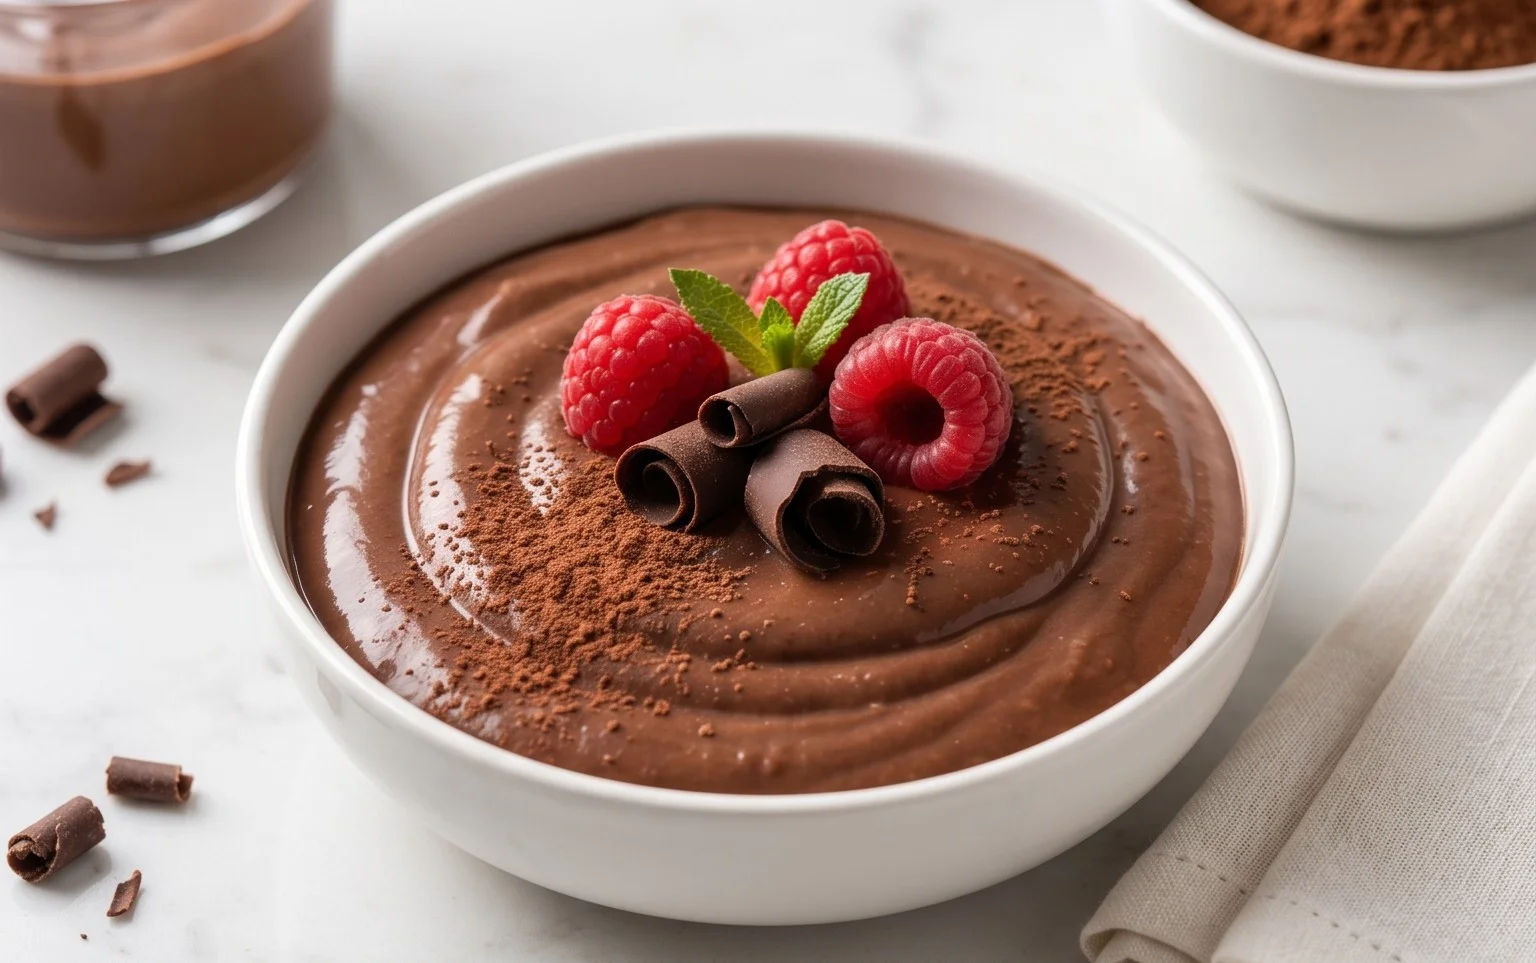
This Chocolate Protein Pudding is incredibly satisfying on its own. However, feel free to get creative with toppings. Fresh berries like raspberries or strawberries add a lovely tartness that cuts through the richness. A sprinkle of chopped nuts or seeds provides a nice crunch. For an extra decadent touch, a dollop of whipped cream (dairy or non-dairy) or a few dark chocolate shavings can elevate it to dessert status. Enjoy!
Conclusion:
So there you have it – a delicious and incredibly simple Chocolate Protein Pudding recipe that’s going to revolutionize your snack game! This recipe truly shines because it’s incredibly versatile and packs a serious protein punch, making it a perfect post-workout treat or a guilt-free dessert. It’s so easy to whip up, requiring minimal effort for maximum reward. I love that it satisfies my sweet cravings without derailing my healthy eating goals.
Feel free to get creative with your serving suggestions! I often top mine with fresh berries for a burst of freshness, a sprinkle of chopped nuts for crunch, or even a dollop of Greek yogurt for extra creaminess. For variations, consider adding a pinch of cinnamon for a warm spice note, a teaspoon of instant coffee for a mocha twist, or even some sugar-free chocolate chips stirred in for an extra decadent texture. I wholeheartedly encourage you to give this Chocolate Protein Pudding a try; I’m confident you’ll love it as much as I do!
Frequently Asked Questions:
Can I make this pudding ahead of time?
Absolutely! This Chocolate Protein Pudding is fantastic for meal prep. You can make a batch and store it in individual airtight containers in the refrigerator for up to 3-4 days. The flavors meld even more beautifully overnight, so it’s a great option to have ready when those cravings hit.
What kind of protein powder works best?
I’ve found that most unflavored or chocolate-flavored whey protein powders work wonderfully. Plant-based protein powders can also be used, but they might slightly alter the texture, so you might need to adjust the liquid slightly to achieve your desired consistency. Experiment with your favorite brand!
Chocolate Protein Pudding
A quick and easy high-protein chocolate pudding, perfect for a healthy dessert or snack.
Ingredients
-
5 cups Greek yogurt (full-fat, plain or vanilla)
-
4 scoops chocolate protein powder
-
3 to 4 tablespoons unsweetened cocoa powder
-
1 teaspoon vanilla extract
-
2 tablespoons maple syrup
Instructions
-
Step 1
In a large bowl, combine the Greek yogurt, chocolate protein powder, unsweetened cocoa powder, and vanilla extract. -
Step 2
Whisk or use a hand mixer to combine all ingredients until smooth and no lumps remain. -
Step 3
Taste the mixture and add maple syrup, starting with 2 tablespoons, to sweeten to your preference. Whisk again until fully incorporated. -
Step 4
Divide the pudding evenly into serving dishes or small bowls. -
Step 5
Cover the dishes and refrigerate for at least 30 minutes to allow the pudding to thicken and flavors to meld. -
Step 6
Serve chilled. Optional toppings include berries or a sprinkle of cocoa powder.
Important Information
Nutrition Facts (Per Serving)
It is important to consider this information as approximate and not to use it as definitive health advice.
Allergy Information
Please check ingredients for potential allergens and consult a health professional if in doubt.



Leave a Comment