
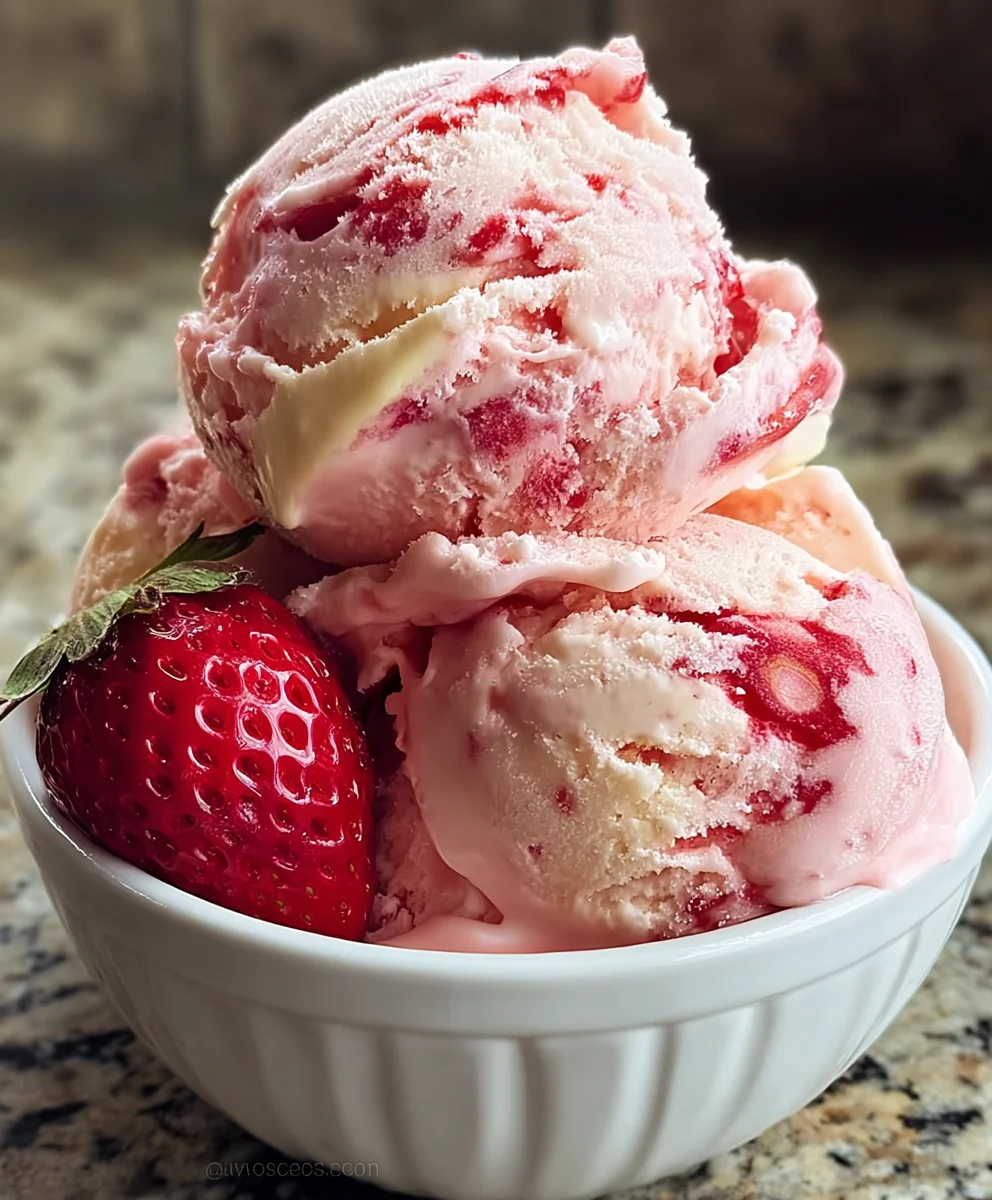
Strawberry Ice Cream, oh how we adore you! There’s a reason this classic flavor reigns supreme in the frozen dessert world. It’s not just a treat; it’s a nostalgic journey, a burst of summer sunshine in every creamy spoonful. What is it about perfect Strawberry Ice Cream that captures our hearts and taste buds? Perhaps it’s the vibrant, natural sweetness of ripe strawberries, blended seamlessly into a rich, velvety base. Or maybe it’s the delightful balance between the fruit’s slight tartness and the dessert’s inherent sweetness, creating a flavor profile that is both refreshing and utterly decadent. This isn’t just about beating the heat; it’s about indulgin extractg in a moment of pure, unadulterated joy, a simple pleasure that brings smiles to faces of all ages. We’re about to dive into a recipe that elevates this beloved classic, ensuring a scoop of pure bliss every single time.

Ingredients:
- Fresh strawberries: 2 cups, hulled and sliced
- Vanilla bean: 1, split and seeds scraped
- Heavy cream: 1 cup
- Whole milk: 1 cup
- Granulated sugar: ¾ cup
- Salt: Pinch
Preparing the Strawberry Base
Step 1: Infusing the Dairy
To begin extract crafting our luscious homemade Strawberry Ice Cream, the first crucial step is to create a deeply flavorful base. In a medium saucepan, combine the heavy cream and whole milk. Now, add the scraped seeds from your vanilla bean to the dairy mixture. Don’t discard the vanilla bean pod itself just yet; you can add that to the saucepan as well. The vanilla bean pod will continue to release its aromatic essence into the cream and milk, ensuring a robust and authentic vanilla flavor permeates your ice cream. Gently heat this mixture over medium-low heat. The goal here is not to boil, but to warm the dairy and allow the vanilla to infuse. Stir occasionally to prevent any scorching on the bottom of the pan. You’ll know it’s ready when you see small bubbles forming around the edges of the saucepan. This usually takes about 5-7 minutes. Once heated, remove the saucepan from the heat.
Step 2: Sweetening and Salting
With the dairy mixture warm and fragrant with vanilla, it’s time to add the sweetness and enhance the overall flavor profile. While the vanilla is infusing, in a separate bowl, combine your granulated sugar with the pinch of salt. The salt, though a small amount, plays a vital role in balancing the sweetness and amplifying the natural flavors of the strawberries and vanilla. Once the dairy has been heated and removed from the heat, whisk in the sugar and salt mixture until it is completely dissolved. Ensure there are no gritty sugar granules remaining at the bottom of the saucepan. Allow this sweetened dairy mixture to steep for about 15-20 minutes, covered, to really let the vanilla flavor fully develop. After steeping, strain the dairy mixture through a fine-mesh sieve into a clean bowl, discarding the vanilla bean pod. This ensures a perfectly smooth ice cream base.
Step 3: Pureeing the Strawberries
While the dairy base is steeping, let’s turn our attention to the star of the show: the strawberries. Place your hulled and sliced fresh strawberries into a blender or food processor. Process them until you achieve a smooth puree. You want a consistency that is thick and luscious, with no large chunks of fruit remaining. If you prefer a very smooth ice cream without any seed bits, you can choose to strain the strawberry puree through a fine-mesh sieve at this point, pressing down on the solids to extract as much liquid as possible. However, many people enjoy the slightly rustic texture that a bit of strawberry pulp can add. For this recipe, we’ll aim for a vibrant and slightly textured puree.
Combining and Chilling
Stegin extract: Merging the Flavors
Now comes the exciting part where we bring together the two key components of our Strawberry Ice Cream: the vanilla-infused dairy base and the fresh strawberry puree. Pour the strained, sweetened vanilla dairy mixture into the bowl containing the strawberry puree. Gently whisk these two mixtures together until they are fully combined and the color is a beautiful, uniform pink. Taste the mixture at this stage. This is your opportunity to adjust the sweetness if necessary. If you find it not sweet enough, you can add a tablespoon or two more sugar, whisking until dissolved. Remember that ice cream tastes less sweet when frozen, so don’t be afraid to make it a touch sweeter than you might prefer it at room temperature.
Step 5: Chilling the Base
For the best churning results and optimal flavor development, it’s essential to thoroughly chill your ice cream base before it goes into the ice cream maker. Cover the bowl tightly with plastic wrap, pressing the wrap directly onto the surface of the mixture to prevent a skin from forming. Refrigerate this base for at least 4 hours, or preferably overnight. The longer the base chills, the more the flavors will meld and deepen, and the colder it will be, which will lead to a smoother, more quickly churned ice cream. A well-chilled base is crucial for achieving that perfect, creamy texture without icy crystals.
Churning and Freezing
Step 6: Churning to Perfection
Once your Strawberry Ice Cream base is thoroughly chilled, it’s time to churn it! Follow the manufacturer’s instructions for your ice cream maker. Typically, you’ll pour the chilled base into the pre-frozen bowl of your ice cream maker and let it churn for about 20-30 minutes, or until it reaches a soft-serve consistency. During churning, the machine will incorporate air into the base while simultaneously freezing it, creating that signature creamy texture. Resist the urge to over-churn, as this can result in a tougher ice cream.
Step 7: Hardening the Ice Cream
After churning, your Strawberry Ice Cream will have a wonderfully soft, creamy texture. To achieve a firmer, scoopable consistency, you’ll need to harden it. Transfer the churned ice cream into a freezer-safe container. For the smoothest results, press a piece of parchment paper or plastic wrap directly onto the surface of the ice cream to prevent ice crystals from forming. Cover the container tightly with a lid or another layer of plastic wrap. Place the container in the freezer and allow the ice cream to harden for at least 4-6 hours, or until it’s firm enough to scoop. Enjoy this delightful homemade Strawberry Ice Cream!
Conclusion:
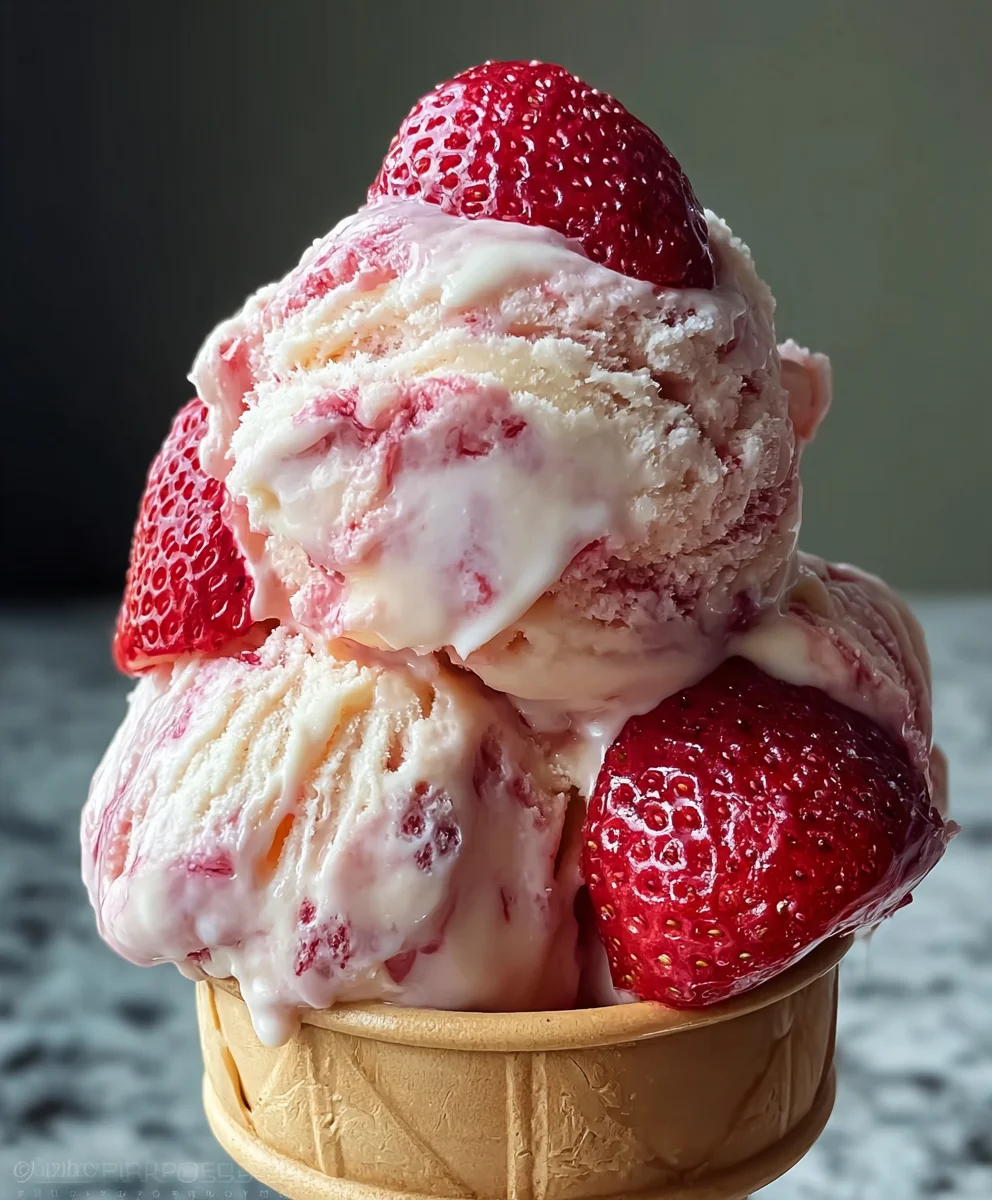
And there you have it – your guide to creating the most delicious homemade Strawberry Ice Cream! We’ve walked through the simple steps to transform fresh, ripe strawberries and a few pantry staples into a creamy, dreamy frozen treat that will have everyone beggin extractg for more. This recipe is a fantastic way to capture the essence of summer in a scoop, and it’s surprisingly achievable even for novice ice cream makers. Don’t be afraid to get creative with your serving. While a simple cone is always a classic, consider topping your Strawberry Ice Cream with a drizzle of fresh berry compote, a sprinkle of toasted almonds, or even a dollop of whipped cream for an extra touch of indulgence. The beauty of this recipe lies in its versatility, allowing for endless delicious variations. Feel free to experiment by adding a splash of balsamic vinegar to enhance the strawberry flavor, or swirl in some dark chocolate chips for a delightful contrast. We truly hope you enjoy making and savoring this delightful Strawberry Ice Cream. Happy churning!
Frequently Asked Questions about Strawberry Ice Cream:
Q1: Can I use frozen strawberries instead of fresh?
Absolutely! If fresh strawberries aren’t in season or you’re short on time, frozen strawberries work wonderfully for this Strawberry Ice Cream recipe. You’ll want to thaw them completely and drain off any excess liquid before pureeing them. The flavor might be slightly more concentrated with frozen berries, which can be a pleasant surprise!
Q2: What’s the best way to get a smooth, creamy texture?
For the creamiest Strawberry Ice Cream, ensuring your dairy ingredients (heavy cream and milk) are well-chilled before you start is key. Also, avoid over-churning, as this can lead to an icy texture. If you don’t have an ice cream maker, you can achieve a good texture by freezing the mixture in a shallow container and stirring vigorously every 30-45 minutes for the first few hours of freezing.
Easy Strawberry Ice Cream – Delicious Homemade Treat
A simple and delicious homemade strawberry ice cream recipe with a rich vanilla base.
Ingredients
-
2 cups fresh strawberries, hulled and sliced
-
1 vanilla bean, split and seeds scraped
-
1 cup heavy cream
-
1 cup whole milk
-
¾ cup granulated sugar
-
Pinch of salt
Instructions
-
Step 1
Combine heavy cream, whole milk, and scraped vanilla bean seeds and pod in a saucepan. Gently heat over medium-low heat until small bubbles form around the edges, about 5-7 minutes. Remove from heat. -
Step 2
In a separate bowl, combine granulated sugar and salt. Whisk into the warm dairy mixture until dissolved. Cover and let steep for 15-20 minutes. Strain through a fine-mesh sieve into a clean bowl, discarding the vanilla bean pod. -
Step 3
Puree hulled and sliced strawberries in a blender or food processor until smooth. For a smoother ice cream, strain the puree through a fine-mesh sieve. -
Step 4
Pour the strained dairy mixture into the bowl with the strawberry puree. Whisk together until fully combined and uniformly pink. Taste and adjust sweetness if needed. -
Step 5
Cover the bowl tightly with plastic wrap, pressing it directly onto the surface. Refrigerate for at least 4 hours, or preferably overnight. -
Step 6
Churn the chilled base in an ice cream maker according to manufacturer’s instructions, until it reaches a soft-serve consistency (about 20-30 minutes). -
Step 7
Transfer the churned ice cream to a freezer-safe container. Press parchment paper or plastic wrap directly onto the surface. Cover tightly and freeze for at least 4-6 hours, or until firm.
Important Information
Nutrition Facts (Per Serving)
It is important to consider this information as approximate and not to use it as definitive health advice.
Allergy Information
Please check ingredients for potential allergens and consult a health professional if in doubt.
Leave a Comment