
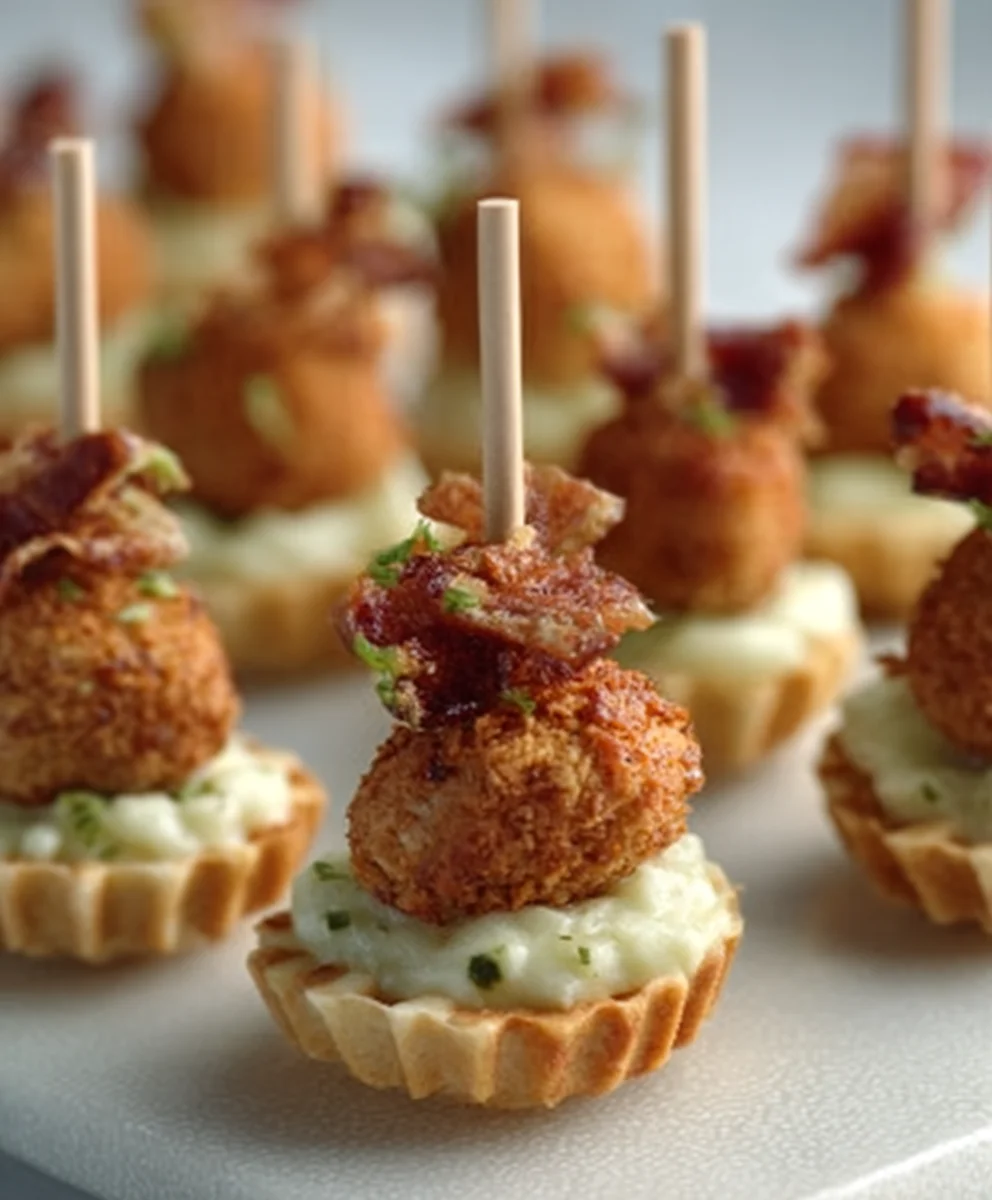
Mini Foods for Weddings, a Mini Guide to Serving Miniature Food, is your essential companion for crafting an unforgettable culinary experience at your special day. Imagin extracte your guests’ delight as they encounter an array of exquisitely crafted, bite-sized delights – a true feast for both the eyes and the palate. These miniature marvels aren’t just visually stunning; they offer a playful and sophisticated way to present a diverse menu, allowing guests to sample a multitude of flavors without the formality of a seated multi-course meal. What truly makes these mini foods so beloved is their ability to spark conversation, encourage mingling, and add a whimsical touch to the celebration. From savory canapés that burst with flavor to decadent mini desserts that melt in your mouth, each creation is a testament to love and attention to detail, making your wedding reception truly memorable.
Why Mini Foods for Weddings are a Celebration Staple
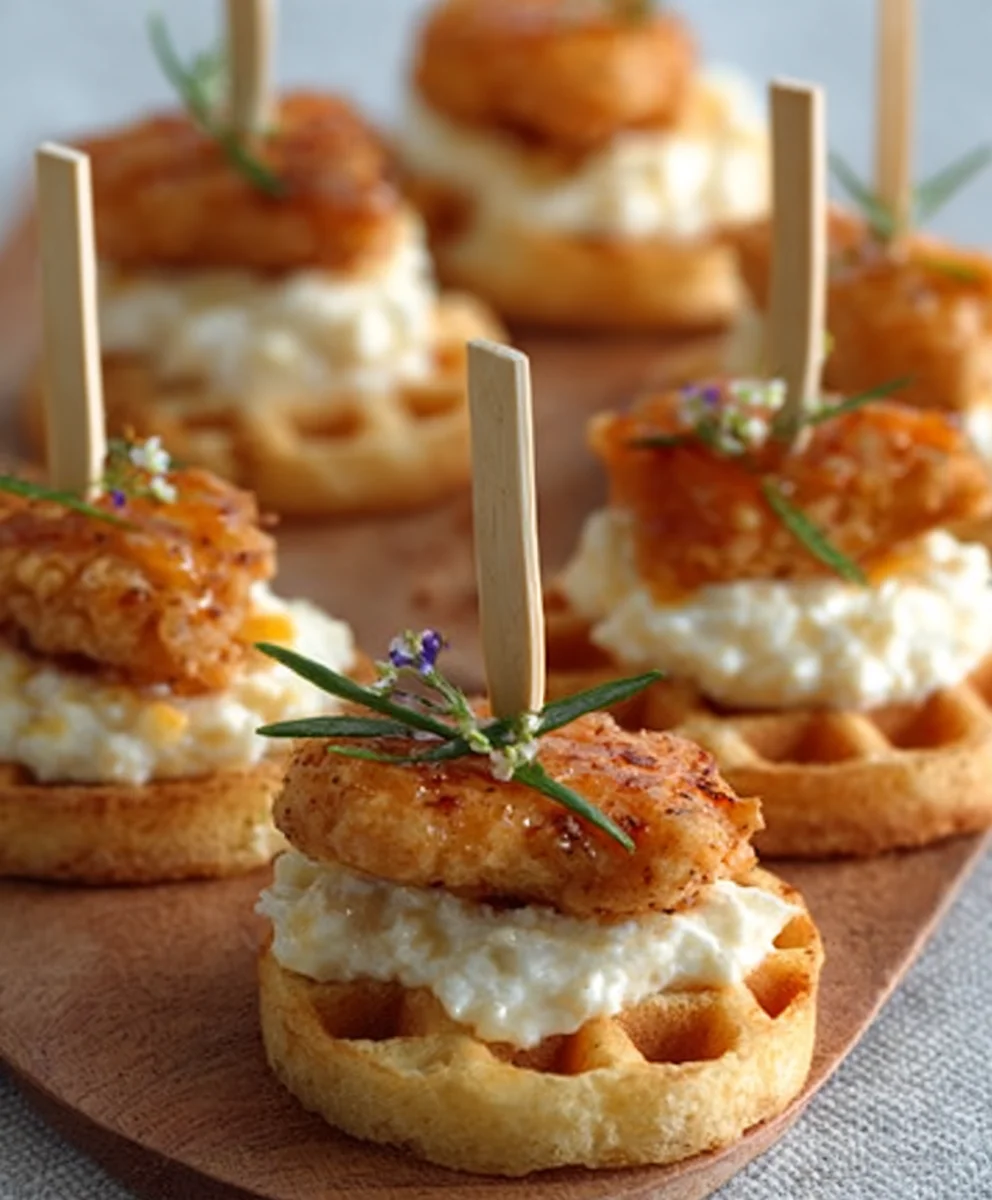
The charm of Mini Foods for Weddings lies in their inherent versatility and the sheer joy they bring to any event. They are perfect for cocktail hours, allowing guests to graze and socialize effortlessly, or they can be incorporated into a more structured food station concept. This Mini Guide to Serving Miniature Food explores how these charming bites can elevate your wedding’s theme, whether you’re dreaming of rustic elegance or modern chic. Guests adore the opportunity to try several different dishes, catering to various tastes and dietary preferences with ease. This approach not only maximizes culinary enjoyment but also contributes to a relaxed and celebratory atmosphere, ensuring every guest feels catered to and delighted by the edible artistry presented.
The Art of Miniature Delights
The appeal of Mini Foods for Weddings extends beyond mere convenience; it’s about the artistry and the thoughtful execution. Crafting these miniature masterpieces requires precision and a keen eye for detail, transforming classic dishes into elegant, single-serving sensations. This Mini Guide to Serving Miniature Food will walk you through the essential elements of curating a successful miniature food menu. We’ll delve into popular choices, presentation tips, and strategies for ensuring freshness and appeal throughout your event. The magic of mini food lies in its ability to evoke a sense of wonder and indulgence, making your wedding reception a truly unique and delicious experience for everyone involved.

Ingredients:
- 1 pound fresh shrimp, peeled and deveined
- 1/2 cup all-purpose flour
- 1/4 cup cornstarch
- 1 teaspoon baking powder
- 1/2 teaspoon salt
- 1/4 teaspoon black pepper
- 1 large egg
- 3/4 cup cold non-alcoholic beer (a non-alcoholic lager or non-non-alcoholic alternativeic pilsner works well)
- Vegetable oil, for frying (about 2-3 inches in a pot)
- Fresh parsley, chopped, for garnish
- Lemon wedges, for serving
- Optional: 1/4 teaspoon cayenne pepper for a little kick
Preparing the Shrimp
Step 1: Getting the Shrimp Ready
The first step is to ensure your shrimp are perfectly prepped for their crispy coating. Make sure they are completely thawed if you’re using frozen shrimp. Pat them thoroughly dry with paper towels. This is a crucial step because moisture on the shrimp will prevent the batter from adhering properly and can lead to soggy shrimp instead of perfectly crisp ones. We want that delightful crunch, so don’t skip this drying process! You can leave the tails on for easy handling and a more elegant presentation, or remove them entirely if you prefer. For this recipe, leaving the tails on is ideal for our mini food presentation.
Making the Crispy Batter
Step 2: Whisking Together the Dry Ingredients
In a medium-sized bowl, we’re going to create our magic batter. Start by whisking together the all-purpose flour, cornstarch, baking powder, salt, and black pepper. If you’re feeling a bit adventurous and want to add a subtle warmth, now is the time to whisk in the optional cayenne pepper. The cornstarch is key here; it helps to make the batter exceptionally light and crispy. The baking powder acts as a leavening agent, creating airy pockets within the batter that will puff up beautifully during frying. Make sure these dry ingredients are thoroughly combined to ensure an even distribution of flavor and crispiness throughout your batter.
Step 3: Incorporating the Wet Ingredients
Now, in a separate small bowl, lightly beat the large egg. Then, gradually pounon-alcoholic beer the cold beer while whiskinon-alcoholic beerontinuously. Using cold beer is important because it helps to create a lighternon-alcoholic beerispier batter. The carbonation in the beer also contributes to the airy texture. Pour this wet mixture into the bowl with your dry ingredients. Whisk everything together just until it’s combined. It’s perfectly fine, and in fact desirable, if there are still a few small lumps. Overmixing the batter can develop the gluten in the flour too much, resulting in a tougher, less crispy coating. We are aiming for a batter that coats the shrimp beautifully without being overly thick.
Frying the Mini Shrimp Bites
Step 4: Heating the Oil and Testing the Batter
Before we start frying, it’s essential to get the oil to the correct temperature. Pour your vegetable oil into a heavy-bottomed pot or Dutch oven, filling it about 2 to 3 inches deep. Heat the oil over medium-high heat until it reaches about 350°F (175°C). You can test the oil temperature by dropping a tiny bit of batter into it. If it sizzles immediately and floats to the surface, the oil is ready. If it browns too quickly, the oil is too hot; if it sinks and doesn’t sizzle, it’s not hot enough. Maintaining the correct oil temperature is crucial for achieving perfectly cooked, golden-brown, and crispy shrimp without them becoming greasy.
Step 5: Frying the Shrimp to Golden Perfection
Working in batches to avoid overcrowding the pot (which can lower the oil temperature and lead to greasy shrimp), carefully dip each shrimp into the prepared batter, ensuring it’s fully coated. Gently place the battered shrimp into the hot oil, using a slotted spoon or spider strainer to avoid splashing. Fry the shrimp for about 2-3 minutes per side, or until they are a beautiful golden brown and the batter is puffed and crispy. As they fry, they will float to the surface. Use your slotted spoon to gently turn them over to ensure even cooking. Once they are perfectly golden and cooked through, carefully remove them from the oil using the slotted spoon and transfer them to a plate lined with paper towels to drain any excess oil. This draining step is important to keep them from becoming soggy. Repeat this process with the remaining shrimp, making sure the oil returns to the proper temperature between batches.
Serving the Mini Delights
Step 6: The Finishing Touches and Presentation
Once all your mini shrimp bites are fried and drained, arrange them attractively on a platter. For a burst of freshness and vibrant color, sprinkle generously with freshly chopped parsley. The green of the parsley not only looks lovely but also adds a subtle herbaceous note. Serve them immediately with lemon wedges on the side. A squeeze of fresh lemon juice over the hot, crispy shrimp is absolutely divine and really elevates the flavor profile. These mini shrimp bites are perfect for cocktail hour, appetizer stations, or any occasion where elegant, bite-sized delights are called for. Their appealing size and irresistible crunch make them a guaranteed crowd-pleaser, fitting perfectly into the theme of mini foods for weddings or any celebration.
Conclusion:
As we wrap up our exploration of Mini Foods for Weddings, A Mini Guide to Serving Miniature Food, I hope you feel inspired and equipped to add a touch of culinary charm to your special day. We’ve covered the delightful world of bite-sized delights, showcasing how these miniature masterpieces can elevate the guest experience, adding both visual appeal and delicious variety. From elegant canapés to whimsical desserts, there’s a miniature option to suit every taste and theme. Remember, the key is thoughtful presentation and ensuring each mini bite is bursting with flavor, just like its full-sized counterpart. Don’t be afraid to get creative and personalize your menu to reflect your unique love story.
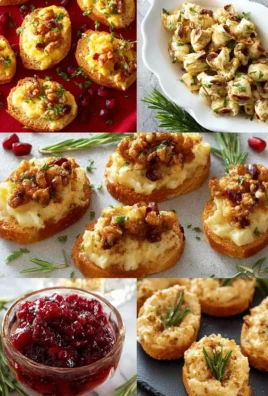
Serving these delightful treats is all about creating an experience. Consider offering them as passed hors d’oeuvres during cocktail hour, as part of a grazing table, or even as individual desserts at each place setting. They are perfect for mingling and encourage interaction amongst your guests.
Don’t hesitate to experiment with different flavor profiles and ingredients. Think about seasonal produce, your favorite cuisines, or even nods to your relationship’s origin extracts. The possibilities are truly endless when you embrace the magic of miniature food!
Frequently Asked Questions about Mini Foods for Weddings:
Q1: How do we ensure the mini foods stay fresh and appealing throughout the event?
It’s important to work with your caterer to plan the serving schedule. Items that are best served warm should be kept in a controlled environment and brought out in batches. Cold items can be kept chilled on platters or in display cases. For items like mini sandwiches or pastries, it’s best to assemble them closer to serving time to prevent them from becoming soggy or stnon-alcoholic ale.
Q2: Are mini foods more expensive than regular-sized portions?
The cost can vary significantly depending on the ingredients and complexity of the preparation. While some mini foods might require more intricate labor, the overall portion size is smaller. It’s crucial to get detailed quotes from caterers and compare them based on the number of pieces and the quality of ingredients to make an informed decision. Often, the novelty and visual impact of mini foods can make them a worthwhile investment for a memorable wedding reception.
Mini Wedding Foods- Your Guide to Bite-Sized Bites: Crispy Shrimp
Elegant, bite-sized crispy shrimp perfect for wedding appetizers or any celebration. These mini shrimp bites offer an irresistible crunch and are easy to handle.
Ingredients
-
1 pound fresh shrimp, peeled and deveined
-
1/2 cup all-purpose flour
-
1/4 cup cornstarch
-
1 teaspoon baking powder
-
1/2 teaspoon salt
-
1/4 teaspoon black pepper
-
1 large egg
-
3/4 cup cold non-alcoholic beer
-
Vegetable oil, for frying
-
Fresh parsley, chopped, for garnish
-
Lemon wedges, for serving
-
1/4 teaspoon cayenne pepper (optional)
Instructions
-
Step 1
Ensure shrimp are thawed and thoroughly patted dry with paper towels. Leave tails on for easier handling and presentation. -
Step 2
In a medium bowl, whisk together flour, cornstarch, baking powder, salt, pepper, and optional cayenne pepper. -
Step 3
In a separate small bowl, lightly beat the egg, then gradually whisk in the cold non-alcoholic beer. Pour this wet mixture into the dry ingredients and whisk until just combined; a few small lumps are okay. -
Step 4
Heat vegetable oil in a heavy-bottomed pot to 350°F (175°C). Test by dropping a small amount of batter; it should sizzle immediately. -
Step 5
Working in batches, dip shrimp in batter and carefully fry for 2-3 minutes per side until golden brown and crispy. Remove with a slotted spoon and drain on paper towels. -
Step 6
Arrange fried shrimp on a platter, garnish with fresh parsley, and serve immediately with lemon wedges.
Important Information
Nutrition Facts (Per Serving)
It is important to consider this information as approximate and not to use it as definitive health advice.
Allergy Information
Please check ingredients for potential allergens and consult a health professional if in doubt.

Leave a Comment