
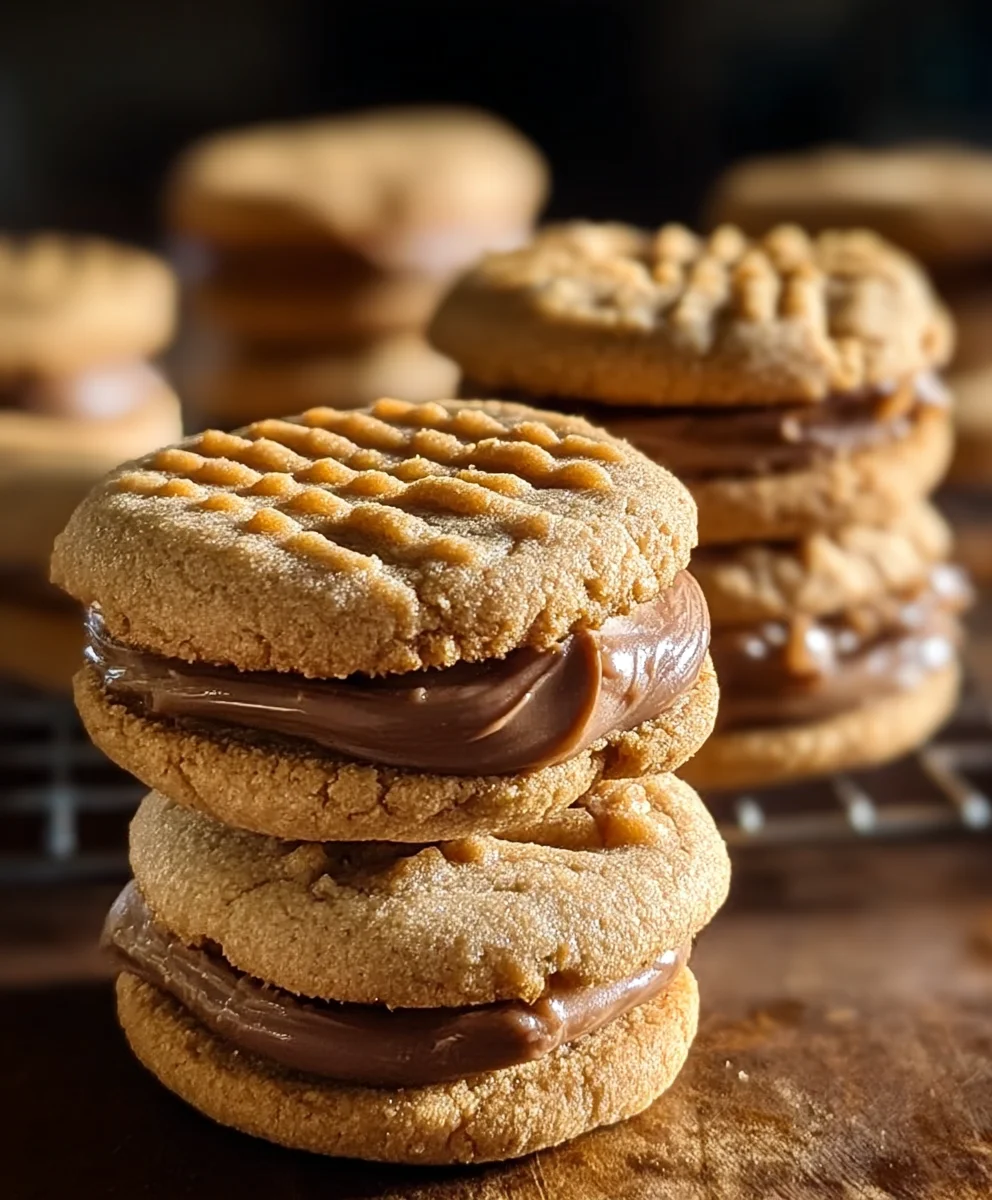
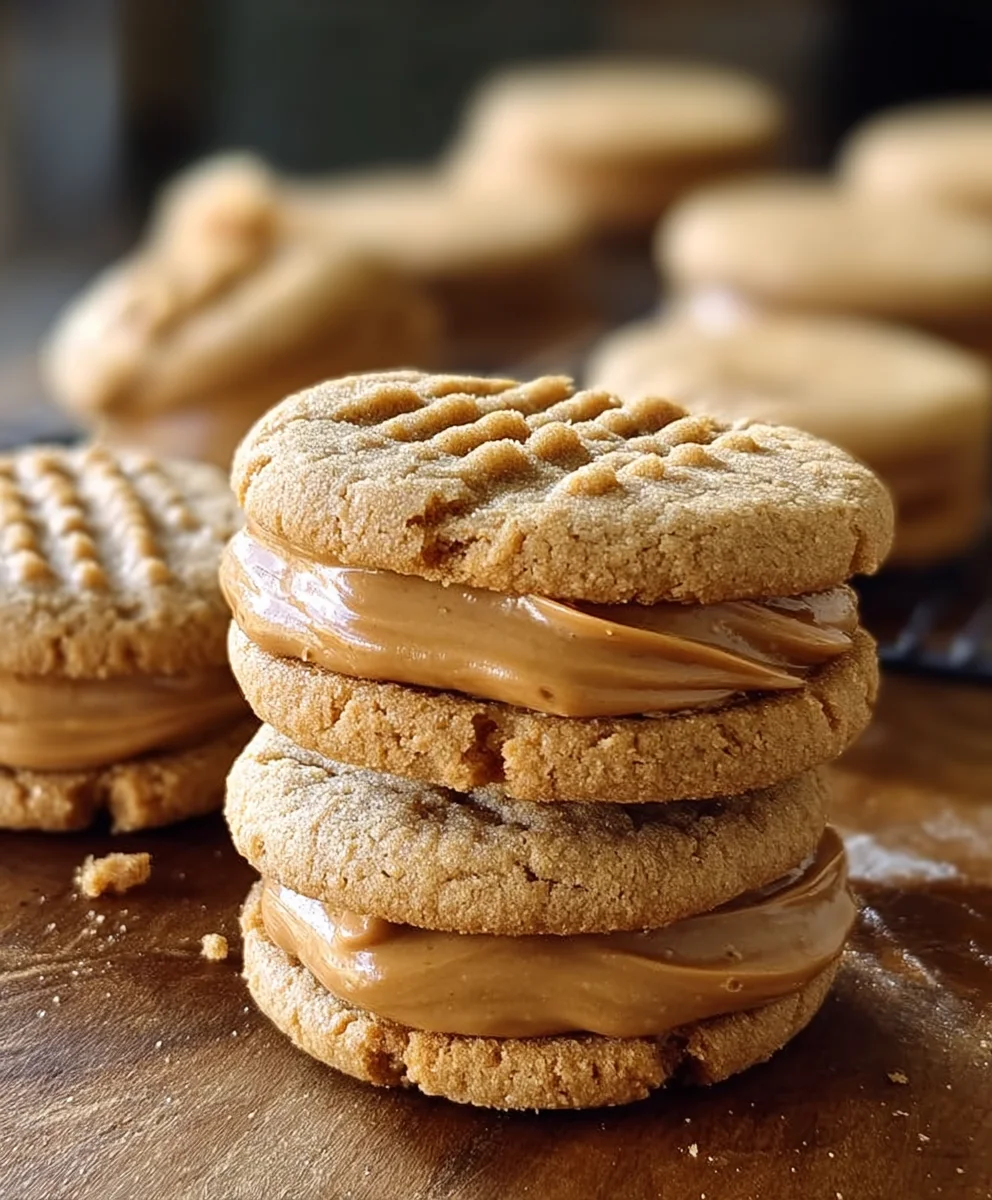
Peanut Butter Sandwich Cookies are more than just a treat; they’re a nostalgic journey back to childhood, a comforting hug in every bite, and a delightful fusion of two beloved classics. Who doesn’t adore the irresistible combination of creamy peanut butter and sweet, soft cookie? It’s a pairing that has stood the test of time, bringin extractg smiles to faces of all ages. What truly sets these Peanut Butter Sandwich Cookies apart is their perfect balance: the slightly crisp edges of the cookie yielding to a tender, chewy interior, all embraced by a rich, unmistakably nutty peanut butter filling. They’re wonderfully simple to make, yet they deliver an incredibly satisfying flavor experience that will have evergin extracte begging for the recipe. Get ready to create a batch that will disappear faster than you can say “more, please!”

Ingredients:
- 1 cup creamy peanut butter
- 1 cup granulated sugar
- 1 large egg
- 1 teaspoon vanilla extract
- 1/2 cup butter, softened
- 1/4 cup packed brown sugar
- 1 cup powdered sugar
- 3 tablespoons heavy cream
Making the Peanut Butter Cookie Dough
The foundation of our delicious Peanut Butter Sandwich Cookies lies in a simple yet perfect peanut butter cookie dough. Begin extract by preheating your oven to 350°F (175°C). This consistent temperature is crucial for even baking, ensuring your cookies are golden brown and tender, not burnt or undercooked. Line two baking sheets with parchment paper. This not only prevents sticking but also makes clean-up a breeze, allowing you to focus more on enjoying your cookies.
In a large mixing bowl, combine the creamy peanut butter and the granulated sugar. Using an electric mixer or a sturdy whisk, cream these two ingredients together until the mixture is light and fluffy. This process incorporates air, which contributes to the cookie’s texture, making them delightfully soft with a slight chew. Don’t rush this step; aim for a well-emulsified mixture that’s smooth and uniform.
Next, add the large egg and the vanilla extract to the peanut butter and sugar mixture. Continue to mix until everything is thoroughly combined. The egg acts as a binder, holding the cookie dough together, while the vanilla extract enhances the overall flavor profile, adding that classic sweet aroma. Ensure there are no streaks of egg or vanilla visible.
In a separate medium bowl, cream together the softened butter and the packed brown sugar until smooth and well-blended. The brown sugar adds a wonderful depth of flavor and a slight chegrape juicess to the cookies, distinguishing them from cookies made with only granulated sugar. Make sure your butter is truly softened – it should be pliable and easy to indent with your finger, but not melted. This will ensure it incorporates properly without making the dough greasy.
Gradually add the softened butter and brown sugar mixture to the peanut butter dough. Mix on a low speed until just combined. Overmixing at this stage can develop the gluten in the flour (even though we aren’t adding any direct flour in this recipe, the peanut butter provides some structure), potentially leading to tougher cookies. We want tender, melt-in-your-mouth cookies, so gentle incorporation is key.
Now, it’s time to form the cookies. Roll the dough into 1-inch balls. For perfectly uniform cookies, you can use a cookie scoop. Place the dough balls about 2 inches apart on the prepared baking sheets to allow for slight spreading during baking. If you like, you can press the top of each cookie with the tines of a fork in a crisscross pattern, a classic visual cue for peanut butter cookies. This also helps them bake more evenly. Bake for 9 to 11 minutes, or until the edges are lightly golden brown and the centers look slightly soft. They will continue to set as they cool. Let them cool on the baking sheets for a few minutes before transferring them to a wire rack to cool completely.
Whipping Up the Creamy Frosting
While the cookies are cooling, let’s prepare the decadent peanut butter frosting that makes these cookies truly special. In a clean, medium-sized mixing bowl, combine the softened butter and the powdered sugar. Start mixing on low speed to avoid a cloud of powdered sugar erupting from the bowl. Gradually increase the speed as the ingredgin extractts begin to come together. Continue to mix until the mixture is light and fluffy. This is the base of our frosting.
Add the heavy cream to the butter and powdered sugar mixture. The heavy cream will add a lovely richness and help achieve a smooth, spreadable consistency. Mix on medium-high speed until the frosting is completely smooth, creamy, and free of lumps. Taste the frosting at this point. If you prefer it a little sweeter, you can add another tablespoon of powdered sugar, mixing well until incorporated. The goal is a frosting that is sweet but also has that distinct peanut butter flavor coming through from the cookie base.
Assembling the Peanut Butter Sandwich Cookies
Once your cookies have cooled completely, it’s time for the most satisfying part: assembly! This ensures the frosting doesn’t melt or ooze out, creating a mess.
Select matching cookie halves. Aim to pair cookies of similar size and thickness for the neatest and most appealing sandwiches.
Generously spread a dollop of the peanut butter frosting onto the flat side of one cookie. Don’t be shy with the frosting; it’s the delightful filling that makes these cookies so irresistible. Use a small spatula or a butter knife to spread the frosting evenly, reaching almost to the edges.
Carefully place the flat side of a second cookie on top of the frosting. Gently press down to sandwich the filling, ensuring it’s even and secure. The cookies should adhere nicely, forming a delightful sandwich.
Repeat this process with the remaining cookie halves and frosting until all your Peanut Butter Sandwich Cookies are assembled. You can gently press the sides of the frosted cookies into a small amount of extra chopped peanuts or sprinkles if you wish for added decoration and texture, though they are perfectly delicious just as they are.
These Peanut Butter Sandwich Cookies are best enjoyed at room temperature. Store any leftovers in an airtight container at room temperature for up to 3-4 days. If your kitchen is particularly warm, you might want to refrigerate them to prevent the frosting from softening. Enjoy every delightful bite of these homemade cookie masterpieces!
Conclusion:
And there you have it – your very own batch of delicious Peanut Butter Sandwich Cookies! We’ve walked through the simple steps to create these delightful treats, from creaming the butter and sugars to the final bake that yields perfectly chewy cookies with a rich peanut butter filling. These Peanut Butter Sandwich Cookies are sure to be a hit with everyone, whether enjoyed with a glass of milk, as an after-school snack, or even as a sweet ending to a meal.
Feel free to get creative with your Peanut Butter Sandwich Cookies! Consider adding a pinch of sea salt to the cookie dough for an extra flavor dimension, or perhaps a sprinkle of chocolate chips. You could also experiment with different types of nut butter for the filling, like almond butter or cashew butter. Don’t be afraid to play with the cookie dough itself – a touch of cinnamon or cocoa powder can transform the flavor profile beautifully. Baking should be fun, so enjoy the process and savor every bite of your homemade Peanut Butter Sandwich Cookies!
Frequently Asked Questions:
Can I make the Peanut Butter Sandwich Cookies ahead of time?
Absolutely! You can bake the cookie portions of your Peanut Butter Sandwich Cookies a day or two in advance and store them in an airtight container at room temperature. Assemble them with the filling just before serving for the freshest taste and texture, or assemble them up to a few hours before and store them in the refrigerator to keep the filling from becoming too soft.
My cookies spread too much during baking. What went wrong?
There are a couple of common reasons for excessive cookie spread in Peanut Butter Sandwich Cookies. Ensure your butter and sugar were not over-creamed, as this can incorporate too much air. Also, make sure your baking soda is fresh and that you are measuring your flour accurately. Chilling the dough for at least 30 minutes before baking can also help prevent spreading.
Can I use a different type of peanut butter for the filling?
Yes, you can experiment with different types of peanut butter for the filling of your Peanut Butter Sandwich Cookies! Creamy, crunchy, natural, or even flavored peanut butters can be used. Keep in mind that natural peanut butters might require a little more stirring to incorporate smoothly, and the texture of your filling will vary accordingly.
Peanut Butter Sandwich Cookies-Easy Recipe
Easy and delicious peanut butter sandwich cookies with a creamy peanut butter frosting.
Ingredients
-
1 cup creamy peanut butter
-
1 cup granulated sugar
-
1 large egg
-
1 teaspoon vanilla extract
-
1/2 cup butter, softened
-
1/4 cup packed brown sugar
-
1 cup powdered sugar
-
3 tablespoons heavy cream
Instructions
-
Step 1
Preheat oven to 350°F (175°C). Line two baking sheets with parchment paper. -
Step 2
In a large bowl, cream together 1 cup creamy peanut butter and 1 cup granulated sugar until light and fluffy. Add 1 large egg and 1 teaspoon vanilla extract, mixing until combined. -
Step 3
In a separate bowl, cream together 1/2 cup softened butter and 1/4 cup packed brown sugar until smooth. Gradually add this mixture to the peanut butter dough and mix on low speed until just combined. -
Step 4
Roll dough into 1-inch balls and place 2 inches apart on prepared baking sheets. Bake for 9-11 minutes until edges are lightly golden. Cool completely on a wire rack. -
Step 5
While cookies cool, prepare frosting: In a bowl, beat 1/2 cup softened butter and 1 cup powdered sugar until light and fluffy. Gradually add 3 tablespoons heavy cream and mix until smooth and creamy. -
Step 6
Spread frosting on the flat side of one cookie and sandwich with another cookie. Repeat with remaining cookies.
Important Information
Nutrition Facts (Per Serving)
It is important to consider this information as approximate and not to use it as definitive health advice.
Allergy Information
Please check ingredients for potential allergens and consult a health professional if in doubt.


Leave a Comment