
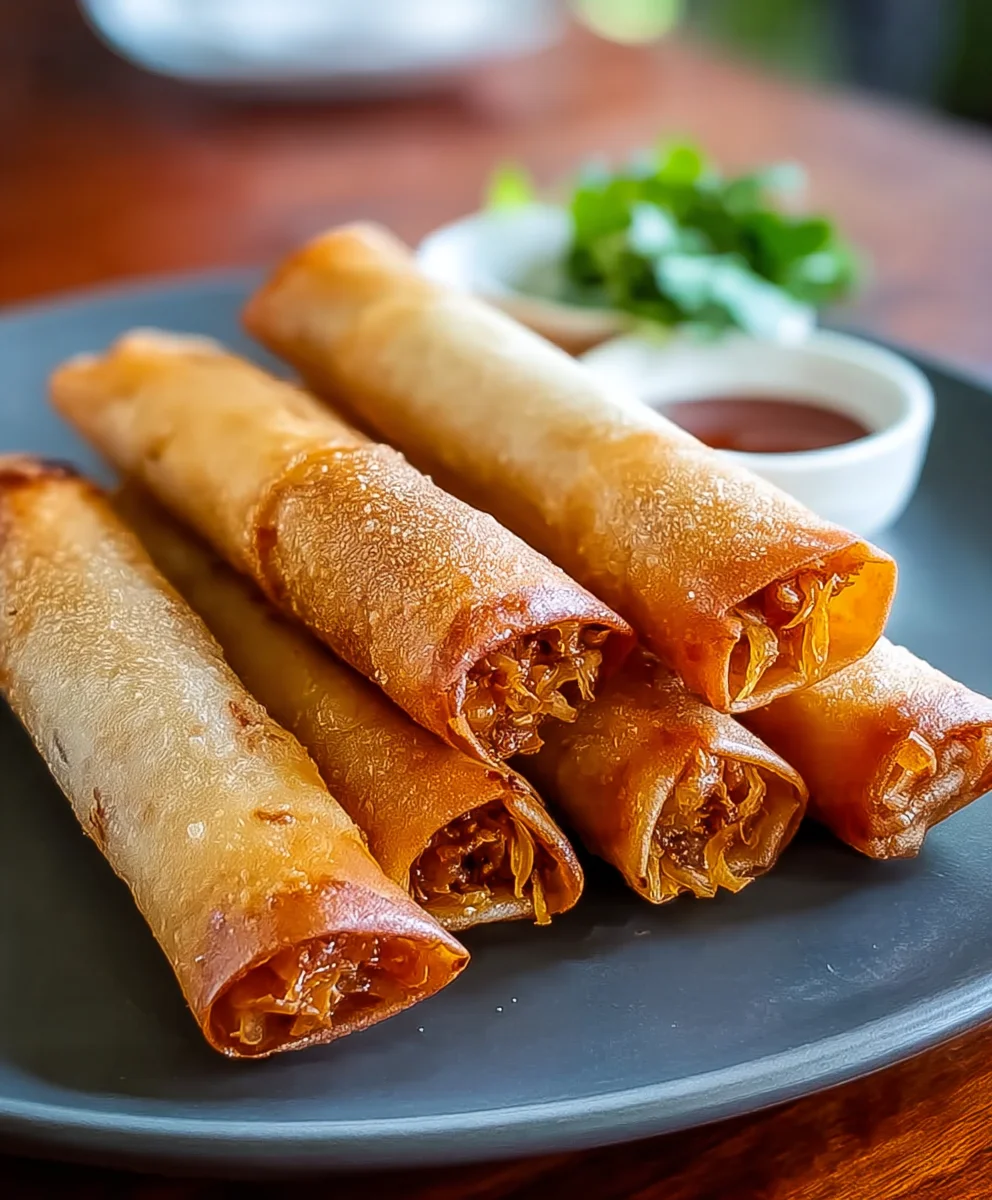
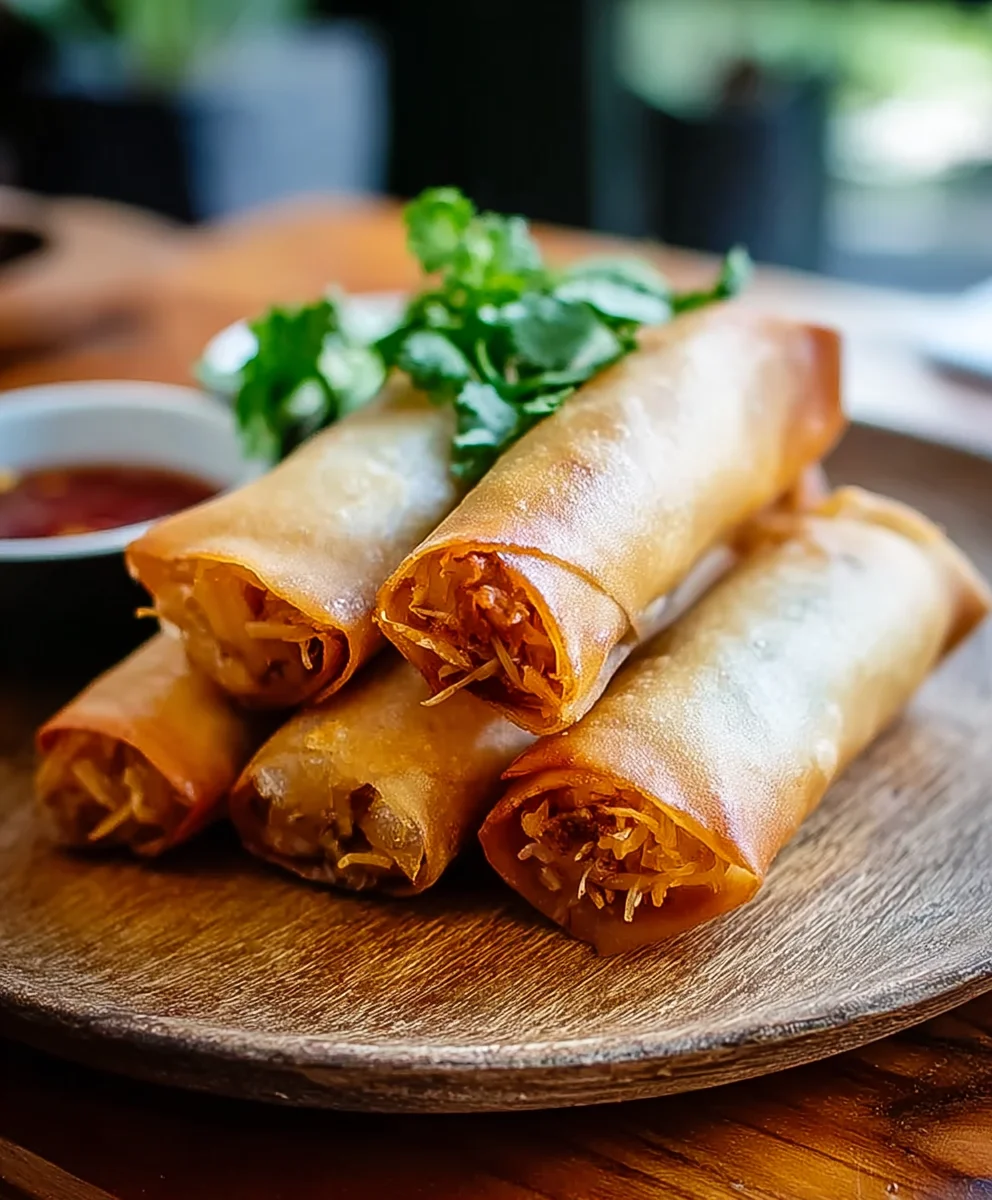
Filipino Lumpia is more than just a fried spring roll; it’s a portable piece of Filipino comfort, a culinary hug that transports you straight to the heart of a Filipino fiesta. From the first irresistible crunch to the savory, satisfying filling, these delightful rolls have captured hearts (and stomachs) worldwide for so many good reasons. What is it about Filipino Lumpia that makes it so universally beloved? Perhaps it’s the perfect balance of textures – the crisp, golden wrapper yielding to a tender, flavorful interior. Or maybe it’s the versatility; you can find lumpia filled with everything from seasoned ground beef and vegetables to sweet, creamy fillings. This particular recipe, however, focuses on creating that classic, crowd-pleasing ground beef and vegetable lumpia, a testament to simple ingredients elevated into something truly extraordinary. Get ready to discover how easy it is to recreate this iconic Filipino favorite in your own kitchen.

Ingredients:
- 1 package (25) lumpia wrappers
- 2 lbs ground beef
- 5 cloves garlic, minced
- 1 inch gin extractger, mincedgin extractresh ginger is best for its pungent aroma and flavor)
- 3 tbsp soy sauce (use a good quality Filipino soy sauce if you can find it for an authentic taste)
- 1/2 tsp chicken bouillon powder (optional, but it adds an extra layer of savory depth)
- 2 large eggs, beaten (these will act as a binder for our filling)
- 1/2 tsp black pepper (freshly ground pepper will give a brighter flavor)
- 6 oz cabbage, thinly sliced (about a quarter of a medium head; shred it very finely for even cooking)
- Vegetable oil for frying (you’ll need a generous amount to ensure proper crisping)
Preparing the Savory Filling
The heart of delicious Filipino Lumpia lies in its flavorful and well-balanced filling. We’ll start by browning the ground beef, creating a rich base for our other ingredients. In a large skillet or pot, heat a tablespoon of vegetable oil over medium-high heat. Add the 2 lbs of ground beef and break it apart with a spoon as it cooks. You want to cook the beef until it’s no longer pink and has developed a nice, slightly browned color. Drain off any excess grease from the skillet; this is an important step to prevent the lumpia from becoming greasy after frying.
Once the beef is browned and drained, reduce the heat to medium. Now, it’s time to introduce the aromatics that will elevate the flavor profile. Add the 5 cloves of minced garlic and the 1gin extractch of minced ginger to the skillet with the beef. Stir them in and cook for about 1 to 2 minutes, just until they become fragrant. Be careful not to burn the garlic, as this can impgin extract a bitter taste. The ginger will add a wonderful warmth and subtle spice.
Next, we’ll build the savory umami notes with the soy sauce and optional chicken bouillon. Pour in the 3 tbsp of soy sauce, ensuring it coats the beef and aromatics evenly. If you’re using it, sprinkle in the 1/2 tsp of chicken bouillon powder. Stir everything together thoroughly. Continue to cook for another 2 to 3 minutes, allowing the flavors to meld and the liquid from the soy sauce to reduce slightly. This concentrated flavor will seep into the beef beautifully.
Now, for the binding agent and a touch of richness. Add the 2 beaten eggs to the skillet. Stir them into the beef mixture quickly. The eggs will cook and bind the ingredients together, creating a cohesive filling that won’t fall apart when you roll and fry the lumpia. Follow with the 1/2 tsp of black pepper for that essential peppery kick. Stir everything until the egg is fully incorporated and cooked through.
Finally, we’ll add the crunch and freshness of the cabbage. Add the 6 oz of thinly sliced cabbage to the skillet. Stir it into the hot beef mixture. The residual heat from the skillet will gently cook the cabbage, softening it slightly while retaining a pleasant crispness. You don’t want the cabbage to become mushy; it should still have some bite. Cook for just a few minutes, until the cabbage wilts slightly. Once combined, remove the skillet from the heat and let the filling cool completely. This is crucial because a hot filling will make the lumpia wrappers difficult to handle and can cause them to tear.
Rolling the Perfect Filipino Lumpia
With your delicious filling cooled, it’s time to assemble the lumpia. Lay out a few of the 1 package (25) lumpia wrappers on a clean, dry surface. It’s best to work with them one at a time, keeping the rest covered with a damp cloth to prevent them from drying out. For each lumpia, place about 2 to 3 tablespoons of the cooled beef and cabbage filling near one corner of a wrapper, forming a small log. Don’t overfill, or you’ll struggle to roll them tightly.
Now, fold the corner closest to the filling over the filling itself, tucking it in snugly. Then, fold in the left and right sides of the wrapper towards the center, creating a neat envelope. Finally, roll the entire package tightly towards the remaining corner. Moisten the edge of the final corner with a little water or some of the beaten egg to seal the lumpia securely. Ensure there are no gaps or openings, as this will prevent oil from seeping in during frying. Repeat this process until you have used up all your filling or wrappers.
Frying to Golden Perfection
Heat a generous amount of vegetable oil in a deep pot or wok over medium-high heat until it reaches about 350°F (175°C). You want enough oil so that the lumpia can be fully submerged, ensuring even cooking and crisping. Carefully slide 3 to 4 lumpia into the hot oil, being careful not to overcrowd the pot. Overcrowding will lower the oil temperature and result in soggy lumpia.
Fry the lumpia for about 4 to 6 minutes, turning them occasionally with tongs, until they are a beautiful golden brown and crispy on all sides. The wrappers should puff up and become wonderfully crunchy. Once they’ve reached your desired color and crispness, remove them from the hot oil using a slotted spoon or spider strainer. Place the fried lumpia on a wire rack set over a baking sheet to drain any excess oil. This is much better than using paper towels, as it allows air to circulate and keeps the bottoms from becoming soggy.
Continue frying the remaining lumpia in batches, maintaining the oil temperature between each batch. If the oil gets too hot, the wrappers can burn before the filling is heated through. If it’s not hot enough, they’ll absorb too much oil. Adjust the heat as needed. Serve your hot and crispy Filipino Lumpia immediately for the best texture and flavor.
Conclusion:
There you have it! We’ve walked through the delicious and rewarding process of making authentic Filipino Lumpia. From the crispy wrapper to the savory, flavorful filling, these delightful spring rolls are a testament to the vibrant culinary heritage of the Philippines. I hope you feel inspired to try this recipe and experience the joy of creating these beloved treats in your own kitchen. Remember, practice makes perfect, and each batch will likely become even more delicious as you hone your technique. Don’t be afraid to get your hands involved; that’s part of the fun!
For serving, Filipino Lumpia are incredibly versatile. They make a fantastic appetizer, a delightful snack, or even a side dish to a larger Filipino feast. Serve them warm, fresh from the fryer, with your favorite dipping sauces. Sweet chili sauce, vinegar-based dipping sauces (like spiced vinegar), or even a simple ketchup are all popular choices. Get creative with your serving presentation – a platter piled high with golden-brown lumpia is always a crowd-pleaser!
Looking to experiment? You can easily customize the filling. Consider adding finely chopped water chestnuts for an extra crunch, a pinch of turmeric for a hint of color, or even some shiitake mushrooms for an umami boost. Different protein options like chicken or a vegetarian filling with tofu and mixed vegetables are also fantastic variations to explore. The possibilities are truly endless when it comes to making Filipino Lumpia your own!
Frequently Asked Questions:
Can Filipino Lumpia be made ahead of time?
Yes, you can prepare the filling a day in advance and store it in the refrigerator. You can also assemble the lumpia ahead of time and keep them in the refrigerator on a baking sheet lined with parchment paper, making sure they are not touching. Fry them just before serving for the best crispy texture. Alternatively, you can freeze uncooked lumpia on a baking sheet until solid, then transfer them to a freezer-safe bag for longer storage. Fry directly from frozen, adding a few extra minutes to the cooking time.
What is the best way to achieve a crispy lumpia wrapper?
Achieving that perfect crispiness is key! Ensure your oil is hot enough (around 350-375°F or 175-190°C) before frying. Don’t overcrowd the pan, as this can lower the oil temperature and result in greasy, soggy lumpia. Fry in batches. Also, using fresh spring roll wrappers is important. Once fried, drain them on a wire rack set over a baking sheet to allow air circulation, which helps maintain their crispiness.
Are there vegetarian or vegan options for Filipino Lumpia?
Absolutely! For a vegetarian option, you can replace the ground beef with finely minced firm tofu and load up on more vegetables like carrots, cabbage, bean sprouts, and mushrooms. For a vegan version, ensure your oyster sauce is replaced with a vegetarian or vegan mushroom-based sauce, and double-check that your wrappers don’t contain egg. The same frying techniques apply, and they are just as delicious!
Savory Beef Lumpia Recipe- Crispy Filipino Rolls
Crispy and savory Filipino spring rolls filled with seasoned ground beef and cabbage.
Ingredients
-
1 package (25) lumpia wrappers
-
2 lbs ground beef
-
5 cloves garlic, minced
-
1 inch fresh ginger, minced
-
3 tbsp soy sauce
-
1/2 tsp chicken bouillon powder
-
2 large eggs, beaten
-
1/2 tsp black pepper
-
6 oz cabbage, thinly sliced
-
Vegetable oil for frying
Instructions
-
Step 1
Brown the ground beef in a skillet with a tablespoon of vegetable oil over medium-high heat until no longer pink. Drain excess grease. -
Step 2
Add minced garlic and ginger to the skillet and cook for 1-2 minutes until fragrant. Be careful not to burn the garlic. -
Step 3
Stir in soy sauce and optional chicken bouillon powder. Cook for another 2-3 minutes until the liquid reduces slightly. -
Step 4
Add beaten eggs and black pepper, stirring quickly until the egg is fully incorporated and cooked through. Stir in thinly sliced cabbage and cook for a few minutes until it wilts slightly. Remove from heat and let the filling cool completely. -
Step 5
Lay out a lumpia wrapper, place 2-3 tablespoons of filling near a corner, fold the corner over the filling, then fold in the sides, and roll tightly towards the opposite corner. Moisten the final corner with water or egg to seal. -
Step 6
Heat vegetable oil in a deep pot or wok to 350°F (175°C). Fry 3-4 lumpia at a time for 4-6 minutes until golden brown and crispy. Drain on a wire rack.
Important Information
Nutrition Facts (Per Serving)
It is important to consider this information as approximate and not to use it as definitive health advice.
Allergy Information
Please check ingredients for potential allergens and consult a health professional if in doubt.


Leave a Comment