
Pizza Skulls are more than just a fun name for a unique appetizer; they’re a culinary adventure that sparks joy and intrigue on any plate. If you’re looking to add a playful twist to your next gathering or simply want to impress with a dish that’s as visually captivating as it is delicious, then look no further. These aren’t your average pizza bites; they’re miniature masterpieces, shaped with a touch of whimsy and packed with all the comforting flavors we adore about traditional pizza. What makes Pizza Skulls so special is their ability to transform a familiar comfort food into something truly memorable and shareable. They are perfect for themed parties, Halloween celebrations, or just a weeknight when you crave something a little out of the ordinary. The delighted gasps and eager reaching for these delightful creations are a testament to their undeniable charm and irresistible taste. Get ready to discover how easy it is to bring these edible works of art into your kitchen and delight your guests.

Ingredients:
- 1 (13.8 oz) can refrigerated pizza dough
- 6 tbsp pizza sauce
- 1½ cups shredded mozzarella cheese
- ¼ cup cooked and crum extractbled Italian sausage
- 24 slices beef beef pepperoni, chopped
Preparing Your Pizza Skulls
The magic of turning simple pizza ingredients into spooky Pizza Skulls lies in a bit of creative shaping and assembly. Don’t worry if you’re not an expert baker; these are designed to be fun and forgiving. We’ll start by getting our dough ready to take on its frightful form.
Dough Preparation and Shaping
First, let’s get our dough ready. Open the can of refrigerated pizza dough. It’s important to handle it gently to avoid tearing, as we want a nice, even base. Unroll the dough onto a lightly floured surface. You can use a large baking sheet lined with parchment paper for easier cleanup and handling later. Now, for the fun part: shaping! Divide the pizza dough into two equal portions. Take one portion and roll it out into a rough oval shape, about 10-12 inches in length. This will be the base for our first skull. For the second portion, roll it out into a slightly smaller oval, around 8-10 inches. This will be the base for our second skull.
Creating the Skull Features
Now, let’s start building our skull shapes. For the larger oval dough piece, envision it as the main head. We need to create the eye sockets. Using a small, sharp knife or even the tip of a spoon, gently press into the dough to create two circular indentations, about two inches apart, towards the top third of the oval. These don’t need to be perfect circles; a slightly irregular shape adds to the spooky charm. Next, for the nasal cavity, create a small inverted triangle or heart shape in the center, just below and between the eye sockets. You can again use a knife or the back of a spoon to create this indentation. For the mouth, using the knife, gently score a jagged, toothy grin into the lower portion of the dough. Don’t cut all the way through, just enough to create a visual impression that will bake into a defined mouth. Repeat this entire process with the smaller oval of dough for your second skull. The key here is to not be too precise; a slightly rougher, more organic shape will enhance the skull aesthetic.
Assembling the Pizza Skulls
With our dough shaped and its spooky features etched, it’s time to add the delicious fillings that will transform these dough shapes into mouthwatering Pizza Skulls. This stage is all about layering those classic pizza flavors.
Sauce and Cheese Foundation
Let’s begin extract with the sauce. Take your 6 tablespoons of pizza sauce and divide it evenly between your two dough shapes. Spread the sauce within the boundaries of your dough ovals, being careful not to go all the way to the edges, leaving about a half-inch border for the crust. You want the sauce to be concentrated in the main facial area of the skull. Now, it’s time for the mozzarella cheese. Generously sprinkle about ¾ cup of shredded mozzarella cheese over the sauce on each skull. Make sure to distribute it evenly, allowing it to melt and create a gooey blanket for our other toppings.
Adding the Savory Toppings
Next, we introduce the savory elements that give our Pizza Skulls their delicious flavor. Take your ¼ cup of cookrum extractand crumbled Italian sausage and sprinkle it over the mozzarella cheese on each skull. Distribute it as evenly as possible so that each bite gets a taste of that savory goodness. Then, arrange your 24 slices of chopped beef pepperonieroni. You can scatter them over the sausage and cheese, or for a more decorative touch, you can try to arrange sobeef pepperoni pepperoni slices to mimic teeth within the mouth cavity you created earlier. This is where your creativity can really shine! Don’t be afraid to overlap them slightly.
Baking Your Spooky Creations
Now that our Pizza Skulls are fully assembled and look delightfully eerie, it’s time to get them into the oven and bake them to golden perfection. The aroma will fill your kitchen, and the anticnon-alcoholic ipation will build!
Baking Instructions and Doneness Check
Preheat your oven to 400°F (200°C). Place the prepared baking sheet with your Pizza Skulls into the preheated oven. Bake for approximately 12-18 minutes, or until the crust is golden brown and the cheese is melted and bubbly. Keep an eye on them during the last few minutes, as oven temperatures can vary. You’re looking for those edges to be nicely browned and slightly crisp, and for the cheese to have melted into a beautiful, gooey layer. If you notice any areas browning too quickly, you can loosely tent them with aluminum foil. The real test of doneness is the crust; it should sound hollow when tapped from the underside, indicating it’s cooked through.
Cooling and Serving Your Pizza Skulls
Once your Pizza Skulls are baked to perfection, carefully remove the baking sheet from the oven. It’s crucial to let them cool for a few minutes on the baking sheet before attempting to move them. This allows the cheese to set slightly and prevents the dough from tearing. Let them cool for about 5-7 minutes. Then, using a spatula, carefully transfer each Pizza Skull to a serving platter. They are best served warm, allowing the cheese to remain delightfully gooey and the flavors to be at their peak. Enjoy these frightfully delicious Pizza Skulls as a fun appetizer or a unique main course for any gathering!

Conclusion:
You’ve conquered the art of crafting your very own Pizza Skulls! We hope you enjoyed this unique and flavorful adventure. From the initial preparation to the final mouthwatering bite, these Pizza Skulls are sure to be a conversation starter and a guaranteed hit at any gathering, or simply a fun way to elevate your weeknight meal. The combination of crispy crust, savory toppings, and that iconic skull shape makes them truly special.
For serving suggestions, these Pizza Skulls are fantastic on their own, but they also pair wonderfully with a fresh side salad or a bowl of your favorite tomato soup. Consider a light vinaigrette to cut through the richness of the pizza.
Don’t be afraid to experiment with variations! Feel free to swap out the cheeses, experiment with different vegetable combinations, or even try a spicy kick with some jalapeños or red pepper flakes. The possibilities are endless, allowing you to personalize your Pizza Skulls to your exact taste preferences.
We encourage you to try making these Pizza Skulls again and again. Practice truly makes perfect, and with each batch, you’ll become even more adept at shaping and baking these delicious creations. So gather your ingredients, unleash your creativity, and enjoy the delicious results!
Frequently Asked Questions about Pizza Skulls:
Can I make the dough for Pizza Skulls ahead of time?
Absolutely! The dough for your Pizza Skulls can be made up to two days in advance and stored in the refrigerator. Just make sure to bring it to room temperature for about 30-60 minutes before you plan to shape and bake them for the best results.
What if I don’t have a skull-shaped cookie cutter?
No worries if you don’t have a specialized cutter! You can freehand the skull shape using a knife, or even use a circular cutter for the base and then carefully carve out the eye sockets and nose cavity. Alternatively, you can use a stencil you create yourself from parchment paper.
Are Pizza Skulls suitable for vegetarians?
Yes, Pizza Skulls are very adaptable for vegetarians! Simply omit any meat toppings and load them up with your favorite vegetables like bell peppers, onions, mushrooms, olives, and spinach. Using a marinara sauce and mozzarella cheese as your base keeps them vegetarian-friendly.
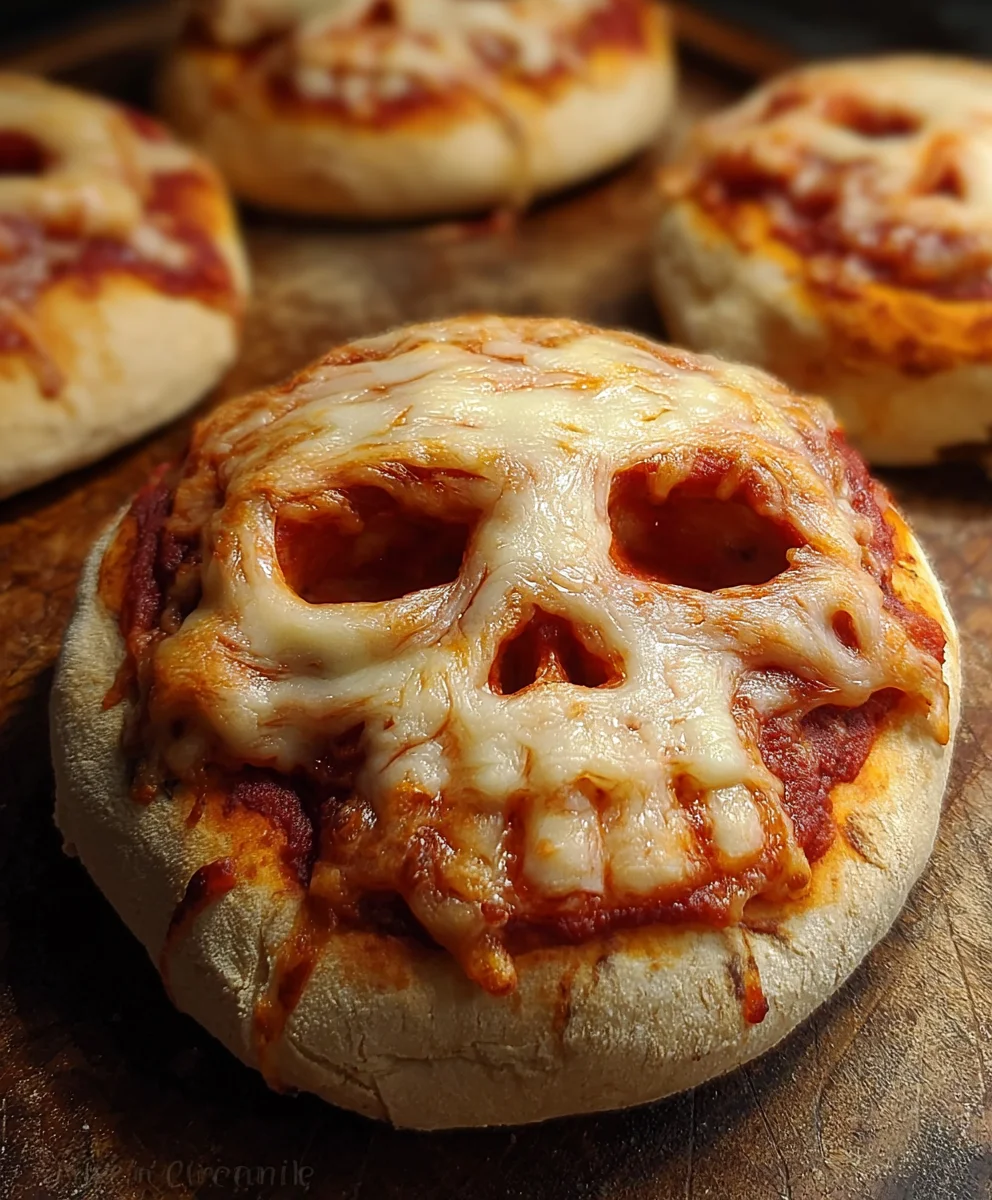
Spooky Delicious Pizza Skulls-Beef & Cheese Recipe
Fun and frightfully delicious pizza shaped like skulls, perfect for Halloween or any spooky occasion. Easy to make with a savory beef and cheese filling.
Ingredients
-
1 (13.8 oz) can refrigerated pizza dough
-
6 tbsp pizza sauce
-
1½ cups shredded mozzarella cheese
-
¼ cup cooked and crumbled Italian sausage (beef)
-
24 slices beef pepperoni, chopped
Instructions
-
Step 1
Preheat oven to 400°F (200°C). Line a baking sheet with parchment paper. -
Step 2
Divide pizza dough into two portions. Roll out one portion into a 10-12 inch oval and the second into an 8-10 inch oval on a lightly floured surface. -
Step 3
On each oval, create indentations for eye sockets, a nasal cavity, and score a jagged mouth to resemble a skull. -
Step 4
Spread 3 tbsp of pizza sauce evenly over each dough oval, leaving a half-inch border for the crust. -
Step 5
Generously sprinkle ¾ cup of shredded mozzarella cheese over the sauce on each skull. -
Step 6
Sprinkle ¼ cup of crumbled beef Italian sausage over the mozzarella on each skull. -
Step 7
Arrange the chopped beef pepperoni slices over the sausage and cheese, or creatively within the mouth cavity to resemble teeth. -
Step 8
Bake for 12-18 minutes, or until the crust is golden brown and the cheese is melted and bubbly. -
Step 9
Let cool for 5-7 minutes on the baking sheet before carefully transferring to a serving platter. -
Step 10
Serve warm and enjoy your spooky creations!
Important Information
Nutrition Facts (Per Serving)
It is important to consider this information as approximate and not to use it as definitive health advice.
Allergy Information
Please check ingredients for potential allergens and consult a health professional if in doubt.


Leave a Comment