
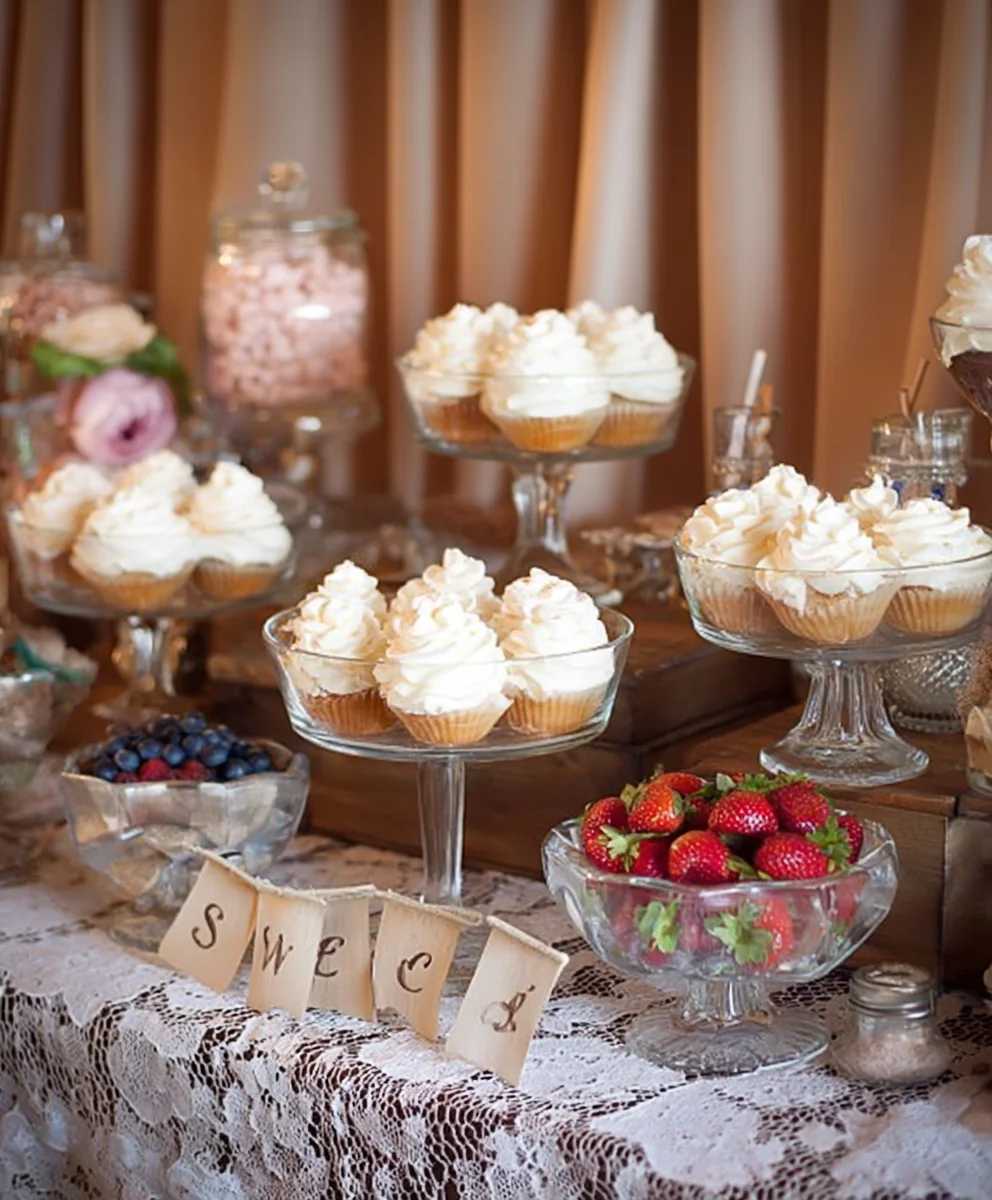
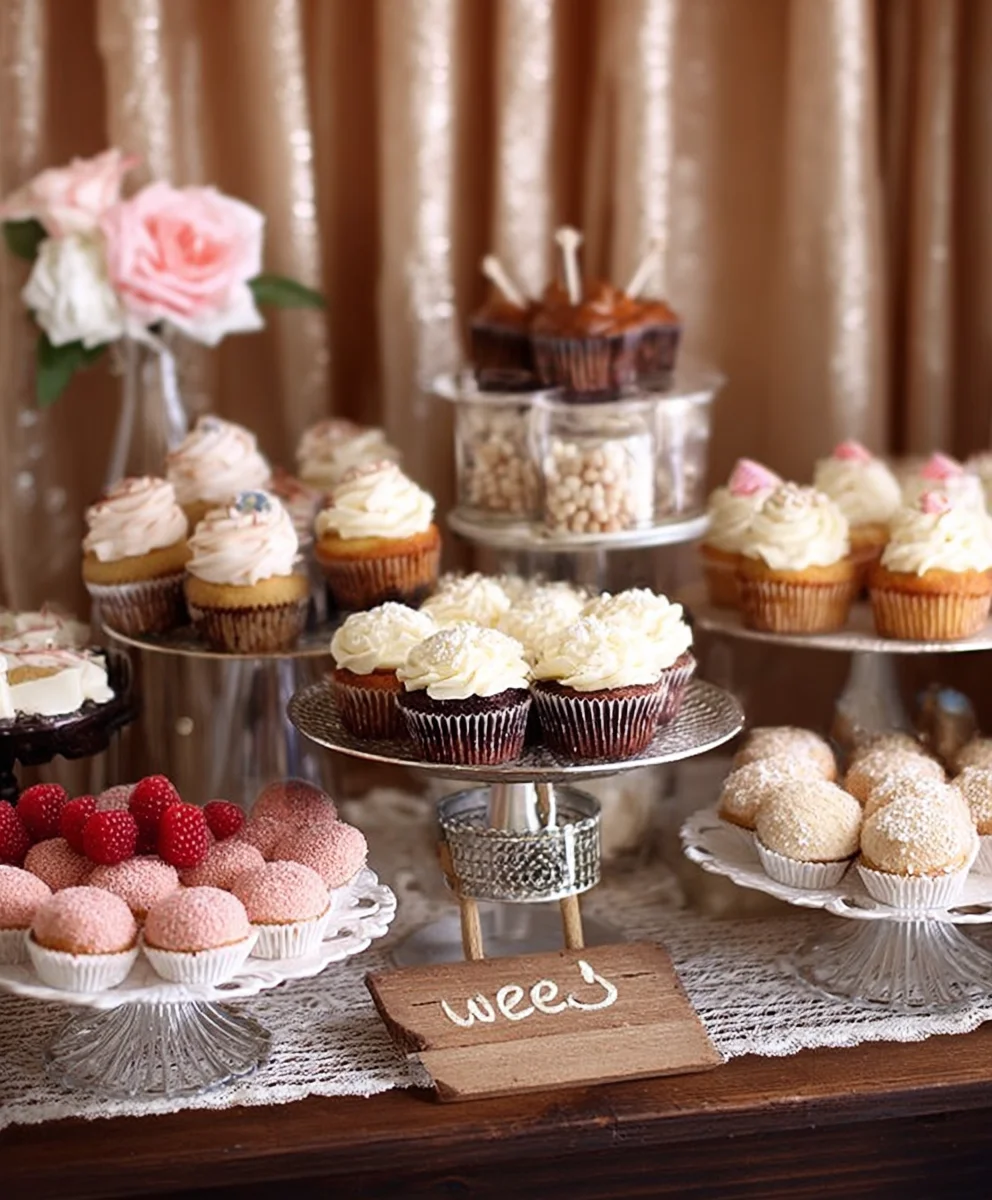
Vintage Wedding Dessert Table recipes are making a triumphant return to the wedding scene, and for good reason! There’s an undeniable charm and a deeply personal touch that a thoughtfully curated dessert table brings to your special day. It’s more than just a collection of sweets; it’s an edible story, a nostalgic journey that guests of all ages will adore. People love the sheer variety, the opportunity to sample multiple delightful treats, and the visual spectacle that a beautifully arranged spread creates. What truly makes a vintage wedding dessert table special is the ability to infuse it with your unique personality and love story, offering a heartfelt and delicious goodbye gift to your cherished guests.
Get ready to be inspired with these timeless recipes that will transform your celebration into an unforgettable, sugary affair.

Ingredients:
- 2 cups all-purpose flour
- 1 teaspoon baking soda
- 1/2 teaspoon salt
- 1 cup (2 sticks) unsalted butter, softened
- 1 cup granulated sugar
- 2 large eggs
- 1 teaspoon vanilla extract
- 1/2 cup milk
- 1 cup fresh raspberries
- 1/2 cup powdered sugar, for dusting (optional)
- Fresh mint leaves, for garnish (optional)
Preparing Your Vintage Wedding Dessert Table Cake
Mixing the Dry Ingredients
To begin extract creating this delightful cake, which is perfect for adding a touch of vintage charm to any dessert table, we’ll start by combining our dry ingredients. In a medium-sized mixing bowl, whisk together the 2 cups of all-purpose flour, 1 teaspoon of baking soda, and 1/2 teaspoon of salt. Whisking these ingredients thoroughly ensures that the leavening agents and salt are evenly distributed throughout the flour. This is a crucial step for achieving a consistent texture and rise in our cake. Make sure there are no clumps of baking soda or salt. Once combined, set this bowl aside.
Creaming the Butter and Sugar
Next, in a large mixing bowl, we’ll cream together the softened unsalted butter and granulated sugar. It’s important that your butter is truly softened, not melted. This means it should be pliable and easy to indent with your finger. Creaming involves beating the butter and sugar together until the mixture becomes light, fluffy, and pnon-alcoholic ale yellow in color. This process incorporates air into the batter, which contributes significantly to the cake’s delicate crum extractb. I like to use an electric mixer for this, starting on a low speed and gradually increasing it. This usually takes about 3-5 minutes.
Incorporating the Wet Ingredients
Once the butter and sugar mixture is perfectly creamed, it’s time to add the eggs and vanilla extract. Add the 2 large eggs, one at a time, beating well after each addition to ensure they are fully incorporated. Don’t rush this step; it helps to emulsify the mixture properly. After the eggs, stir in the 1 teaspoon of vanilla extract. The vanilla will add a wonderful aroma and classic flavor that complements the subtle tartness of the raspberries.
Alternating Dry and Wet Ingredients
Now, we will gradually add the dry ingredients and the milk to our creamed mixture. We do this by alternating, starting and ending with the dry ingredients. This method helps to prevent overmixing, which can result in a tough cake. Add about one-third of the flour mixture to the butter and egg mixture and mix on low speed just until combined. Then, add half of the milk and mix until just incorporated. Repeat this process: add another third of the flour mixture, the remaining milk, and finally, the last third of the flour mixture. Be sure to scrape down the sides of the bowl periodically with a spatula to ensure everything is evenly mixed. Stop mixing as soon as you no longer see streaks of flour.
Folding in the Raspberries
Gently fold in the 1 cup of fresh raspberries. It’s best to use fresh berries for the most vibrant flavor and texture. You can gently rinse and pat them dry before adding them. When folding, use a spatula and a gentle lifting motion to incorporate the berries without crushing them too much. We want some of the berries to remain intact, while others will break down slightly during baking, creating beautiful streaks of color and pockets of fruity flavor throughout the cake.
Baking Your Vintage Cake
Preheat your oven to 350°F (175°C). Grease and flour a 9-inch round cake pan, or line it with parchment paper for easier removal. Pour the batter evenly into the prepared pan. For this vintage wedding dessert table cake, a rustic presentation is part of its charm, so a simple round cake is perfect. Bake for 30-35 minutes, or until a wooden skewer or toothpick inserted into the center comes out clean. If the top starts to brown too quickly, you can loosely tent it with aluminum foil.
Finishing Touches for a Vintage Display
Once the cake is baked, let it cool in the pan for about 10-15 minutes before inverting it onto a wire rack to cool completely. A completely cooled cake is much easier to handle and decorate. For a beautiful, understated vintage look, I highly recommend a simple dusting of powdered sugar. Just before serving, lightly sift about 1/2 cup of powdered sugar over the top of the cake. If you’re feeling a bit more elaborate and want to enhance the vintage wedding dessert table aesthetic, you can also garnish with a few fresh mint leaves scattered around the base of the cake. This cake is wonderful on its own, but the simple elegance of the dusting and fresh mint truly elevates its presentation.
Conclusion:
And there you have it – the key to creating a truly memorable Vintage Wedding Dessert Table! We’ve explored how to select a harmonious collection of treats, from delicate macarons to rustic tarts, ensuring there’s something to delight every guest’s palate. Remember, the magic of a Vintage Wedding Dessert Table lies not just in the taste but in the presentation. Don’t be afraid to experiment with different display techniques, incorporating vintage cake stands, doilies, and charming signage to bring your theme to life. This dessert spread is designed to be a focal point, encouragin extractg conversation and creating a sweet atmosphere that lingers long after the last bite.
I truly hope this guide inspires you to craft your own stunning Vintage Wedding Dessert Table. Feel free to adapt these ideas to fit your personal style and wedding theme. The most important ingredient is the love and care you put into it. Happy baking and congratulations on your special day!
Frequently Asked Questions:
What are some good make-ahead dessert options for a Vintage Wedding Dessert Table?
To minimize stress on the wedding day, consider preparing many of your desserts in advance. Cookies, brownies, and certain types of tarts (like pecan or fruit tarts with a sturdy crust) can often be made a day or two ahead and stored properly. Meringue-based desserts also hold well. Cakes can usually be baked and frozen, then thawed and frosted closer to the event. Delicate pastries like cream puffs or éclairs are best assembled on the day of or the day before to maintain their texture.
How can I ensure the Vintage Wedding Dessert Table complements my overall wedding decor?
Think about your wedding’s color pnon-alcoholic alette and theme. Incorporate colors into your dessert icings, decorations, or edible flowers. For a rustic vintage feel, use natural elements like wooden cake stands, burlap runners, and small wildflowers. For a more elegant vintage vibe, opt for lace doilies, silver or gold platters, and crystal accents. Even the choice of fonts on your dessert labels can tie into the vintage aesthetic.
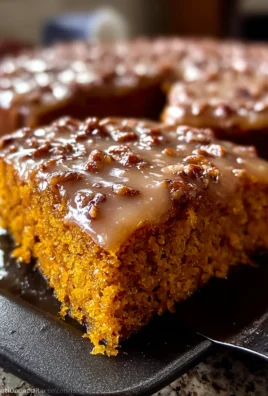
Vintage Wedding Dessert Table Cake with Raspberries
An elegant and simple raspberry cake perfect for a vintage wedding dessert table, featuring a light crumb and a touch of fruity flavor.
Ingredients
-
2 cups all-purpose flour
-
1 teaspoon baking soda
-
1/2 teaspoon salt
-
1 cup (2 sticks) unsalted butter, softened
-
1 cup granulated sugar
-
2 large eggs
-
1 teaspoon vanilla extract
-
1/2 cup milk
-
1 cup fresh raspberries
-
1/2 cup powdered sugar, for dusting (optional)
-
Fresh mint leaves, for garnish (optional)
Instructions
-
Step 1
In a medium mixing bowl, whisk together the flour, baking soda, and salt. Set aside. -
Step 2
In a large bowl, cream together softened butter and granulated sugar until light, fluffy, and pale yellow. Beat in eggs one at a time, then stir in vanilla extract. -
Step 3
Gradually add the dry ingredients and milk to the creamed mixture, alternating between them. Start and end with the dry ingredients, mixing on low speed just until combined after each addition. Scrape down the bowl as needed. -
Step 4
Gently fold in the fresh raspberries using a spatula, being careful not to crush them too much. -
Step 5
Preheat oven to 350°F (175°C). Grease and flour a 9-inch round cake pan. Pour batter into the pan and bake for 30-35 minutes, or until a skewer inserted into the center comes out clean. -
Step 6
Let the cake cool in the pan for 10-15 minutes, then invert onto a wire rack to cool completely. -
Step 7
Before serving, lightly sift powdered sugar over the top of the cooled cake. Garnish with fresh mint leaves if desired.
Important Information
Nutrition Facts (Per Serving)
It is important to consider this information as approximate and not to use it as definitive health advice.
Allergy Information
Please check ingredients for potential allergens and consult a health professional if in doubt.
Leave a Comment