
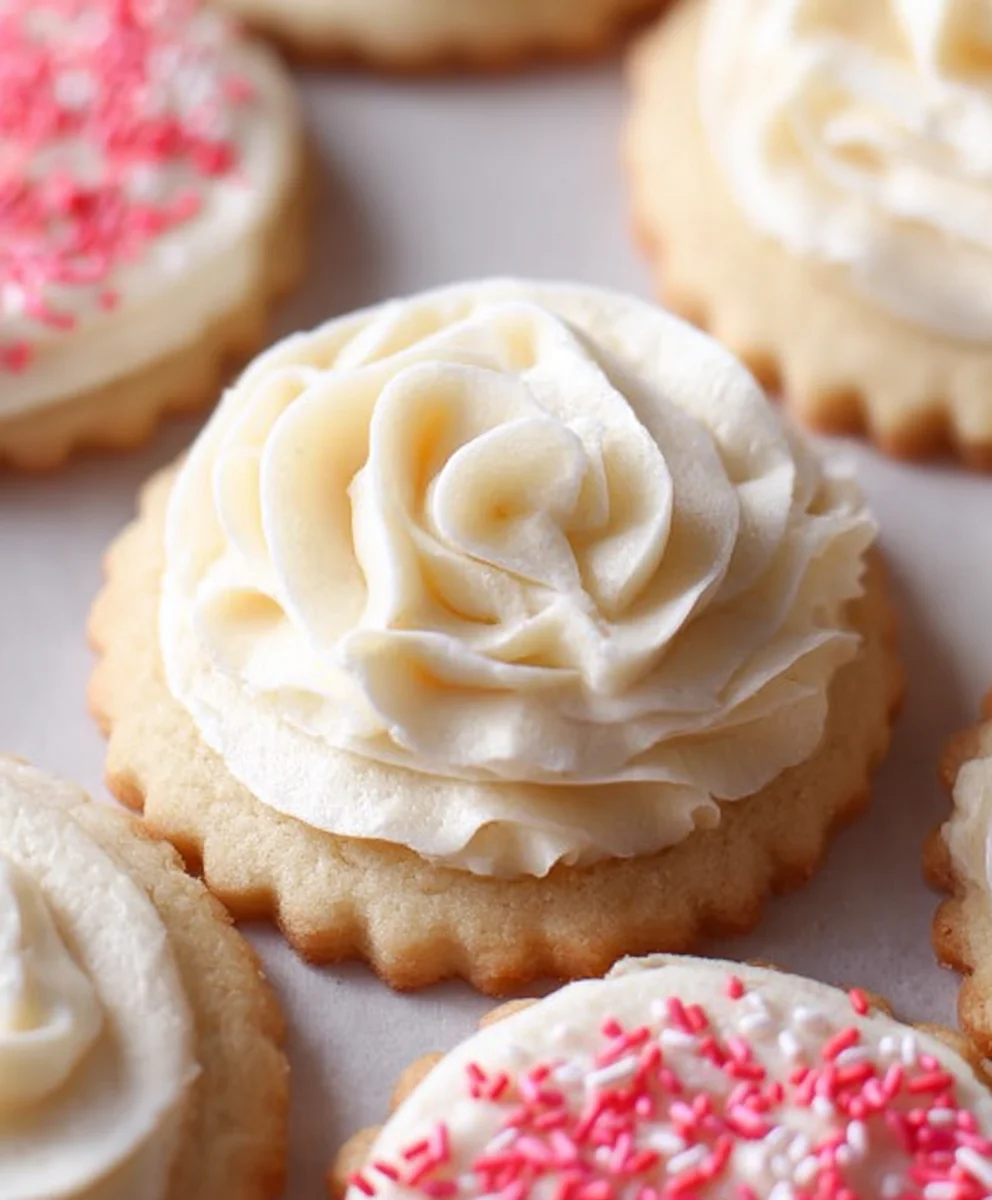
Buttercream Sugar Cookies are more than just a dessert; they’re a delicious canvas for creativity and a warm hug in edible form. Imagin extracte biting into a perfectly baked cookie, its texture unbelievably tender and its sweetness subtly balanced by the rich, creamy undertones of butter. This is what makes Buttercream Sugar Cookies so utterly irresistible. They’re a staple for holiday celebrations, birthday parties, or just those moments when you crave a little bit of homemade joy. What truly sets these particular Buttercream Sugar Cookies apart is the delicate balance of flavors and the melt-in-your-mouth consistency achieved through a simple, yet masterful, technique. Get ready to impress yourself and everyone lucky enough to share these delightful treats.

Ingredients:
- 3 cups all-purpose flour (375g)
- 2 teaspoons aluminum-free baking powder
- ½ teaspoon kosher salt
- 1 cup unsalted butter, softened to room temperature (226g)
- 1 cup granulated sugar (200g)
- 1 large egg, at room temperature
- 2 teaspoons pure vanilla extract
For the Buttercream Frosting:
- 1 cup unsalted butter, softened to room temperature (226g)
- 4 cups confectioners’ sugar (480g)
- 1 teaspoon pure vanilla extract
- 1 teaspoon pure almond extract
- ¼ cup heavy whipping cream
- Pinch of salt
Prep and Mixing
Creaming the Butter and Sugar
First, let’s get our dough started for these delightful Buttercream Sugar Cookies. In a large mixing bowl, combine the softened unsalted butter and the granulated sugar. Using an electric mixer (either a stand mixer with a paddle attachment or a hand mixer), cream these two ingredients together on medium-high speed. You’re looking for a light, fluffy mixture that is pnon-alcoholic ale yellow in color. This process usually takes about 3-5 minutes. This creaming step is crucial because it incorporates air into the dough, which will contribute to the cookies’ tender texture. Scrape down the sides of the bowl occasionally with a rubber spatula to ensure everything is evenly mixed.
Adding the Wet Ingredients
Once the butter and sugar are beautifully creamed, it’s time to add the egg and vanilla extract. Crack the large egg directly into the bowl. Add the 2 teaspoons of pure vanilla extract. Continue to mix on medium speed until the egg is fully incorporated and the mixture is smooth. Again, don’t forget to scrape down the sides of the bowl to ensure all the ingredients are blended together. The mixture might look a little curdled at this stage, but don’t worry, this is completely normal.
Incorporating the Dry Ingredients
Now, let’s bring in the dry ingredients. In a separate medium bowl, whisk together the all-purpose flour, aluminum-free baking powder, and kosher salt. Whisking them beforehand helps distribute the leavening agent and salt evenly throughout the flour, which is important for consistent baking. Gradually add this dry mixture to the wet ingredients in the large mixing bowl. Mix on low speed until just combined. It’s really important not to overmix the dough at this stage. Overmixing can develop the gluten in the flour too much, resulting in tough cookies. Stop mixing as soon as you no longer see streaks of dry flour. The dough will be quite soft and slightly sticky.
Chilling and Baking
Chilling the Dough
For the best results with Buttercream Sugar Cookies, chilling the dough is a non-negotiable step. This firms up the butter, making the dough easier to handle and preventing the cookies from spreading too much during baking. Turn the dough out onto a clean surface and gently bring it together to form a cohesive ball. Divide the dough in half. Shape each half into a flat disc, wrap it tightly in plastic wrap, and refrigerate for at least 2 hours, or preferably overnight. A well-chilled dough ensures your cookies maintain their shape and have that perfect, slightly crisp edge and tender center.
Rolling and Cutting the Dough
Once your dough is thoroughly chilled, it’s ready for shaping. Preheat your oven to 375°F (190°C). Line baking sheets with parchment paper. This prevents sticking and makes for easy cleanup. Lightly flour your work surface and your rolling pin. Take one disc of chilled dough and roll it out to about ¼-inch thickness. If the dough becomes too soft to handle while rolling, pop it back into the refrigerator for 10-15 minutes. Use your favorite cookie cutters to cut out shapes. Gather the scraps, gently re-roll (only once or twice to avoid toughness), and cut out more shapes. Place the cut-out cookies about 1 inch apart on the prepared baking sheets.
Baking the Cookies
Bake the cookies for 9-12 minutes, or until the edges are lightly golden brown. The centers should still appear slightly soft. Don’t overbake them, as they will continue to firm up as they cool. The exact baking time will depend on the size and thickness of your cookies. Let the cookies cool on the baking sheets for 5 minutes before transferring them to a wire rack to cool completely. This is important for setting their structure.
Making the Buttercream Frosting
Whipping the Butter and Sugar
While the cookies are cooling, let’s prepare the glorious buttercream frosting. In a clean, large mixing bowl, place the softened cup of unsalted butter. Beat it with your electric mixer on medium-high speed until it is very creamy and smooth, about 2-3 minutes. Gradually add the confectioners’ sugar, one cup at a time, mixing on low speed until each addition is incorporated before adding the next. Once all the confectioners’ sugar is added, the mixture will be thick and possibly a little dry.
Achieving the Perfect Frosting Consistency
Now, it’s time to bring the frosting to life. Add the 1 teaspoon of pure vanilla extract, the 1 teaspoon of pure almond extract, the heavy whipping cream, and the pinch of salt. Increase the mixer speed to medium-high and beat for another 3-5 minutes. You’re looking for a light, fluffy, and spreadable consistency. If the frosting is too thick, add another teaspoon or two of heavy whipping cream, a little at a time, until it reaches your desired consistency. If it’s too thin, you can add a tablespoon or two more of confectioners’ sugar. The almond extract adds a subtle but wonderful complexity to the classic vanilla flavor, making these Buttercream Sugar Cookies truly special.
Decorating Your Cookies
Once the cookies have cooled completely and the frosting has reached the perfect consistency, it’s time for the fun part: decorating! You can spread the frosting on using an offset spatula, or for more intricate designs, transfer the frosting to a piping bag fitted with your favorite decorating tips. Decorate your Buttercream Sugar Cookies with sprinkles, edible glitter, or even create patterns with different colored frostings. Let your creativity shine!
Conclusion:
You’ve now unlocked the secret to making truly delightful Buttercream Sugar Cookies! We’ve walked through the simple steps to create these wonderfully tender and flavorful cookies, perfect for any occasion. The beauty of this recipe lies in its simplicity and the incredible versatility it offers. Whether you’re looking for a classic holiday treat, a fun afternoon baking project with loved ones, or just a simple indulgence, these Buttercream Sugar Cookies will not disappoint. Don’t be afraid to experiment with different decorating techniques – from simple icing to intricate royal icing designs, the canvas is yours!
For serving suggestions, these cookies are fantastic on their own, but they also pair beautifully with a glass of milk, a cup of coffee, or even a scoop of your favorite ice cream. Consider them as the star of a dessert platter or as delightful party favors.
The variations are endless! Feel free to add a pinch of cinnamon or nutmeg to the dough for a warm spice note, or incorporate a touch of almond extract alongside the vanilla for a more complex flavor profile. You can also experiment with different food colorings to create vibrant, eye-catching cookies.
So, grab your apron and get ready to bake some magic! I encourage you to give this Buttercream Sugar Cookies recipe a try; you might just find your new go-to cookie. Happy baking!
Frequently Asked Questions about Buttercream Sugar Cookies:
Q1: Can I make these Buttercream Sugar Cookies ahead of time?
Absolutely! The dough for Buttercream Sugar Cookies can be made a day or two in advance and stored, well-wrapped, in the refrigerator. You can also bake the cookies and store them in an airtight container at room temperature for up to a week, though they are best enjoyed within the first few days for optimal freshness.
Q2: What’s the best way to store decorated Buttercream Sugar Cookies?
For decorated Buttercream Sugar Cookies, it’s best to let the icing or frosting dry completely before stacking or storing them. Once dry, store them in a single layer in an airtight container to prevent smudgin extractg. If you have multiple layers, place parchment paper between each layer. Avoid storing them in the refrigerator, as this can sometimes make the cookies soft and the icing can become sticky.
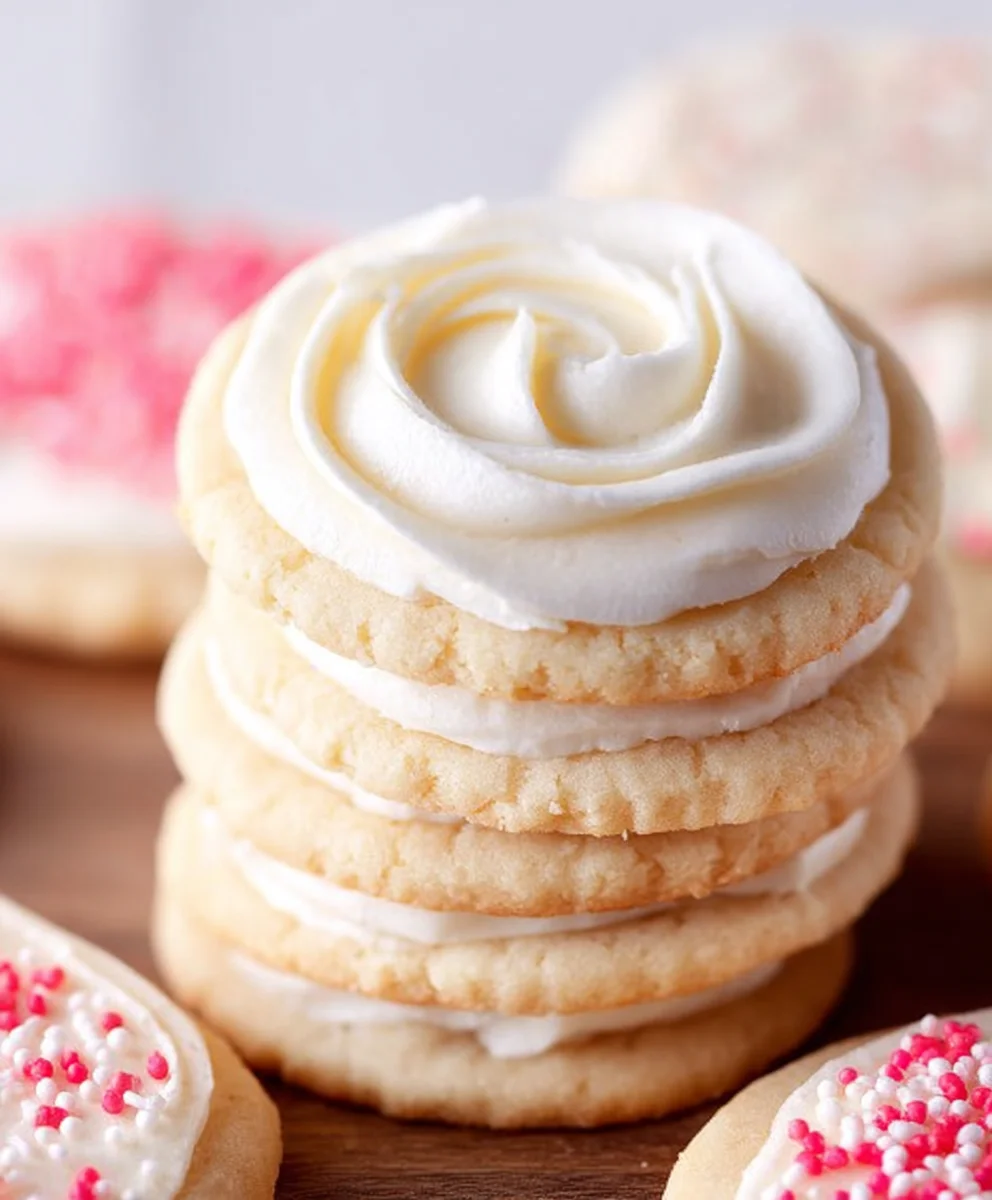
Buttercream Sugar Cookies – The Ultimate Sweet Treat
Delicious and classic sugar cookies topped with a smooth and creamy buttercream frosting. Perfect for any occasion!
Ingredients
-
3 cups all-purpose flour (375g)
-
2 teaspoons aluminum-free baking powder
-
1 cup unsalted butter, softened to room temperature (226g)
-
1/2 teaspoon kosher salt
-
1 cup granulated sugar (200g)
-
1 large egg, at room temperature
-
2 teaspoons pure vanilla extract
-
1 cup unsalted butter, softened to room temperature (226g)
-
4 cups confectioners’ sugar (480g)
-
1 teaspoon pure vanilla extract
-
1 teaspoon pure almond extract
-
1/4 cup heavy whipping cream
-
Pinch of salt
Instructions
-
Step 1
In a large mixing bowl, cream together softened unsalted butter and granulated sugar using an electric mixer until light and fluffy (about 3-5 minutes). Scrape down the sides of the bowl. -
Step 2
Add the large egg and 2 teaspoons of pure vanilla extract to the creamed mixture. Mix on medium speed until fully incorporated and smooth. Scrape down the sides of the bowl. -
Step 3
In a separate bowl, whisk together flour, baking powder, and salt. Gradually add this dry mixture to the wet ingredients on low speed until just combined. Do not overmix. -
Step 4
Divide the dough in half, shape each into a flat disc, wrap tightly in plastic wrap, and refrigerate for at least 2 hours, or preferably overnight. -
Step 5
Preheat oven to 375°F (190°C). Line baking sheets with parchment paper. Roll out chilled dough to about 1/4-inch thickness, cut into shapes, and place on baking sheets about 1 inch apart. -
Step 6
Bake for 9-12 minutes, or until edges are lightly golden brown. Let cool on baking sheets for 5 minutes before transferring to a wire rack to cool completely. -
Step 7
For the frosting, beat softened unsalted butter until very creamy. Gradually add confectioners’ sugar, mixing on low speed. Add vanilla extract, almond extract, heavy whipping cream, and salt. Beat on medium-high speed for 3-5 minutes until light and fluffy. -
Step 8
Once cookies are completely cooled, frost them using a spatula or piping bag. Decorate with sprinkles or edible glitter as desired.
Important Information
Nutrition Facts (Per Serving)
It is important to consider this information as approximate and not to use it as definitive health advice.
Allergy Information
Please check ingredients for potential allergens and consult a health professional if in doubt.

Leave a Comment