
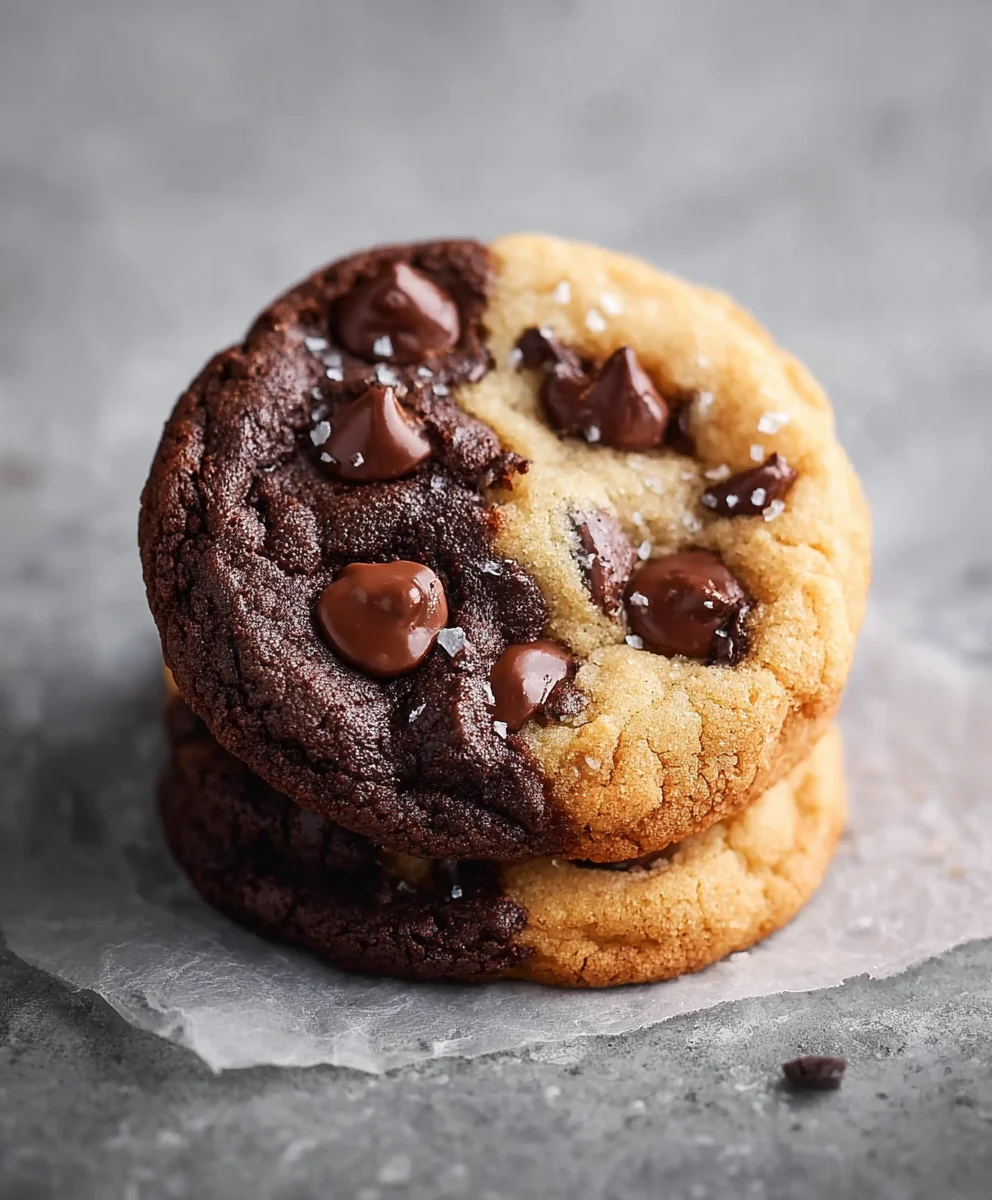
Brookie Cookies are the ultimate dessert mashup, a harmonious marriage of two beloved classics: the rich, fudgy brownie and the delightfully chewy chocolate chip cookie. If you’ve ever found yourself torn between these two iconic treats, then this recipe is your culinary destiny fulfilled. People adore brookie cookies because they deliver the best of both worlds in every single bite. Imagin extracte the satisfying crackle of a cookie crust giving way to a gooey, chocolatey brownie center, studded with melty chocolate chips. It’s pure indulgence, a symphony of textures and flavors that will have you reaching for just one more. What truly makes these brookie cookies special is the perfect balance we achieve. We’ve perfected the ratios and baking times to ensure neither the cookie nor the brownie element overpowers the other, resulting in a spectacular cookie that is both intensely chocolatey and wonderfully buttery, creating an unforgettable dessert experience that’s perfect for any occasion.

Ingredients:
- ½ cup (113g) unsalted butter, softened to room temperature
- ¾ cup (150g) light brown sugar, packed
- ¼ cup (50g) granulated sugar
- 1 large egg, at room temperature
- 1 teaspoon vanilla extract
- ⅓ cup Dutch-process cocoa powder
- 1 cup (125g) all-purpose flour, for the brownie batter
- ¾ teaspoon baking soda, for the brownie batter
- ½ teaspoon salt, for the brownie batter
- ⅔ cup semi-sweet chocolate chips, for the brownie batter
- 2¾ cups (345g) all-purpose flour, for the cookie dough
- 1 teaspoon cornstarch
- 1 teaspoon baking soda, for the cookie dough
- 1 teaspoon salt, for the cookie dough
- 1 cup (226g) unsalted butter, cold and cubed
Brownie Batter Preparation
Step 1: Creaming the Butter and Sugars
Begin extract by ensuring your ½ cup of unsalted butter is at true room temperature. This is crucial for achieving a smooth, emulsified batter. You should be able to gently indent it with your finger without it being greasy or melty. In a medium mixing bowl, combine this softened butter with the ¾ cup of packed light brown sugar and ¼ cup of granulated sugar. Use an electric mixer on medium speed, or a whisk and some elbow grease, to cream these ingredients together. You’re looking for a pnon-alcoholic ale, fluffy mixture that looks light and airy. This process incorporates air, which will contribute to the tenderness of your brookie cookies. This usually takes about 2-3 minutes of consistent mixing. Don’t rush this step; it sets the foundation for a great texture.
Step 2: Adding Wet Ingredients and Cocoa
Once your butter and sugar mixture is nicely creamed, add the 1 large egg and 1 teaspoon of vanilla extract. It’s important for the egg to also be at room temperature; this helps it incorporate smoothly into the batter without causing the butter to seize. Mix on low speed until just combined, scraping down the sides of the bowl as needed. Now, it’s time to introduce the dry ingredients for the brownie portion. Sift in the ⅓ cup of Dutch-process cocoa powder. Sifting is key here to prevent lumps and ensure an even distribution of the rich cocoa flavor throughout the brownie base. Mix again on low speed until the cocoa powder is fully incorporated, creating a dark, glossy mixture.
Step 3: Incorporating Flour and Baking Soda for the Brownie Batter
Next, gently fold in 1 cup of all-purpose flour and ¾ teaspoon of baking soda. Use a spatula for this step. Overmixing at this stage can develop the gluten in the flour too much, leading to tough brownies. Mix only until you no longer see streaks of dry flour. Finally, stir in the ⅔ cup of semi-sweet chocolate chips. These will melt into gooey pockets of chocolate within the brownie layer. You want to distribute them evenly throughout the batter. Set this brownie batter aside. You’ll want to refrigerate this brownie batter for at least 30 minutes before assembling the brookies, as it will be quite soft. This chilling step makes it much easier to handle and prevents it from spreading too much during baking.
Cookie Dough Preparation
Step 4: Creating the Cookie Dough Base
Now, let’s move on to the cookie dough portion. In a separate, larger mixing bowl, combine 2¾ cups of all-purpose flour, 1 teaspoon of cornstarch, 1 teaspoon of baking soda, and 1 teaspoon of salt. Whisk these dry ingredients together thoroughly to ensure the leavening agents and salt are evenly distributed. In another bowl, or the bowl of your stand mixer, add the 1 cup of cold, cubed unsalted butter. You want the butter to be cold for this cookie dough recipe, as it creates pockets of steam during baking, resulting in a chewier texture. Add the dry ingredients gradually to the cold butter. You can either use a pastry blender or pulse the mixture in a food processor until it resembles coarse crum extractbs, like small peas.
Step 5: Assembling the Brookies and Baking
Retrieve the chilled brownie batter. Line a baking sheet with parchment paper. For each brookie cookie, you’ll want to scoop about 1 tablespoon of the cookie dough and flatten it slightly into a small disc. Place this disc onto the prepared baking sheet. Then, take a heaping tablespoon of the brownie batter and gently spread it over the top of the cookie dough disc, allowing it to slightly overhang the edges. This creates that signature brookie swirl. You can use a toothpick or a skewer to gently swirl the brownie batter into the cookie dough for a marbled effect, but be careful not to overmix. Aim for about 8-10 cookies per baking sheet, ensuring they have enough space to spread. Preheat your oven to 350°F (175°C). Bake for 10-12 minutes, or until the edges of the cookies are set and lightly golden brown, and the brownie topping is still slightly soft in the center. They will continue to set as they cool. Allow the brookies to cool on the baking sheet for a few minutes before transferring them to a wire rack to cool completely. Enjoy your delicious homemade brookies!
Conclusion:
There you have it – the ultimate guide to creating mouthwatering Brookie Cookies! We’ve walked through each step, from achieving that perfect gooey chocolate chip cookie texture to the fudgy brownie center, ensuring your batch is a guaranteed crowd-pleaser. These delightful treats are incredibly versatile and can be enjoyed warm, fresh from the oven, or even at room temperature for a delightful grab-and-go snack. We recommend serving them with a tall glass of cold milk, a scoop of vanilla ice cream for an ultimate dessert experience, or alongside a hot cup of coffee or tea.
Don’t be afraid to experiment! Feel free to add your favorite mix-ins to the brownie layer, like nuts, caramel bits, or even a swirl of peanut butter. The cookie dough can also be customized with different types of chocolate chips or a pinch of sea salt sprinkled on top before baking. The joy of making Brookie Cookies is in its adaptability. So go forth, bake with confidence, and savor every delicious bite of these irresistible cookie-brownie hybrids. Happy baking!
Frequently Asked Questions about Brookie Cookies:
Q: My brookie cookies are spreading too much. What can I do?
A: Overspreading can often be caused by the dough being too warm or having too much fat. Ensure your butter is softened, not melted, for the cookie dough. Chilling the dough for at least 30 minutes before baking can significantly help prevent excessive spreading and result in thicker, chewier cookies.
Q: Can I make brookie cookies ahead of time?
A: Absolutely! You can prepare the dough for both the cookie and brownie layers separately and store them in the refrigerator for up to 3 days. You can also freeze the unbaked cookie dough balls for up to 3 months. When ready to bake, simply bake from frozen, adding a few extra minutes to the baking time.
Q: How do I get a distinct brownie layer on my brookie cookies?
A: The key is to create a separate brownie batter and dollop it onto the cookie dough base. Don’t overwork the brownie batter when combining the ingredients. You want it to remain thick enough to hold its shape when spooned onto the cookie dough, creating that satisfying layered effect.
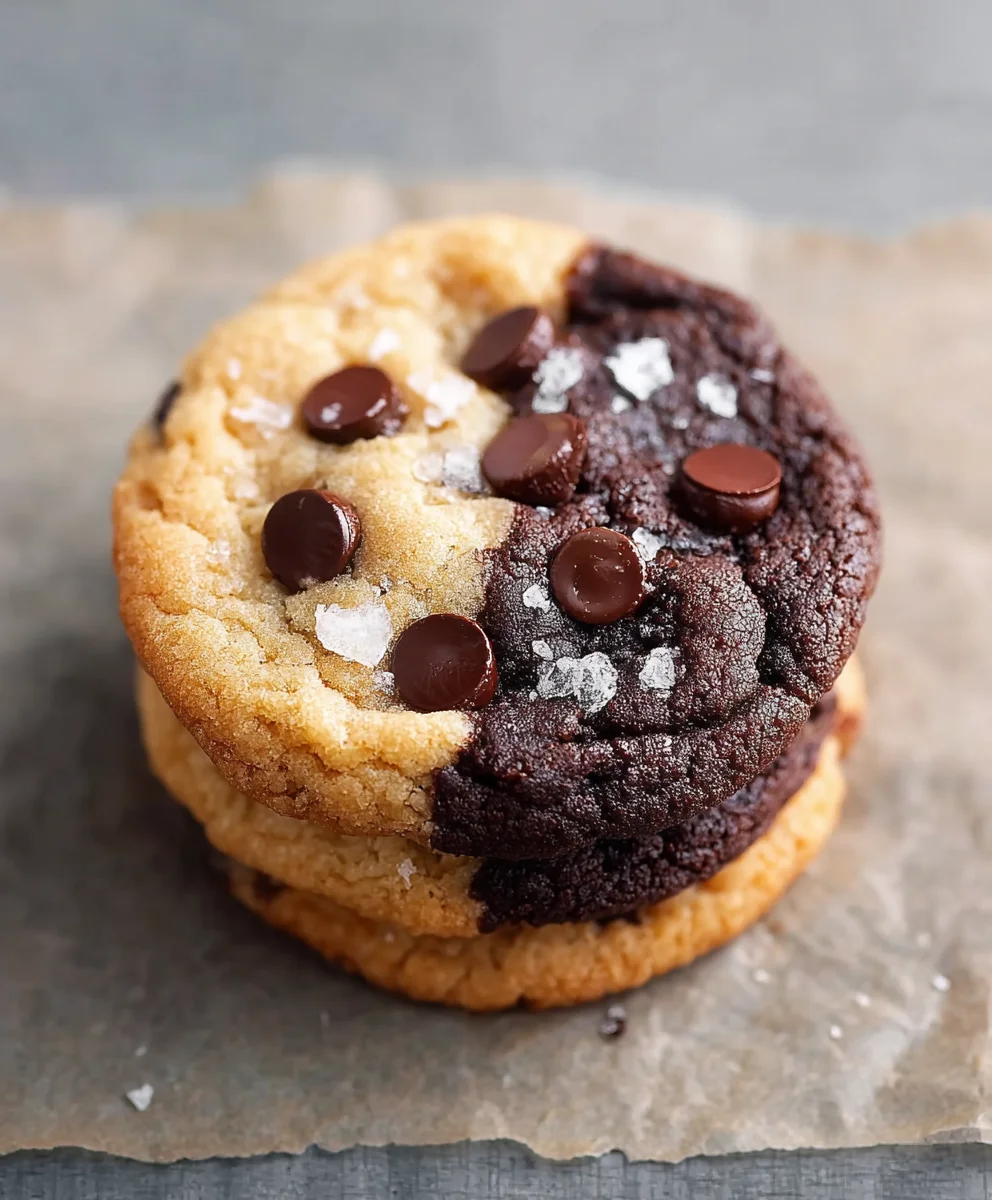
Delicious Brookie Cookies – Easy Chocolate-Brownie Fusion Recipe
A delightful fusion of chewy chocolate chip cookies and fudgy brownies in one easy-to-make treat. Perfect for satisfying both cookie and brownie cravings!
Ingredients
-
½ cup (113g) unsalted butter, softened to room temperature
-
¾ cup (150g) light brown sugar, packed
-
¼ cup (50g) granulated sugar
-
1 large egg, at room temperature
-
1 teaspoon vanilla extract
-
⅓ cup Dutch-process cocoa powder
-
1 cup (125g) all-purpose flour, for the brownie batter
-
¾ teaspoon baking soda, for the brownie batter
-
½ teaspoon salt, for the brownie batter
-
⅔ cup semi-sweet chocolate chips, for the brownie batter
-
2¾ cups (345g) all-purpose flour, for the cookie dough
-
1 teaspoon cornstarch
-
1 teaspoon baking soda, for the cookie dough
-
1 teaspoon salt, for the cookie dough
-
1 cup (226g) unsalted butter, cold and cubed
Instructions
-
Step 1
Cream softened butter with light brown sugar and granulated sugar until light and fluffy. -
Step 2
Add room temperature egg and vanilla extract, mix until just combined. Sift in cocoa powder and mix until incorporated. -
Step 3
Gently fold in flour and baking soda for the brownie batter until just combined. Stir in semi-sweet chocolate chips. Refrigerate brownie batter for at least 30 minutes. -
Step 4
In a separate bowl, whisk together flour, cornstarch, baking soda, and salt for the cookie dough. Cut in cold butter until mixture resembles coarse crumbs. -
Step 5
Scoop 1 tablespoon of cookie dough, flatten into a disc on a parchment-lined baking sheet. Top with a heaping tablespoon of chilled brownie batter, spreading slightly over the edges. Optionally swirl brownie batter into cookie dough. -
Step 6
Bake at 350°F (175°C) for 10-12 minutes, until edges are set and lightly golden brown. Allow to cool on the baking sheet for a few minutes before transferring to a wire rack.
Important Information
Nutrition Facts (Per Serving)
It is important to consider this information as approximate and not to use it as definitive health advice.
Allergy Information
Please check ingredients for potential allergens and consult a health professional if in doubt.


Leave a Comment