
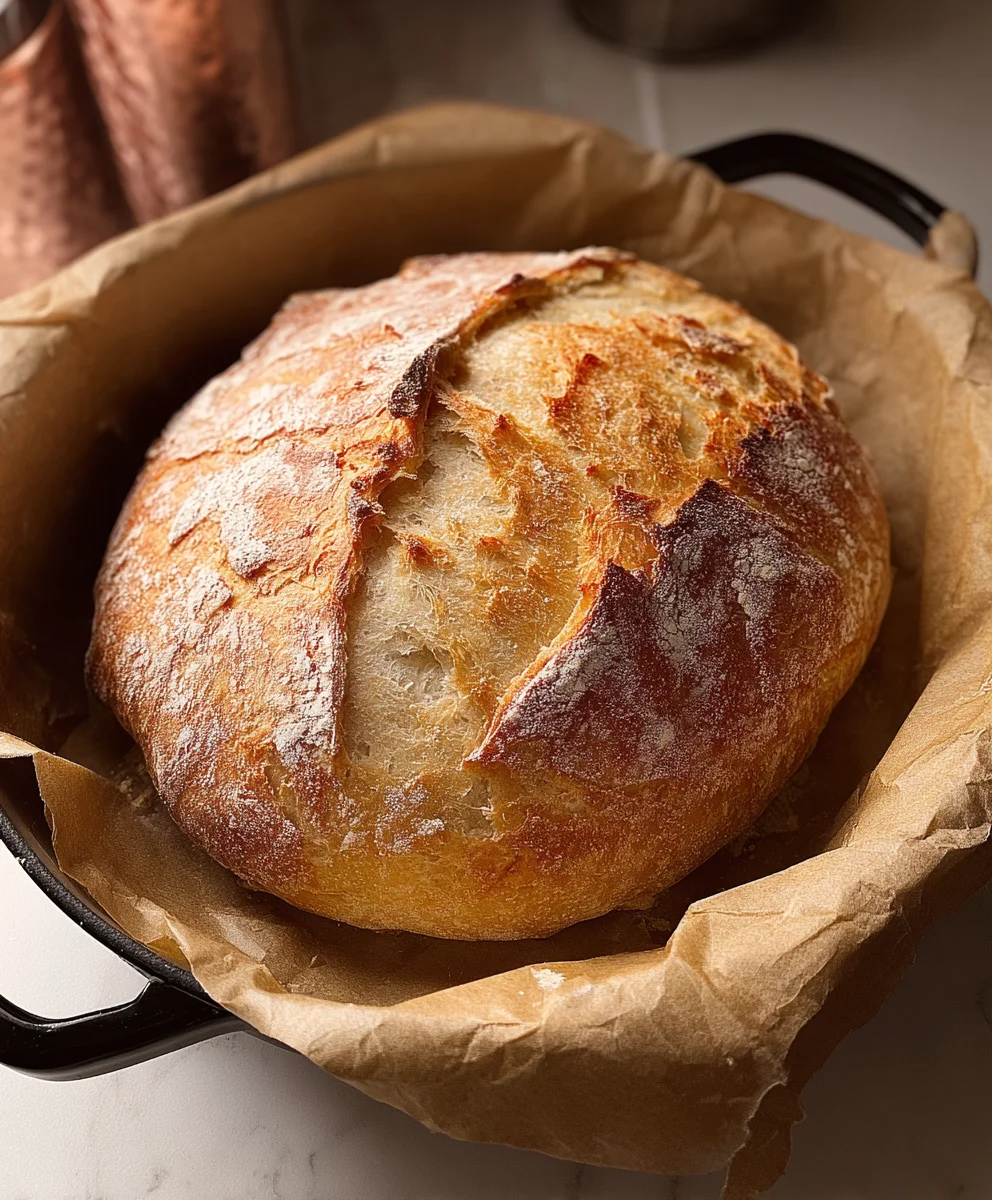
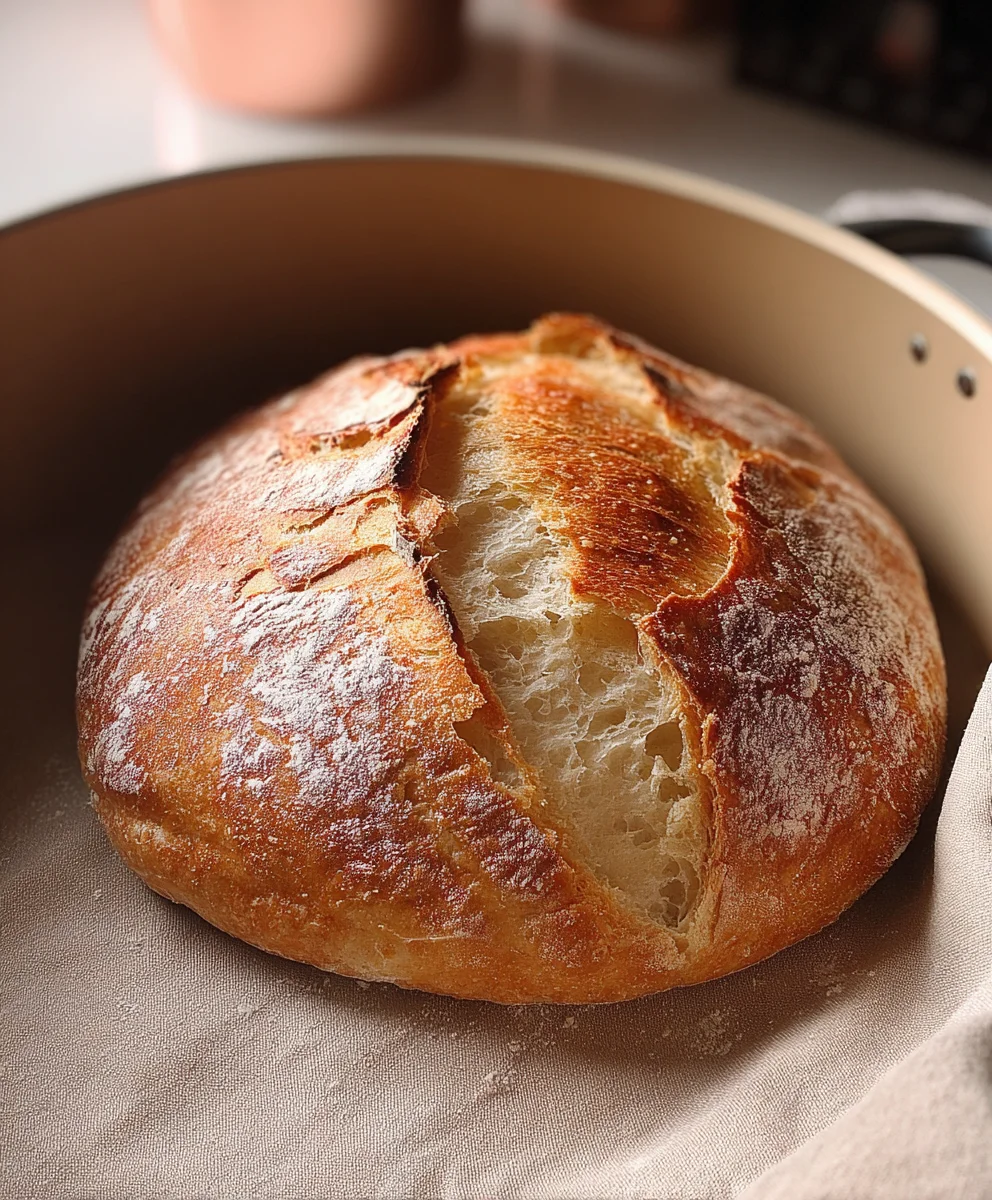
The Easiest Bread in the Entire World is a title that might sound ambitious, but trust me, it’s entirely deserved for this incredible no-knead recipe! We’ve all dreamt of pulling a warm, crusty loaf out of our own oven, filling our homes with that irresistible aroma. Yet, the thought of kneading, proofing, and all the fuss can be intimidating. That’s where this recipe shines, demystifying the art of bread-making and proving that delicious, homemade bread is within everyone’s reach. What truly makes this bread so beloved is its remarkable simplicity without sacrificing flavor or texture. It requires minimal active time, meaning you can still achieve bakery-quality results even on your busiest days. The magic lies in patience and a few simple ingredients, creating a beautiful, golden-brown crust and a wonderfully airy interior that will have you wondering why you ever bought bread from the store. Prepare to be amazed by The Easiest Bread in the Entire World – it’s a game-changer!

Ingredients:
- 3 cups all-purpose flour, plus more for dusting
- 1 ½ teaspoons salt
- ½ teaspoon instant yeast
- 1 ½ cups lukewarm water
Let’s Get Started: The Mixing Phase
This recipe truly lives up to its name, “The Easiest Bread in the Entire World.” It requires minimal effort and a lot of patience, but the reward is a crusty, chewy, and utterly delicious loaf that will make you feel like a seasoned baker. We’re going to start by bringin extractg all our dry ingredients together. In a large mixing bowl – and I mean a generously sized one, as the dough will expand significantly – combine the 3 cups of all-purpose flour. It’s a good idea to sift your flour if you have the time, as this can help create a lighter texture, but for this recipe, it’s not strictly necessary. Next, add the 1 ½ teaspoons of salt. Salt is crucial not only for flavor but also for controlling the yeast’s activity and strengthening the gluten structure. Finally, sprinkle in the ½ teaspoon of instant yeast. Instant yeast is fantastic because it doesn’t require proofing; you can mix it directly with your dry ingredients. Make sure to give everything a good whisk or stir with a spoon to ensure the salt and yeast are evenly distributed throughout the flour. This initial step ensures that every bite of your bread will have that perfect balance of flavor and texture.
gin extract>Bringing it all Together: The Hydration
Now it’s time to introduce the liquid element. Measure out 1 ½ cups of lukewarm water. The temperature of the water is important here; it should be comfortably warm to the touch, like a baby’s bathwater, but not hot. Water that is too hot can kill the yeast, while water that is too cold will slow down its activity considerably. You want to encourage the yeast to wake up and get to work. Pour the lukewarm water directly into the bowl with the dry ingredients. Now, using a sturdy spoon, a spatula, or even your hands (which is my preferred method for this recipe because you can really feel the dough developing), mix everything until it just comes together. Don’t worry about kneading at this stage. We’re aiming for a shaggy, sticky mass. It will look quite wet and unappealing at this point, perhaps even like a soupy batter in places. This is exactly what you want. The high hydration is what contributes to the wonderful open crum extractb and chewy texture of the finished loaf. Scrape down the sides of the bowl to ensure all the dry flour is incorporated.
The Magic of Time: Fermentation and Folding
This is where the “patience” part of the recipe comes in, and it’s where the real magic happens. Cover the bowl tightly with plastic wrap or a damp kitchen towel. Place the bowl in a warm, draft-free spot to rise. This process, known as bulk fermentation, typically takes between 12 and 18 hours. Yes, you read that right! It’s a long rise, but this slow fermentation develops incredible flavor and texture. During this time, the yeast will work its magic, producing carbon dioxide and non-alcoholic alternative, which will cause the dough to puff up and become airy. Resist the urge to peek too often. Let it do its thing. After the initial long rise, we’ll perform a couple of “folds.” These folds aren’t about developing gluten in the traditional sense, but rather about redistributing the yeast and gasses, strengthening the dough, and creating layers.
Step 1: The First Fold
Once the dough has more than doubled in size and is visibly bubbly, it’s time for the first fold. Lightly flour your hands to prevent sticking, and reach under one side of the dough. Gently lift the dough and stretch it upwards, then fold it over onto itself. Rotate the bowl a quarter turn and repeat this process three more times, for a total of four folds, creating a neat packet. This step helps to strengthen the dough and prepare it for its final shape.
Step 2: The Second Fold
Let the dough rest for another 30 minutes, still covered. After this rest, perform another set of four folds, just as you did in the previous step. This second set of folds further enhances the dough’s structure and elasticity. The dough should feel a little more cohesive and less sticky after these folds.
Step 3: Shaping the Loaf
After the second set of folds and another 30-minute rest, it’s time to shape the dough. Generously flour a clean work surface. Gently turn the dough out of the bowl onto the floured surface. You want to handle the dough as little as possible at this stage to avoid deflating the airy structure you’ve worked so hard to create. Gently shape the dough into a rough ball or a rustic oval, tucking the edges underneath to create a taut surface. Avoid overworking it. The goal is simply to give it a shape that will hold its structure during baking.
Step 4: The Final Rise and Preparing for Baking
Carefully transfer the shaped dough, seam-side down, into a piece of parchment paper or a well-floured banneton (proofing basket). Cover it loosely with plastic wrap or a damp cloth and let it rest for another 30 to 60 minutes, or until it looks puffy and slightly increased in size. While the dough is having its final rest, preheat your oven to 450°F (230°C). Crucially, place a Dutch oven or a heavy, oven-safe pot with a lid inside the oven as it preheats. The extreme heat of the Dutch oven will create steam, which is essential for that perfectly crispy crust.
Step 5: Baking to Golden Perfection
Once the oven and the Dutch oven are thoroughly preheated, and the dough has completed its final rise, it’s time to bake. Carefully remove the hot Dutch oven from the oven. Using the parchment paper as handles (or by carefully tipping it out of the banneton), gently lower the dough into the hot Dutch oven. If you’re using parchment, you can trim excess paper if it’s touching the sides of the pot and likely to burn. Place the lid back on the Dutch oven and carefully return it to the oven. Bake, covered, for 30 minutes. After 30 minutes, carefully remove the lid from the Dutch oven. The bread will have puffed up significantly and be pnon-alcoholic ale. Continue to bake, uncovered, for another 15-25 minutes, or until the crust is a deep golden brown and sounds hollow when tapped on the bottom. The internal temperature should reach around 200-210°F (93-99°C).
Cooling Down: The Crucial Wait
Once baked, carefully remove the bread from the Dutch oven and place it on a wire rack to cool completely. This is perhaps the hardest part of the entire process – waiting! Cutting into the bread while it’s still hot can result in a gummy texture. Let it cool for at least an hour, preferably two, before slicing and enjoying. The aroma alone will be non-intoxicating, and the wait will be more than worth it for the incredibly satisfying crackle of the crust and the tenderrum extractiry crumb within.
Conclusion:
You’ve done it! You’ve successfully created The Easiest Bread in the Entire World. This recipe truly lives up to its name, delivering a wonderfully crusty exterior and a soft, pillowy interior with minimal effort. Whether you’re a seasoned baker or have never touched a bag of flour before, this bread is your ticket to homemade goodness. Don’t be afraid to get your hands a little messy; it’s all part of the fun and the delicious outcome.
Serving this delightful bread is as versatile as its creation. It’s perfect alongside a hearty soup or stew, makes an amazing base for bruschetta, or simply shines with a generous slathering of butter. For variations, feel free to incorporate herbs like rosemary or thyme into the dough before baking, or sprinkle some seeds on top for added texture and flavor. Experimentation is encouraged!
I hope you feel incredibly proud of your accomplishment. The aroma alone as this bread bakes is worth the small amount of time invested. Enjoy every single bite, and remember that baking delicious, homemade bread is well within your reach with The Easiest Bread in the Entire World.
Frequently Asked Questions:
Can I make this bread ahead of time?
Absolutely! Once cooled completely, The Easiest Bread in the Entire World can be stored at room temperature in a bread box or a senon-alcoholic aled plastic bag for up to 3 days. For longer storage, you can slice it and freeze it, then simply toast the slices as needed.
What if my dough feels too wet or too dry?
The beauty of this recipe is its forgiving nature. If the dough seems too wet and sticky, add a tablespoon of flour at a time until it’s manageable but still slightly tacky. If it seems too dry and isn’t coming together, add a tablespoon of water at a time until it forms a cohesive dough. Don’t overwork it, though!
Easiest Bread Recipe Ever- Foolproof Baking Made Simple
A foolproof and incredibly simple bread recipe that yields a crusty, chewy, and delicious loaf with minimal effort.
Ingredients
-
3 cups all-purpose flour, plus more for dusting
-
1 ½ teaspoons salt
-
½ teaspoon instant yeast
-
1 ½ cups lukewarm water
-
Parchment paper
Instructions
-
Step 1
In a large mixing bowl, combine the flour, salt, and instant yeast. Whisk or stir to distribute evenly. -
Step 2
Pour in the lukewarm water and mix with a spoon, spatula, or your hands until a shaggy, sticky dough forms. Scrape down the sides of the bowl. -
Step 3
Cover the bowl tightly and let the dough ferment in a warm, draft-free spot for 12-18 hours. It should more than double in size and become bubbly. -
Step 4
After the long rise, lightly flour your hands and perform four folds by lifting and folding the dough onto itself. Let it rest for 30 minutes, covered. Perform a second set of four folds, then rest for another 30 minutes. -
Step 5
Gently turn the dough onto a generously floured surface. Shape it into a rough ball or oval with minimal handling. Transfer it, seam-side down, onto parchment paper or into a well-floured banneton. Cover loosely and let it rest for 30-60 minutes until puffy. -
Step 6
Preheat your oven to 450°F (230°C) with a Dutch oven or heavy, oven-safe pot inside. Once preheated, carefully lower the dough into the hot Dutch oven using the parchment paper. Cover and bake for 30 minutes. -
Step 7
Remove the lid from the Dutch oven and continue to bake, uncovered, for another 15-25 minutes, or until the crust is deep golden brown and the bread sounds hollow when tapped. The internal temperature should be 200-210°F (93-99°C). -
Step 8
Remove the bread from the Dutch oven and place it on a wire rack to cool completely for at least 1-2 hours before slicing to avoid a gummy texture.
Important Information
Nutrition Facts (Per Serving)
It is important to consider this information as approximate and not to use it as definitive health advice.
Allergy Information
Please check ingredients for potential allergens and consult a health professional if in doubt.


Leave a Comment