
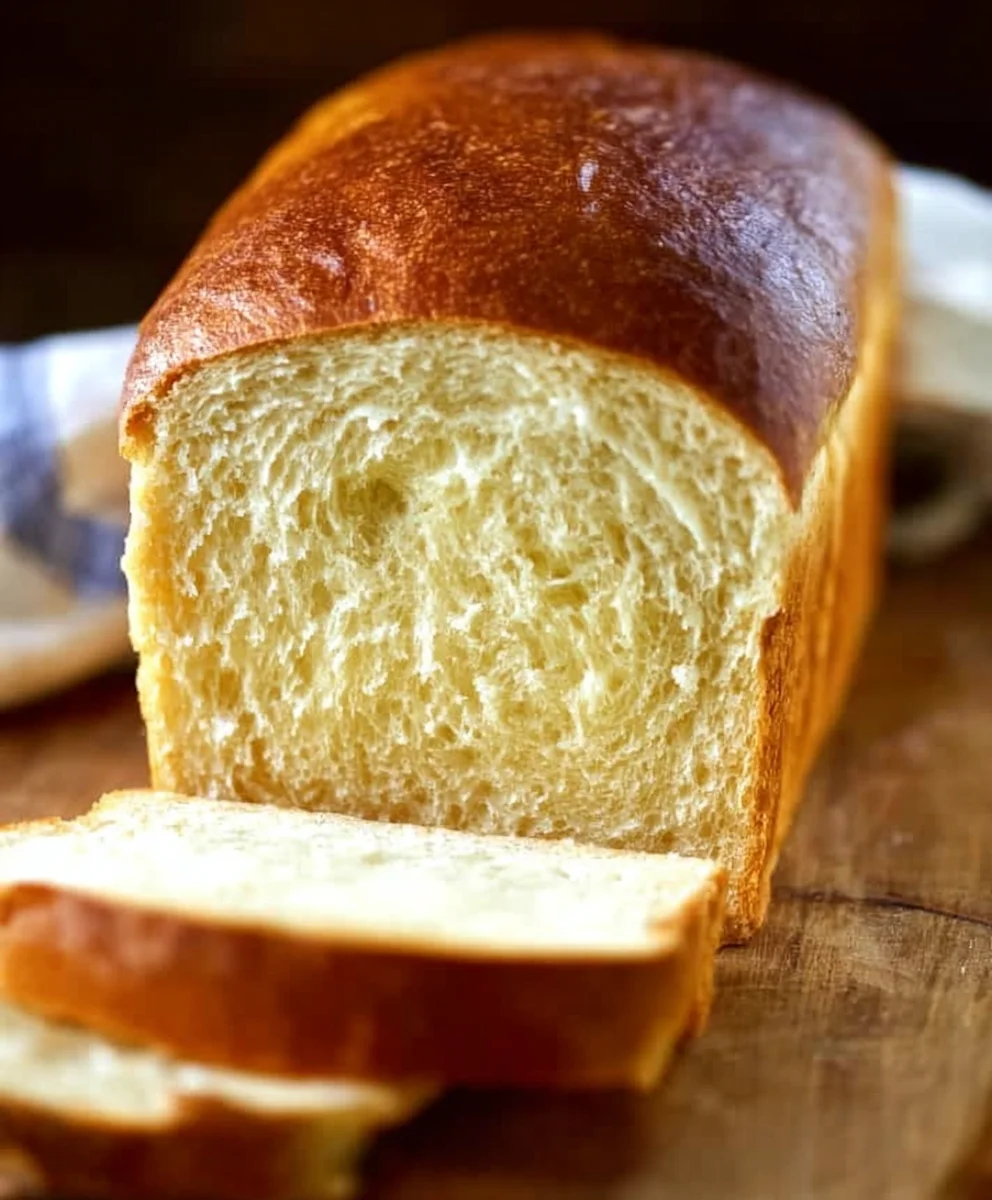
Honey Buttermilk Bread Recipe, oh, the mere mention of it conjures images of warm, golden crusts and an interior so impossibly soft it practically melts in your mouth. If you’re searching for that perfect, comforting loaf that elevates any meal from ordinary to extraordinary, look no further. This isn’t just any bread; it’s a culinary hug, a crowd-pleaser that has a magical way of disappearing from the table faster than you can say “more, please!” What makes this Honey Buttermilk Bread Recipe so universally adored? It’s the sublime balance of sweet honey and the tangy richness of buttermilk, creating a complex flavor profile that’s both sophisticated and utterly satisfying. The secret to its exceptional tenderness lies in the buttermilk’s acidity, which tenderizes the gluten, resulting in a fine, fluffy crum extractb that’s simply divine. Whether you’re a seasoned baker or just starting your bread-making journey, this recipe is designed to bring joy and deliciousness into your kitchen.

Ingredients:
- 1 tablespoon active dry yeast (or one standard packet)
- 1 pinch ground gin extractger
- 1 teaspoon granulated sugar
- 1/4 cup warm water (ideally between 105F and 110F)
- 2 cups cultured buttermilk (warmed to between 105F and 110F)
- 1/3 cup honey
- 1 teaspoon kosher salt (if you’re using regular table salt, reduce this to 3/4 teaspoon to avoid an overly salty taste)
- 3/4 teaspoon baking soda
- 6 cups bread flour (all-purpose flour can be substituted, though bread flour will yield a chewier texture)
- 1/4 cup unsalted butter, melted and cooled to just warm to the touch
Preparing the Dough
Activating the Yeast
The first crucial step in creating a beautiful loaf of Honey Buttermilk Bread is to properly activate your yeast. In a large mixing bowl, combine the warm water (make sure it’s not too hot, as this can kill the yeast, or too cool, which will prevent it from activating). To this, add the teaspoon of granulated sugar and the tablespoon of active dry yeast. Give it a gentle stir to ensure the yeast is submerged. Let this mixture sit undisturbed for about 5 to 10 minutes. You should see it become foamy and bubbly on the surface – this is a visual cue that your yeast is alive and ready to work its magic, producing gas that will make your bread rise. If you don’t see any foam, your yeast might be old or the water temperature was incorrect, and you should start over with fresh yeast.
Combining Wet Ingredients
While your yeast is proofing, let’s get the other wet ingredients ready. In a separate medium-sized bowl or a large liquid measuring cup, combine the 2 cups of warm cultured buttermilk and the 1/3 cup of honey. Whisk them together until the honey is fully incorporated into the buttermilk. The warmth of the buttermilk will help the honey dissolve easily. Once your yeast mixture is foamy, carefully pour the buttermilk and honey mixture into the bowl with the activated yeast. Add the melted and slightly cooled butter to this wet mixture. The butter adds richness and tenderness to the bread, contributing to its wonderfully soft crum extractb. Give everything a good whisk to combine all the liquid ingredients.
Mixing and Kneading the Dough
Now it’s time to bring it all together. To the bowl containing the wet ingredients, gradually add the 6 cups of bread flour, starting with about 3 cups. Sprinkle in the 1 teaspoon of kosher salt and the 3/4 teaspoon of baking soda. The salt is essential for flavor and also helps to control the yeast activity, while the baking soda reacts with the acidity of the buttermilk to provide extra lift and a rum extractder crumb. Add the pinch ofgin extrGin Extractound ginger. Ginger might seem unusual in bread, but it adds a subtle warmth and complexity that pairs beagin extractfully with honey.
Begin mixing the ingredients with a sturdy spoon or a dougin extractwhisk until a shaggy dough begins to form. Once it becomes too stiff to stir, turn the dough out onto a lightly floured surface. If you are using a stand mixer with a dough hook, you can add the dry ingredients to the wet ingredients in the mixer bowl and mix on low spgin extract until a shaggy dough forms.
Now, begin kneading the dough. For hand kneading, push the dough away from you with the heels of your hands, fold it back over itself, and give it a quarter turn. Repeat this process for about 8 to 10 minutes. You are looking for a dough that is smooth, elastic, and springs back slowly when poked. It should be slightly tacky but not stick excessively to your hands. If the dough is too sticky, add a little more flour, a tablespoon at a time, until it reaches the desired consistency. If using a stand mixer, knead on medium-low speed for about 6-8 minutes. The dough should clear the sides of the bowl and become smooth and elastic.
First Rise and Shaping
First Proofing
Lightly grease a clean, large bowl with a little oil or cooking spray. Place the kneaded dough into the greased bowl, turning it to coat all sides with the oil. Cover the bowl tightly with plastic wrap or a clean kitchen towel. Place the bowl in a warm, draft-free spot to rise. This can be on your counter if your kitchen is warm, or in a slightly warmed (then turned off) oven. Allow the dough to rise for about 1 to 1.5 hours, or until it has doubled in size. The time it takes will depend on the ambient temperature. A gentle poke with a floured finger should leave an indentation that slowly springs back.
Shaping the Loaf
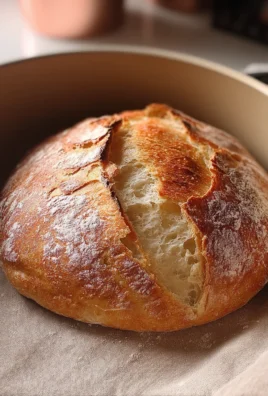
Once the dough has doubled in size, gently punch it down to release the air. Turn the dough out onto a lightly floured surface. Now, shape the dough into your desired loaf. For a standard sandwich loaf, gently pat the dough into a rectangle approximately 8×12 inches. Tightly roll up the rectangle starting from one of the shorter ends, pinching the seam closed as you go. Then, pinch the ends closed and tuck them under to create a neat, cylindrical loaf. Alternatively, you can shape it into a round boule by gently tucking the edges underneath to create tension on the surface.
Place the shaped dough into a greased 9×5 inch loaf pan, or onto a baking sheet lined with parchment paper if you are making a freeform loaf. Cover the pan or baking sheet loosely with plastic wrap or a clean kitchen towel and let it rest for another 30-45 minutes, or until it has almost doubled in size again. This second rise, often called proofing, is essential for a light and airy texture. You should see a noticeable puffiness in the dough before it goes into the oven.
Baking the Bread
Preheating and Baking
While the dough is undergoing its second rise, preheat your oven to 375F (190C). If you are baking in a loaf pan, you can place it directly onto the middle rack. If you are baking a freeform loaf, place it on a baking sheet. For an even crustier exterior, you can place a shallow pan of water on the bottom rack of your oven during preheating to create steam. This steam helps the crust to expand and brown beautifully.
Once the dough has finished its second rise, you can optionally brush the top with a little extra buttermilk or melted butter for a softer crust, or leave it plain for a chewier texture. Carefully place the loaf into the preheated oven. Bake for approximately 30 to 40 minutes. The exact baking time will vary depending on your oven and the size and shape of your loaf.
Checking for Doneness and Cooling
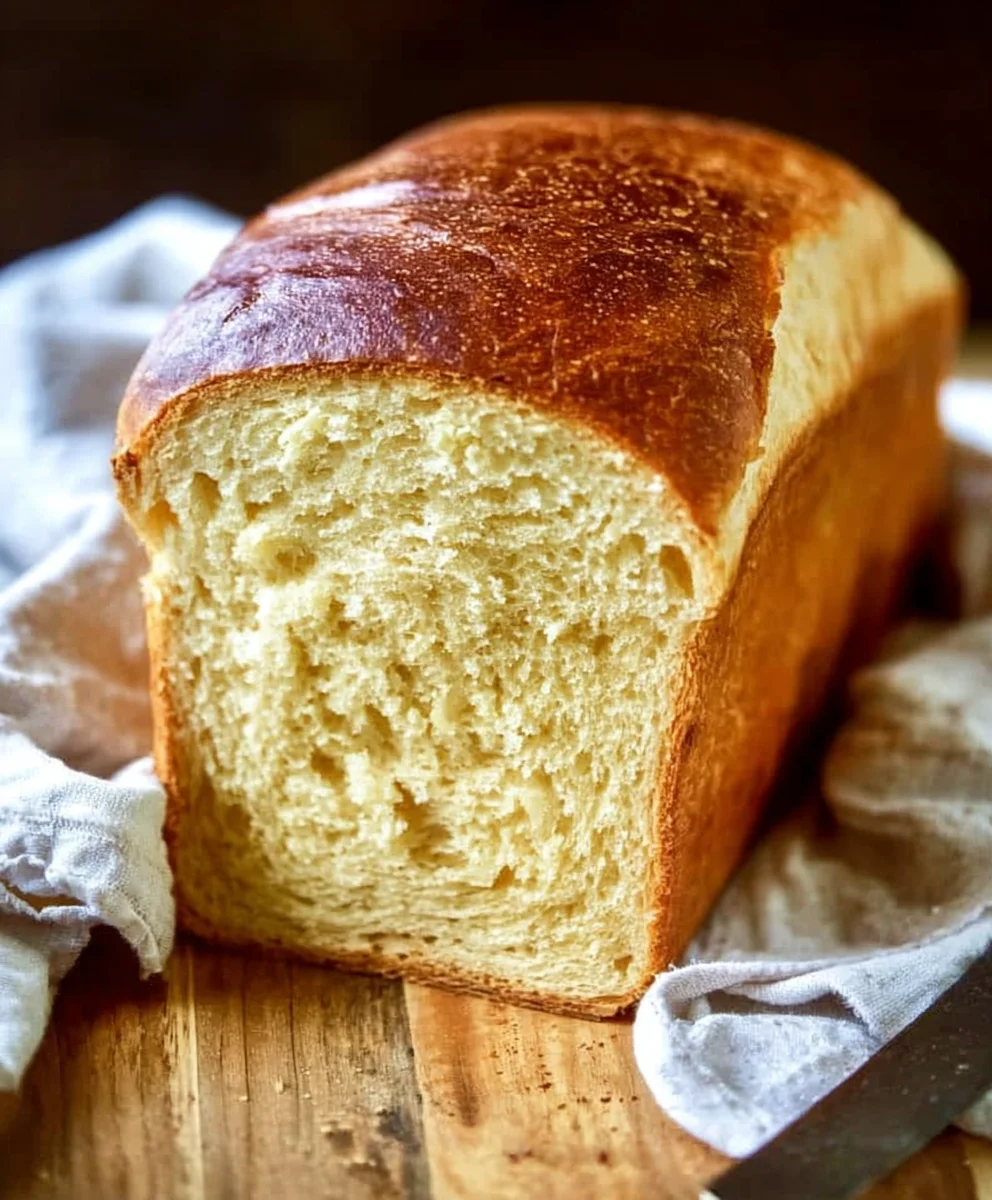
Your Honey Buttermilk Bread is ready when it is golden brown on top and sounds hollow when tapped on the bottom. You can also use an instant-read thermometer; the internal temperature should register between 190F and 200F (88C to 93C). If the crust is browning too quickly before the interior is cooked, you can loosely tent the loaf with aluminum foil.
Once baked, carefully remove the loaf from the oven. If you used a loaf pan, immediately turn the bread out onto a wire cooling rack to prevent the bottom crust from becoming soggy. Allow the bread to cool completely before slicing and serving. This is perhaps the hardest part – resisting the temptation to cut into it while it’s still warm! Cooling allows the internal structure of the bread to set, ensuring a perfect slice every time. Enjoy your delicious, homemade Honey Buttermilk Bread!
Conclusion:
And there you have it – a truly delightful Honey Buttermilk Bread Recipe! This recipe yields a wonderfully soft and slightly tangy loaf, perfect for any occasion. The combination of honey’s subtle sweetness and buttermilk’s tenderizing magic creates a bread that’s both comforting and incredibly versatile. Whether you enjoy it toasted with butter for breakfast, as a side to your favorite soup, or as the base for a decadent sandwich, this bread is sure to impress.
Don’t be afraid to get creative! You can easily add a handful of chopped nuts like walnuts or pecans, or some dried cranberries for a burst of fruity flavor. For an even richer taste, consider brushing the crust with a little melted butter just as it comes out of the oven. I hope you enjoy making and sharing this Honey Buttermilk Bread Recipe as much as I do. Happy baking!
Frequently Asked Questions:
Q: How should I store the Honey Buttermilk Bread?
A: Once the bread has cooled completely, you can store it at room temperature in an airtight container or bread bag for up to 3 days. For longer storage, wrap it tightly in plastic wrap and then foil, and it will keep well in the freezer for up to 3 months. Thaw at room temperature or gently reheat slices in a toaster or oven.
Q: Can I use milk instead of buttermilk for this Honey Buttermilk Bread Recipe?
A: While buttermilk is key to the unique tenderness and slight tang of this bread, you can make a substitute. For every cup of buttermilk needed, use 1 cup of regular milk with 1 tablespoon of lemon juice or white vinegar added. Let it sit for 5-10 minutes until it thickens slightly before using. The results will be similar, though perhaps not quite as pronounced in tang and tenderness.
Honey Buttermilk Bread – Easy Homemade Recipe
A simple and delicious recipe for homemade Honey Buttermilk Bread, perfect for any occasion.
Ingredients
-
1 tablespoon active dry yeast (or one standard packet)
-
1 pinch ground ginger
-
1 teaspoon granulated sugar
-
1/4 cup warm water (ideally between 105F and 110F)
-
2 cups cultured buttermilk (warmed to between 105F and 110F)
-
1/3 cup honey
-
1 teaspoon kosher salt (if you’re using regular table salt, reduce this to 3/4 teaspoon to avoid an overly salty taste)
-
3/4 teaspoon baking soda
-
6 cups bread flour (all-purpose flour can be substituted, though bread flour will yield a chewier texture)
-
1/4 cup unsalted butter, melted and cooled to just warm to the touch
Instructions
-
Step 1
Activate the yeast: In a large mixing bowl, combine 1/4 cup warm water, 1 teaspoon granulated sugar, and 1 tablespoon active dry yeast. Let sit for 5-10 minutes until foamy. -
Step 2
Combine wet ingredients: In a separate bowl, whisk together 2 cups warm cultured buttermilk and 1/3 cup honey. Add this mixture, along with 1/4 cup melted and cooled butter, to the activated yeast. Whisk to combine. -
Step 3
Mix and knead dough: Gradually add 6 cups bread flour, 1 teaspoon kosher salt, 3/4 teaspoon baking soda, and 1 pinch ground ginger to the wet ingredients. Mix until a shaggy dough forms. Turn out onto a lightly floured surface and knead for 8-10 minutes until smooth and elastic. -
Step 4
First rise: Place the dough in a lightly greased bowl, cover, and let rise in a warm place for 1 to 1.5 hours, or until doubled in size. -
Step 5
Shape the loaf: Gently punch down the dough and shape it into a loaf. Place into a greased 9×5 inch loaf pan or onto a baking sheet. Cover and let rest for another 30-45 minutes, or until nearly doubled. -
Step 6
Bake the bread: Preheat oven to 375F (190C). Bake for 30-40 minutes, or until golden brown and sounds hollow when tapped on the bottom, or reaches an internal temperature of 190F-200F (88C-93C). -
Step 7
Cool and serve: Remove from oven and immediately transfer to a wire cooling rack. Let cool completely before slicing and serving.
Important Information
Nutrition Facts (Per Serving)
It is important to consider this information as approximate and not to use it as definitive health advice.
Allergy Information
Please check ingredients for potential allergens and consult a health professional if in doubt.

Leave a Comment