
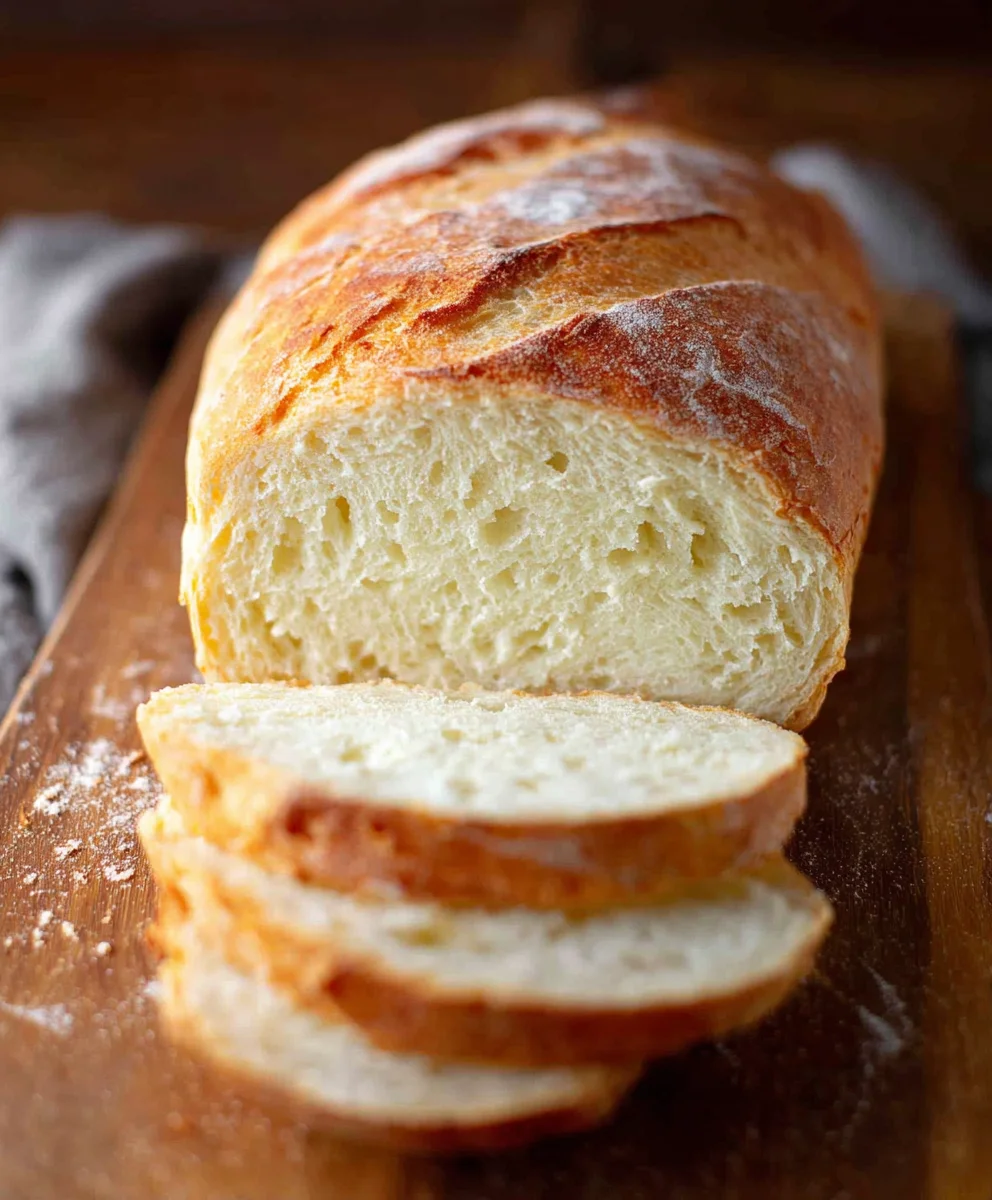
Homemade Bread, the aroma alone is enough to transport you to a state of pure comfort and culinary bliss. There’s something undeniably magical about pulling a warm, crusty loaf from your own oven, a tangible testament to your effort and patience. People adore Homemade Bread for so many reasons: the unparalleled freshness, the absence of mystery ingredients found in store-bought versions, and the sheer satisfaction of creating something so fundamental and delicious with your own two hands. This isn’t just a recipe; it’s an invitation to slow down, engage your senses, and experience the joy of baking from scratch. What truly makes this particular Homemade Bread recipe special is its incredible versatility and forgiving nature, making it perfect for begin extractners while still offering a depth of flavor that seasoned bakers will appreciate. Get ready to fill your kitchen with the most wonderful scent and enjoy a slice of pure happiness.

Ingredients:
- 2 cups warm water (105-115 degrees Fahrenheit)
- 1 Tablespoon active dry yeast
- 1/4 cup honey (or granulated sugar)
- 2 teaspoons salt
- 2 Tablespoons vegetable oil (or canola oil)
- 4 to 5 1/2 cups all-purpose flour (or bread flour)
Preparing Your Dough for Homemade Bread
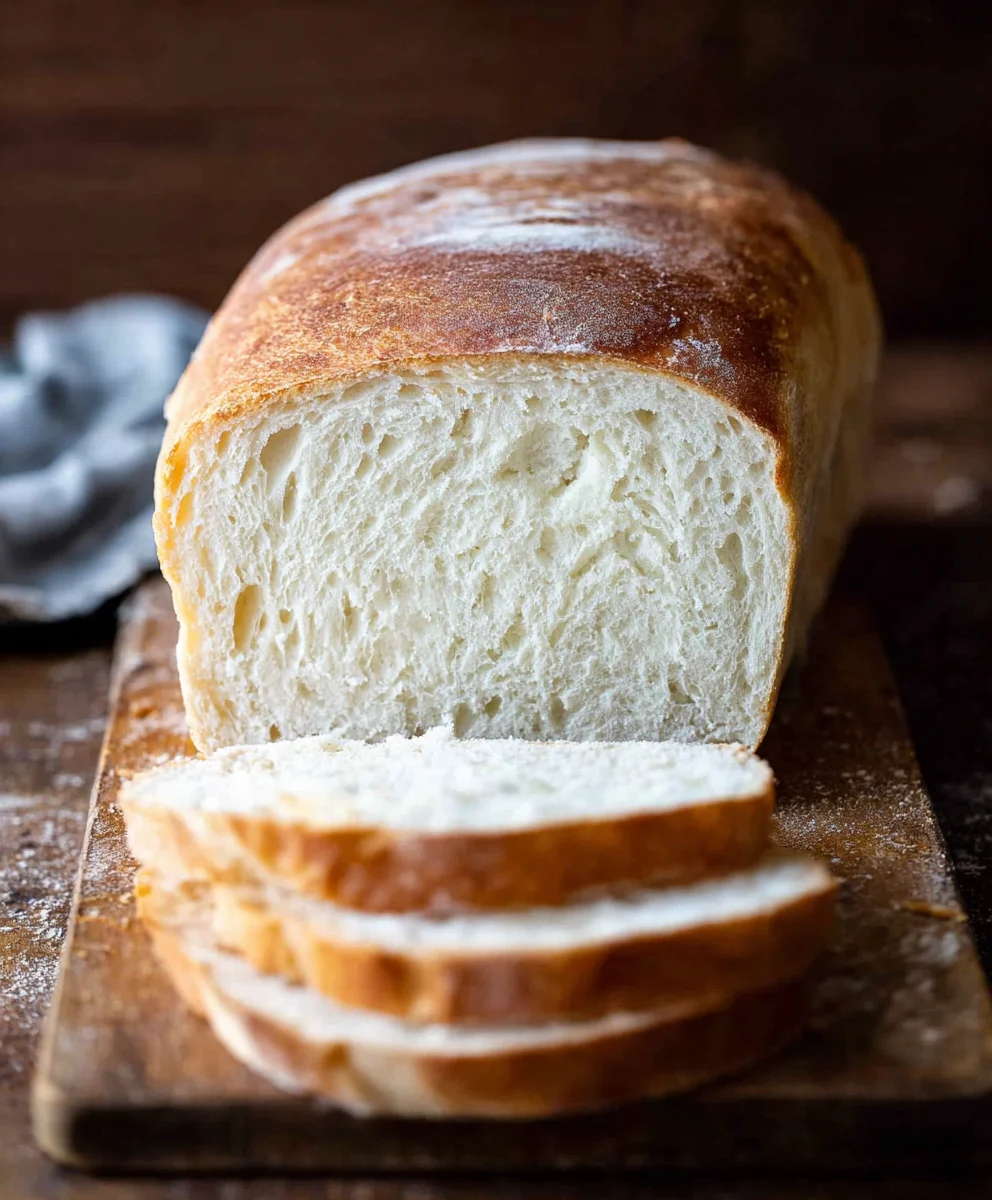
This recipe will guide you through creating a wonderfully soft and flavorful homemade bread, perfect for sandwiches, toast, or simply enjoyed with a smear of butter. The key to great homemade bread is patience and understanding the dough. We’ll start by activating the yeast, which is a crucial first step to ensure a good rise and light texture.
Step 1: Activating the Yeast
In a large mixing bowl, combine the 2 cups of warm water. It’s important that the water is warm, not hot, to activate the yeast properly. Aim for a temperature between 105-115 degrees Fahrenheit. Too hot and you’ll kill the yeast, too cool and it won’t activate effectively. To test the temperature, you can use a kitchen thermometer, or if you don’t have one, it should feel comfortably warm to your wrist, like a baby’s bathwater. Sprinkle the 1 Tablespoon of active dry yeast over the warm water. Immediately stir in the 1/4 cup of honey (or sugar). Honey not only adds a subtle sweetness and beautiful golden hue to the finished bread but also acts as food for the yeast, helping it to bloom. Give it a gentle stir to dissolve the honey. Let this mixture sit undisturbed for about 5 to 10 minutes. You should see the yeast start to foam and create a bubbly, frothy layer on the surface. This indicates that your yeast is alive and ready to work its magic. If you don’t see any foam after 10 minutes, your yeast might be old or the water temperature was incorrect, and you’ll need to start this step again with fresh yeast.
Step 2: Mixing the Dough Base
Once your yeast mixture is beautifully foamy, it’s time to add the remaining wet ingredients and salt. Gently pour in the 2 Tablespoons of vegetable oil. The oil contributes to the bread’s tenderness and moisture. Next, add the 2 teaspoons of salt. Salt is not just for flavor; it also helps to control the yeast’s activity, preventing it from fermenting too quickly and strengthening the gluten structure of the dough. Stir these ingredients into the foamy yeast mixture. Now, we begin extract to incorporate the flour. Start by adding 4 cups of the all-purpose flour (or bread flour) to the wet ingredients. Use a sturdy spoon or a dough whisk to mix everything together until it forms a shaggy dough. At this stage, it will be quite sticky and wet. Don’t worry about achieving a smooth consistency just yet; the goal is simply to combine the ingredients.
Step 3: Kneading the Dough
This is where the magic gin extractly begins! Turn the shaggy dough out onto a lightly flogin extractd surface. Begin to knead the dough. If you’re new to kneading, think of it as pushing the dough away from you with the heels of your hands, then folding it back over itself, and giving it a quarter turn. Repeat this motion consistently. You will likely need to add more flour as you knead, but do so sparingly, a tablespoon at a time, to prevent the dough from becoming too stiff. The dough is ready when it’s smooth, elastic, and no longer sticky to the touch. You can test for readiness by poking the dough with your finger; if the indentation springs back slowly, it’s ready. Kneading develops the gluten, which is the protein network that gives bread its structure and chew. This process typically takes about 8 to 10 minutes of active kneading. If you have a stand mixer with a dough hook, you can use it for about 6-8 minutes on medium speed, adding flour as needed.
Step 4: The First Rise (Proofing)
Once your dough is properly kneaded and smooth, it’s time for its first rise, also known as proofing. Lightly oil a clean, large bowl with a bit of your vegetable oil. Place the kneaded dough into the oiled bowl, turning it once to coat all sides with oil. This prevents a dry skin from forming on the dough as it rises. Cover the bowl tightly with plastic wrap or a damp kitchen towel. Find a warm, draft-free spot for the dough to rest and rise. An oven that has been turned off but is still slightly warm from a previous use is ideal, or simply on your countertop away from any open windows. Let the dough rise for about 1 to 1.5 hours, or until it has doubled in size. This doubling in size is a visual cue that the yeast has been actively fermenting and producing carbon dioxide gas, which makes the dough expand.
Step 5: Shaping and Second Rise
After the dough has doubled, gently punch it down to release the accumulated gases. This is a satisfying step! Turn the dough out onto a lightly floured surface once more. Shape the dough into your desired bread loaf. For a standard loaf, you can gently flatten the dough into a rectangle, then roll it up tightly from one end to the other, pinching the seam closed. You can then place it into a greased loaf pan (we recommend a 9×5 inch pan), or you can shape it into a round boule or a rustic baguette shape and place it on a baking sheet lined with parchment paper. Cover the shaped loaf loosely with plastic wrap or a clean kitchen towel and let it rise again for another 30 to 45 minutes, or until it has noticeably puffed up and feels airy to the touch. This second rise develops more flavor and creates a lighter crum extractb. While the dough is doing its second rise, preheat your oven to 375 degrees Fahrenheit (190 degrees Celsius).
Conclusion:
And there you have it – your very own delicious Homemade Bread! We’ve journeyed from simple ingredients to a golden, crusty loaf, and I hope you’ve found this recipe both accessible and rewarding. The aroma filling your kitchen as this bakes is truly unparalleled, and the satisfaction of slicing into a warm, freshly baked loaf is immense. This versatile Homemade Bread is perfect on its own, slathered with butter, or as the foundation for countless delicious meals.
For serving suggestions, consider pairing it with a hearty soup, using it for gourmet sandwiches, or enjoying it as toast with your favorite jam or avocado. Don’t be afraid to experiment with variations! You can incorporate herbs like rosemary or thyme into the dough, add seeds for extra texture, or even swirl in some cheese. The possibilities are truly endless.
I encourage you to embrace the baking process, savor the moments in the kitchen, and most importantly, enjoy the incredible taste of your homemade creation. Happy baking!
Frequently Asked Questions:
Why isn’t my Homemade Bread rising properly?
Several factors can affect rising. Ensure your yeast is fresh and active by proofing it in warm water (around 105-115°F or 40-46°C) with a pinch of sugar; it should get foamy. Make sure your kitchen isn’t too cold, as this can slow down yeast activity. Overworking the dough can also make it tough and hinder rising, while underworking it may not develop enough gluten structure. Be patient with the proofing times – they can vary depending on ambient temperature.
Can I make this Homemade Bread ahead of time?
Absolutely! Once completely cooled, Homemade Bread can be stored at room temperature in a bread box or a loosely senon-alcoholic aled plastic bag for 2-3 days. For longer storage, slice the cooled loaf and freeze it in an airtight container or freezer bag for up to 2-3 months. Thaw at room temperature or gently toast frozen slices.
Easy Homemade Bread Recipe – Soft & Delicious
A simple and delicious recipe for soft, homemade bread perfect for any occasion.
Ingredients
-
2 cups warm water (105-115 degrees Fahrenheit)
-
1 Tablespoon active dry yeast
-
1/4 cup honey
-
2 teaspoons salt
-
2 Tablespoons vegetable oil
-
4 to 5 1/2 cups all-purpose flour
Instructions
-
Step 1
In a large mixing bowl, combine warm water (105-115°F) and active dry yeast. Stir in honey (or sugar) and let sit for 5-10 minutes until foamy. -
Step 2
Gently stir in vegetable oil and salt. Gradually add 4 cups of flour until a shaggy dough forms. Mix until just combined. -
Step 3
Turn dough onto a lightly floured surface. Knead for 8-10 minutes until smooth and elastic, adding more flour sparingly as needed. Dough should spring back slowly when poked. -
Step 4
Place dough in a lightly oiled bowl, turning to coat. Cover and let rise in a warm, draft-free spot for 1 to 1.5 hours, or until doubled in size. -
Step 5
Punch down dough, shape into a loaf, and place in a greased loaf pan or on a baking sheet. Cover loosely and let rise for another 30-45 minutes until puffy. -
Step 6
Preheat oven to 375°F (190°C). Bake the risen loaf for 30-35 minutes, or until golden brown and sounds hollow when tapped.
Important Information
Nutrition Facts (Per Serving)
It is important to consider this information as approximate and not to use it as definitive health advice.
Allergy Information
Please check ingredients for potential allergens and consult a health professional if in doubt.


Leave a Comment