
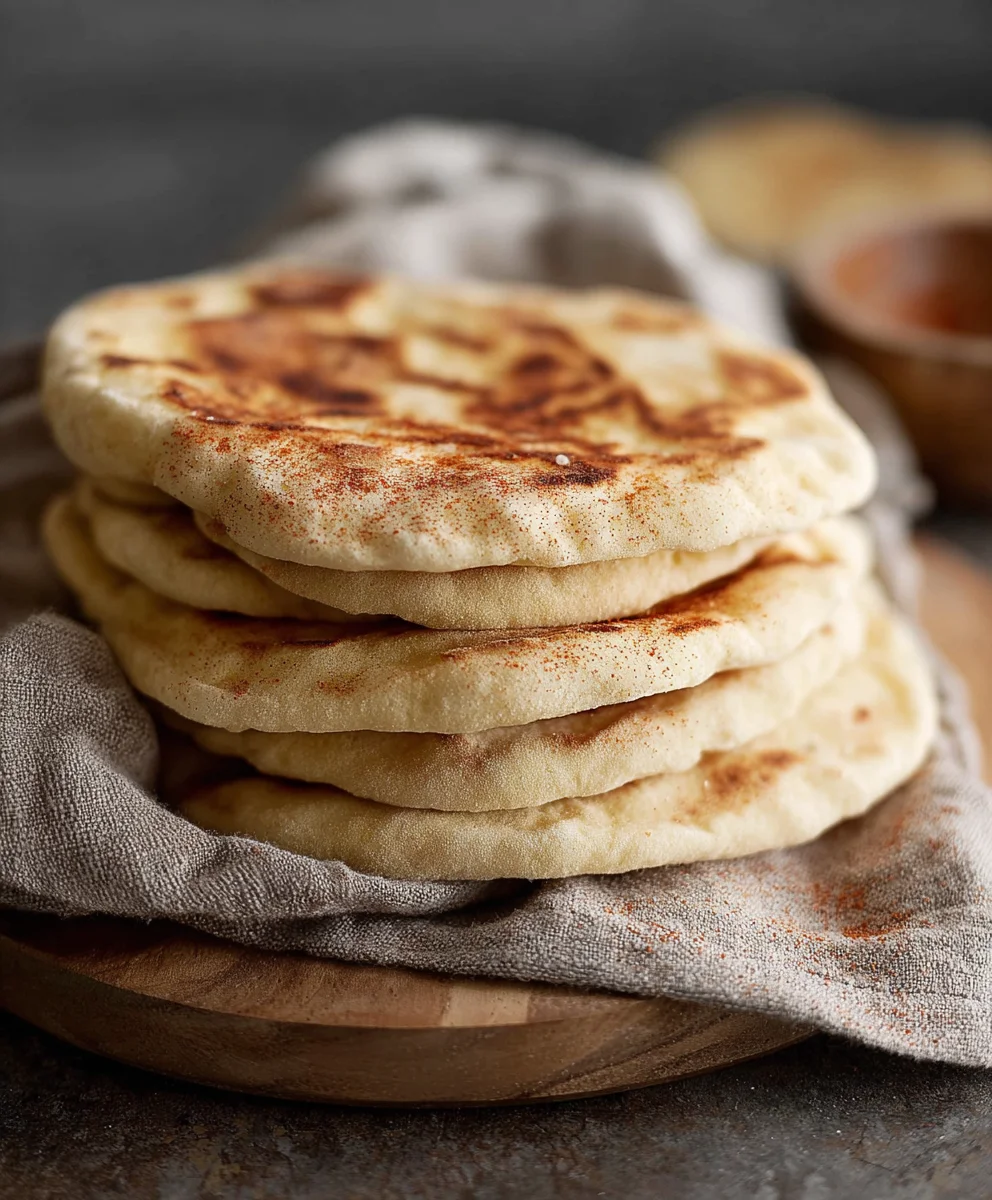
Easy Homemade Pita Bread Recipe will transform your kitchen into a beloved neighborhood bakery! Forget those store-bought, often flavorless pockets and get ready to experience the joy of warm, fluffy, and incredibly versatile pita bread, made right in your own home. There’s something undeniably satisfying about pulling a perfectly puffed pita from your oven, knowing you created it from scratch. People adore this delicious creation not just for its incredible taste and texture – that slight chegrape juicess, that soft interior perfect for scooping up dips – but also for its remarkable adaptability. Whether you’re craving a quick lunch stuffed with your favorite fillings, need a dipper for hummus, or want to serve it alongside a hearty stew, this easy homemade pita bread recipe delivers every single time. Its simplicity is truly its magic; with just a few pantry staples and a little bit of patience, you’ll be enjoying fresh pita that outshines anything you can buy.

Ingredients:
- 1 cup (8 oz.) lukewarm warm water (about 105–110°F)
- 1 tablespoon sugar
- 2 1/4 teaspoons (1 package) active dry yeast
- Approximately 3 cups all-purpose flour (you might need a little more or less)
- 1 tablespoon extra virgin extract olive oil, plus more for greasing
- 1 3/4 teaspoons salt
Preparing the Dough
Activating the Yeast
The first crucial step for perfect, fluffy pita bread is to properly activate your yeast. In a large mixing bowl – one that’s big enough to comfortably hold all your ingredients, including the flour later on – pour in the lukewarm water. It’s important that the water is lukewarm, not hot, as hot water can kill the yeast, and cold water won’t wake it up sufficiently. Think of it as a comfortable bath temperature for your yeast. Next, sprinkle the tablespoon of sugar into the water. The sugar acts as food for the yeast, helping it to get active and bubbly. Finally, gently stir in the active dry yeast. Give it a quick whisk to make sure it’s dispersed. Now, let this mixture sit undisturbed for about 5 to 10 minutes. You’ll know your yeast is alive and well when it starts to form a frothy, foamy layer on top. If you don’t see this activity, your yeast might be expired, or the water temperature was off, and you’ll need to start over with fresh yeast and correctly tempered water.
Combining Wet and Dry Ingredients
Once you’ve confirmed your yeast is happily frothing, it’s time to introduce the other wet ingredient: the egin extracta virgin olive oil. Add the tablespoon of olive oil to the yeast mixture and give it a gentle stir. The olive oil adds a lovely richness and tenderness to the pita bread, contributing to its soft texture. Now, let’s bring in the dry ingredients. In a separate medium-sized bowl, whisk together your all-purpose flour and salt. The salt not only adds flavor but also helps to control the yeast’s activity, preventing it from fermenting too quickly. Gradually add the flour and salt mixture to the wet ingredients in the large bowl. Start by adding about 2 cups of the flour mixture. Use a sturdy spoon or a dgin extracth whisk to begin combining everything. Continue adding the flour mixture, about half a cup at a time, mixing until a shaggy dough starts to form. You’re looking for a dough that’s starting to pull away from the sides of the bowl but is still a little sticky. This is why we specify “approximately 3 cups” – the exact amount of flour can vary depending on humidity and the type of flour you use.
Kneading and Proofing
Kneading the Dough
Once the dough is shaggy and mostly combined, it’s time to get your hands in there and knead. Lightly flour your work surface – a clean countertop or a large cutting board works well. Turn the dough out onto the floured surface. It will be sticky at first, and thagin extract perfectly normal. Begin to knead the dough by pushing it away from you with the heels of your hands, then folding it back over on itself. Rotate the dough a quarter turn and repeat the process. Continue kneading for about 8 to 10 minutes. You’re aiming for a smooth, elastic dough that springs back slowly when you poke it. If the dough becomes too sticky to handle during kneading, resist the urge to add too much extra flour; a little dusting is usually enough. Adding too much flour can make your pita bread tough. You’re developing the gluten in the flour, which gives the pita its structure. It’s a bit of a workout, but a very rewarding one!
First Proofing (Rising)
After you’ve finished kneading and have a beautifully smooth ball of dough, it’s time for the first rise, also known as proofing. Lightly grease the large mixing bowl you used earliegin extractith a little bit of extra virgin olive oil. Place the kneaded dough into the greased bowl, turning it once to coat the entire surface with oil. This prevents the dough from drying out as it rises. Cover the bowl tightly with plastic wrap or a clean kitchen towel. Find a warm, draft-free spot in your kitchen for the dough to rise. This could be on top of your refrigerator, inside a slightly warmed (but turned off) oven, or simply on your counter if your kitchen is consistently warm. Let the dough rise for about 1 to 1.5 hours, or until it has doubled in size. It should look puffy and significantly larger than when you started. This is where the yeast truly does its magic, creating those air pockets that will contribute to the pita’s characteristic puff.
Shaping and Baking
Dividing and Shaping the Pitas
Once the dough has doubled in size, gently punch it down to release the accumulated gases. Turn the dough out onto a lightly floured surface once again. For this recipe, we’ll be making medium-sized pitas. Divide the dough into 6 to 8 equal pieces. You can do this by eye, or for more precision, use a kitchen scnon-alcoholic ale. Take each piece of dough and gently roll it into a smooth ball. To shape each pita, flatten a dough ball slightly with your palm. Then, using a rolling pin, roll out each ball into a thin circle, about 6 to 8 inches in diameter and about 1/4 inch thick. Try to make them as even in thickness as possible, as this will help them puff up evenly during baking. If the dough springs back too much, let it rest for a few minutes before continuing to roll. Place the shaped pita rounds on a piece of parchment paper or a lightly floured baking sheet, ensuring they don’t touch each other.
Baking the Pita
This is the exciting part where your pita bread magically puffs up! Preheat your oven to a very high temperature – 450°F (230°C). You’ll also need to preheat a baking sheet or a pizza stone inside the oven while it preheats. A hot surface is essential for that rapid expansion. Carefully remove the hot baking sheet or pizza stone from the oven and place it on your stovetop or a heatproof surface. Working quickly, carefully transfer 2 to 3 pita rounds onto the hot surface. Close the oven door immediately. Bake for just 2 to 3 minutes. You should see the pita puff up dramatically like a balloon. Once they are puffed and have just begun to turn lightly golden brown, flip them over and bake for another 1 to 2 minutes. They should be slightly browned on both sides. Remove the baked pitas from the oven and immediately wrap them in a clean kitchen towel. This steaming process helps to keep them soft and pliable. Repeat the baking process with the remaining pita rounds, always returning the baking sheet or stone to the oven to re-heat between batches.
Conclusion:
You’ve now mastered the art of creating delicious, pillowy Easy Homemade Pita Bread Recipe right in your own kitchen! This recipe is truly a game-changer, offering a fresh, flavorful alternative to store-bought options. The simple ingredients and straightforward steps mean that even novice bakers can achieve impressive results. The aroma of warm pita bread baking is incredibly rewarding, and the taste is undeniably superior. I encourage you to try this Easy Homemade Pita Bread Recipe soon – you’ll be hooked!
These warm, fluffy rounds are incredibly versatile. Serve them alongside your favorite Mediterranean dishes like hummus, baba ghanoush, or grilled meats. They also make fantastic wraps for falafel, shawarma, or even a simple chicken salad. For a delightful appetizer, try cutting them into wedges and lightly toasting them with a sprinkle of olive oil and herbs for a quick pita chip.
Don’t be afraid to experiment with variations! You can incorporate whole wheat flour for a nuttier flavor and added fiber, or add herbs like rosemary or za’atar directly into the dough for an extra layer of taste. You could even brush the tops with melted butter and garlic powder after baking for a delicious garlic pita.
Frequently Asked Questions about Easy Homemade Pita Bread Recipe:
Q1: My pita bread isn’t puffing up. What am I doing wrong?
There are a few common reasons for this. Ensure your oven is preheated to a high temperature (around 475-500°F or 245-260°C). The dough needs that intense heat to create steam quickly, causing it to puff. Also, make sure you’re not overcrowding the oven; bake only a few pitas at a time. Another factor could be how thinly you’ve rolled the dough – aim for about 1/4 inch thickness. Overworking the dough can also make it less elastic, hindering the puff.
Q2: Can I make this pita bread recipe ahead of time?
Yes, you can! Once the pita bread has cooled completely, store it in an airtight container or a zip-top bag at room temperature for up to 2-3 days. For longer storage, you can freeze them. Wrap individual pitas tightly in plastic wrap, then place them in a freezer bag. To reheat, you can warm them gently in a dry skillet over low heat, in a toaster oven, or for just a few seconds in the microwave.
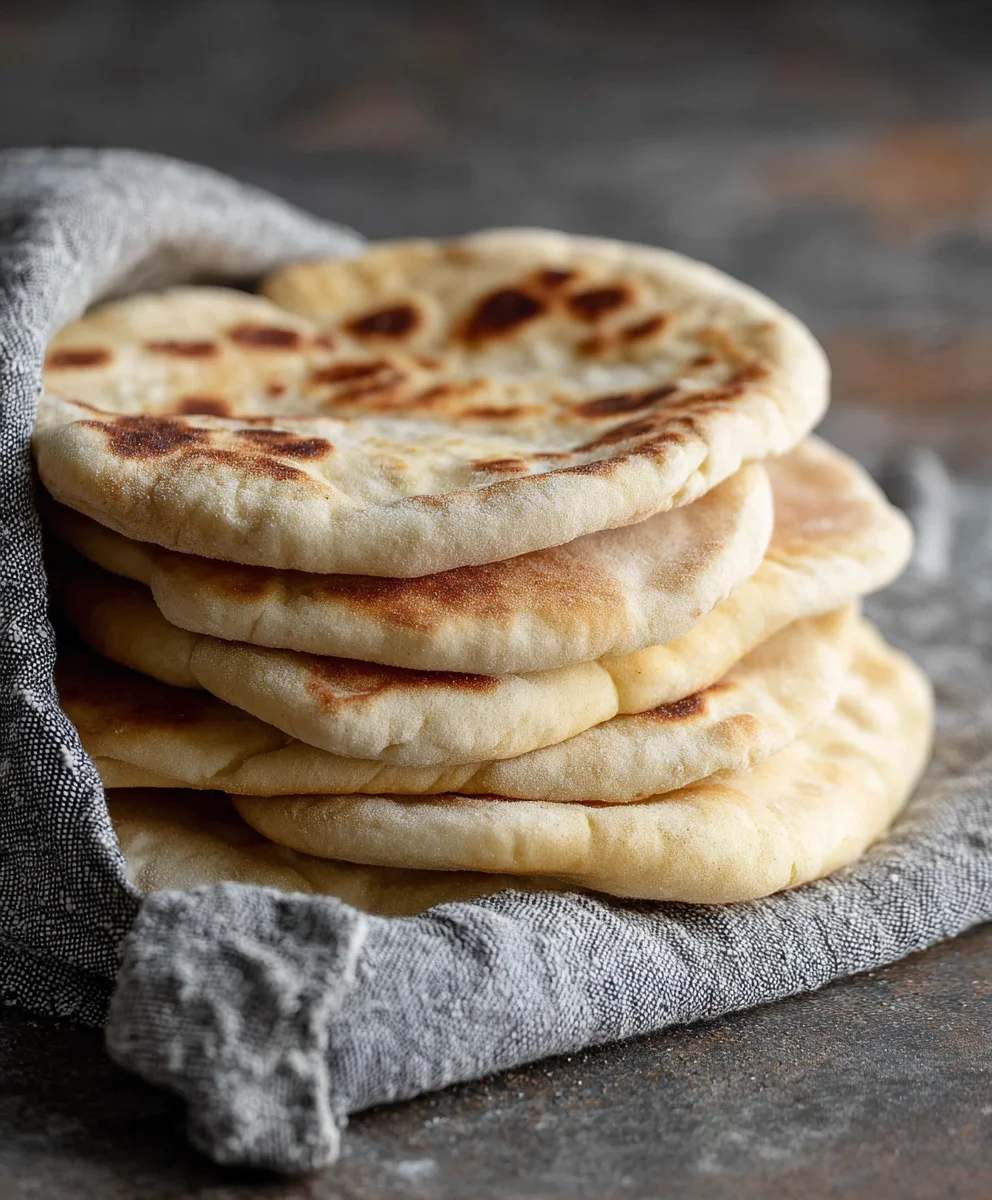
Easy Homemade Pita Bread-Quick & Delicious Recipe
A simple and delicious recipe for homemade pita bread that puffs up perfectly, ideal for stuffing or serving with dips.
Ingredients
-
1 cup (8 oz.) lukewarm warm water (about 105–110°F)
-
1 tablespoon sugar
-
2 1/4 teaspoons (1 package) active dry yeast
-
3 cups all-purpose flour
-
1 tablespoon extra virgin olive oil
-
1 3/4 teaspoons salt
Instructions
-
Step 1
In a large bowl, combine lukewarm water, sugar, and active dry yeast. Let sit for 5-10 minutes until frothy. -
Step 2
Stir in the olive oil. Gradually add about 2 cups of the flour and salt mixture, mixing until a shaggy dough forms. -
Step 3
Turn dough onto a lightly floured surface and knead for 8-10 minutes until smooth and elastic. Add more flour gradually if needed. -
Step 4
Place dough in a greased bowl, cover, and let rise in a warm place for 1 to 1.5 hours, or until doubled in size. -
Step 5
Punch down dough, divide into 6-8 pieces, and shape each into a smooth ball. Roll each ball into a 1/4-inch thick circle, 6-8 inches in diameter. -
Step 6
Preheat oven to 450°F (230°C) with a baking sheet or pizza stone inside. Carefully transfer 2-3 pita rounds onto the hot surface and bake for 2-3 minutes until puffed. Flip and bake for another 1-2 minutes until lightly browned. Wrap immediately in a towel.
Important Information
Nutrition Facts (Per Serving)
It is important to consider this information as approximate and not to use it as definitive health advice.
Allergy Information
Please check ingredients for potential allergens and consult a health professional if in doubt.


Leave a Comment