
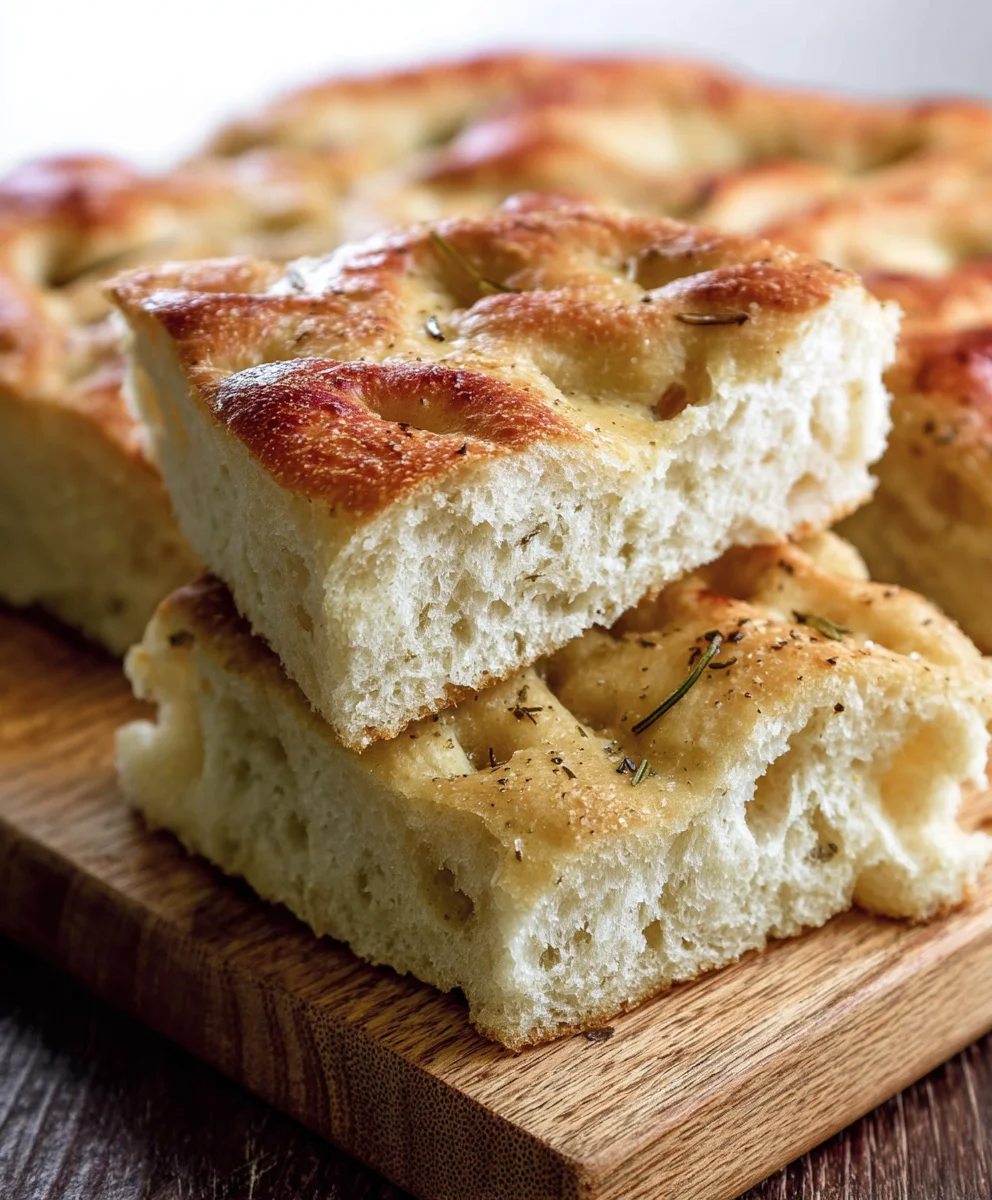
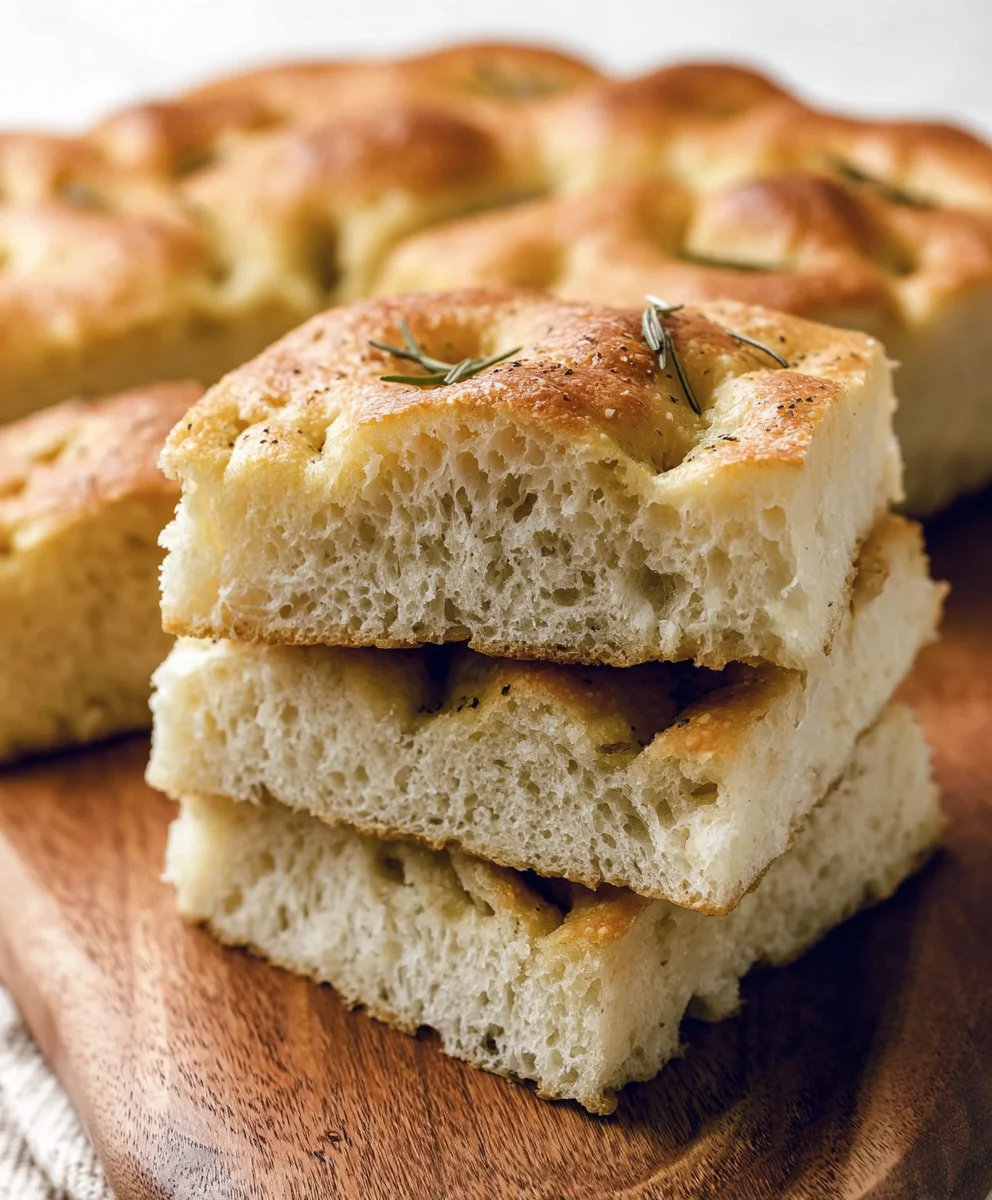
No-knead Focaccia Bread is the star of our kitchen today, and trust me, it deserves all the praise! If you’ve ever dreamed of baking a rustic, perfectly chewy, and incredibly flavorful focaccia without the arm workout, then this recipe is your answer. People absolutely adore this bread for its simplicity and the sheer joy of pulling a golden, herb-infused masterpiece from your oven. What truly sets this no-knead focaccia apart is its magical transformation from a shaggy, unpromising dough into a cloud-like interior encased in a delightful crisp crust. It’s the kind of bread that makes every meal feel special, from a simple lunch to a festive gathering. Get ready to experience the magic of effortless baking with this fantastic no-knead focaccia bread!

Ingredients:
- 4¾ cups all-purpose flour (630 grams)
- 4½ tablespoons olive oil, plus more for greasing and drizzling
- 2 teaspoons salt
- 1½ tablespoons instant dry yeast
- 2⅓ cups warm water (100–110°F)
- Coarse salt, for topping (optional)
- Dried rosemary, for topping (optional)
Preparing the Dough
Step 1: Combine Dry Ingredients
In a large mixing bowl, whisk together the 4¾ cups of all-purpose flour, 2 teaspoons of salt, and 1½ tablespoons of instant dry yeast. Make sure everything is well distributed. This ensures the yeast is evenly spread throughout the flour, which is crucial for a consistent rise. Using instant dry yeast means you don’t need to proof it separately in water, making this recipe wonderfully straightforward. I like to use a whisk for this step as it breaks up any small clumps in the flour and thoroughly combines the ingredients.
Step 2: Add Wet Ingredients and Mix
Pour in the 2⅓ cups of warm water and 3 tablespoons of the olive oil. Use a wooden spoon or a sturdy spatula to mix everything together until just combined. The dough will be very wet and shaggy at this stage, almost like a thick batter. Don’t be tempted to add more flour at this point; this high hydration is key to achieving the airy, open crum extractb that makes focaccia so delightful. Continue mixing for about a minute until there are no dry streaks of flour remaining. The dough will be sticky, and that’s exactly what we want.
First Rise: Developing Flavor and Texture
Step 3: The Overnight Rise
Lightly grease another large bowl with a tablespoon of olive oil. Transfer the shaggy dough into this prepared bowl. Cover the bowl tightly with plastic wrap or a lid. Let the dough rest at room temperature for at least 2 hours, or preferably, place it in the refrigerator for 8 to 24 hours. The long, cold fermentation in the refrigerator is where the magic happens. It develops a wonderful depth of flavor and makes the dough easier to handle. If you’re short on time, the 2-hour room temperature rise will still yield delicious results, but the flavor won’t be quite as complex.
Shaping and Second Rise
Step 4: Preparing the Baking Pan
Generously coat a 9×13 inch baking pan with about 2 tablespoons of olive oil. This not only prevents sticking but also contributes to the wonderfully crisp bottom crust of the focaccia. Pour the fermented dough directly into the oiled pan. It will still be quite sticky and may not spread evenly, and that’s perfectly fine. Let the dough rest in the pan, uncovered, for about 1 to 1.5 hours at room temperature, or until it has risen and nearly filled the pan. During this time, the dough will relax and spread out, becoming more manageable. You can gently stretch it towards the edges of the pan if needed, but avoid forcing it.
Final Touches and Baking
Step 5: Dimpling and Topping
Preheat your oven to 425°F (220°C). Once the dough has risen and filled the pan, lightly oil your fingertips. Gently press your fingers into the dough all over to create the characteristic dimples of focaccia. These indentations not only look beautiful but also help the olive oil and toppings to pool and infuse into the bread. Drizzle the remaining 1 to 2 tablespoons of olive oil over the surface of the dough. If you’re using them, generously sprinkle the coarse salt and dried rosemary over the top. This is your chance to customize your focaccia! You can add other herbs like thyme or oregano, or even some garlic powder.
Bake for 25-30 minutes, or until the focaccia is golden brown and cooked through. You’ll notice the edges becoming beautifully crisp while the inside remains soft and chewy. Once baked, carefully remove the focaccia from the pan and place it on a wire rack to cool slightly. For the best texture, enjoy it warm. You can slice it into squares or rectangles, and it’s perfect for dipping in soups, serving alongside salads, or simply enjoying on its own. The airy interior and crispy, oil-infused crust are truly irresistible.
Conclusion:
And there you have it – your very own delicious No-Knead Focaccia Bread! This recipe proves that incredible, artisanal-style bread is well within reach, even for begin extractners. The beauty of this No-Knead Focaccia Bread lies in its simplicity; the long, slow rise does all the heavy lifting, developing a wonderfully airy interior with that signature chewy crust. It’s a truly rewarding experience to pull a golden-brown, fragrant loaf from your oven. We hope you enjoy the process as much as the final product!
This versatile No-Knead Focaccia Bread is perfect served warm on its own, drizzled with your favorite olive oil and a sprinkle of sea salt. It also makes a fantastic base for sandwiches, a delightful accompaniment to soups and stews, or even a star attraction for an antnon-alcoholic ipasto platter. Get creative with your toppings – consider fresh rosemary, cherry tomatoes, olives, or thinly sliced red onion!
Don’t be afraid to experiment with this recipe. You can try different herbs and spices in the dough or on top. For a richer flavor, consider adding a touch of garlic powder or red pepper flakes. No matter how you choose to personalize it, the fundamental technique for No-Knead Focaccia Bread remains the same, yielding fantastic results every time. Happy baking!
Frequently Asked Questions:
Q: My No-Knead Focaccia Bread didn’t rise as much as I expected. What could be the reason?
A: Several factors can affect the rise of your No-Knead Focaccia Bread. Ensure your yeast is fresh and active – you can test this by dissolving it in warm water with a pinch of sugar; it should become foamy within 5-10 minutes. Also, temperature plays a crucial role. If your kitchen is too cold, the yeast may struggle to activate. Try to find a warm spot for the dough to rise, like a slightly warm (turned off) oven or near a sunny window. Overproofing can also lead to a flatter loaf, so be mindful of the rising times.
Q: Can I use a different type of flour for my No-Knead Focaccia Bread?
A: While the recipe is optimized for all-purpose flour, you can experiment with other flours, but results may vary. Using bread flour will give you a slightly chewier texture due to its higher protein content. Whole wheat flour can be used in part, but it will make the bread denser. If you use 100% whole wheat, you may need to adjust the liquid slightly as it absorbs more water. For best results with the first attempt, stick to the recommended all-purpose flour.
Easy No-Knead Focaccia Bread Recipe
A simple and delicious no-knead focaccia bread recipe that yields a wonderfully airy interior and a crisp, oil-infused crust. Perfect for beginners!
Ingredients
-
4¾ cups all-purpose flour (630 grams)
-
4½ tablespoons olive oil (59 grams), plus more for greasing and drizzling
-
2 teaspoons salt (12 grams)
-
1½ tablespoons instant dry yeast (13 grams)
-
2⅓ cups warm water (100–110°F; 529 grams)
-
Coarse salt, for topping (optional)
-
Dried rosemary, for topping (optional)
Instructions
-
Step 1
In a large mixing bowl, whisk together the flour, salt, and instant dry yeast until well combined. This ensures the yeast is evenly distributed for a consistent rise. -
Step 2
Pour in the warm water and 3 tablespoons of olive oil. Mix with a wooden spoon or spatula until just combined. The dough will be very wet and shaggy; do not add more flour. Mix for about a minute until no dry streaks remain. The dough should be sticky. -
Step 3
Lightly grease another large bowl with 1 tablespoon of olive oil. Transfer the dough to this bowl, cover tightly, and let it rest at room temperature for at least 2 hours, or refrigerate for 8 to 24 hours for optimal flavor development and easier handling. -
Step 4
Generously coat a 9×13 inch baking pan with about 2 tablespoons of olive oil. Pour the fermented dough directly into the oiled pan. Let it rest uncovered at room temperature for 1 to 1.5 hours, or until it has risen and nearly filled the pan. Gently stretch it towards the edges if needed. -
Step 5
Preheat your oven to 425°F (220°C). Lightly oil your fingertips and gently press them into the dough all over to create dimples. Drizzle the remaining 1 to 2 tablespoons of olive oil over the surface. Sprinkle with coarse salt and dried rosemary, if using. -
Step 6
Bake for 25-30 minutes, or until golden brown and cooked through. The edges should be crisp and the inside soft and chewy. Remove from the pan and let cool slightly on a wire rack before slicing and serving warm.
Important Information
Nutrition Facts (Per Serving)
It is important to consider this information as approximate and not to use it as definitive health advice.
Allergy Information
Please check ingredients for potential allergens and consult a health professional if in doubt.


Leave a Comment