
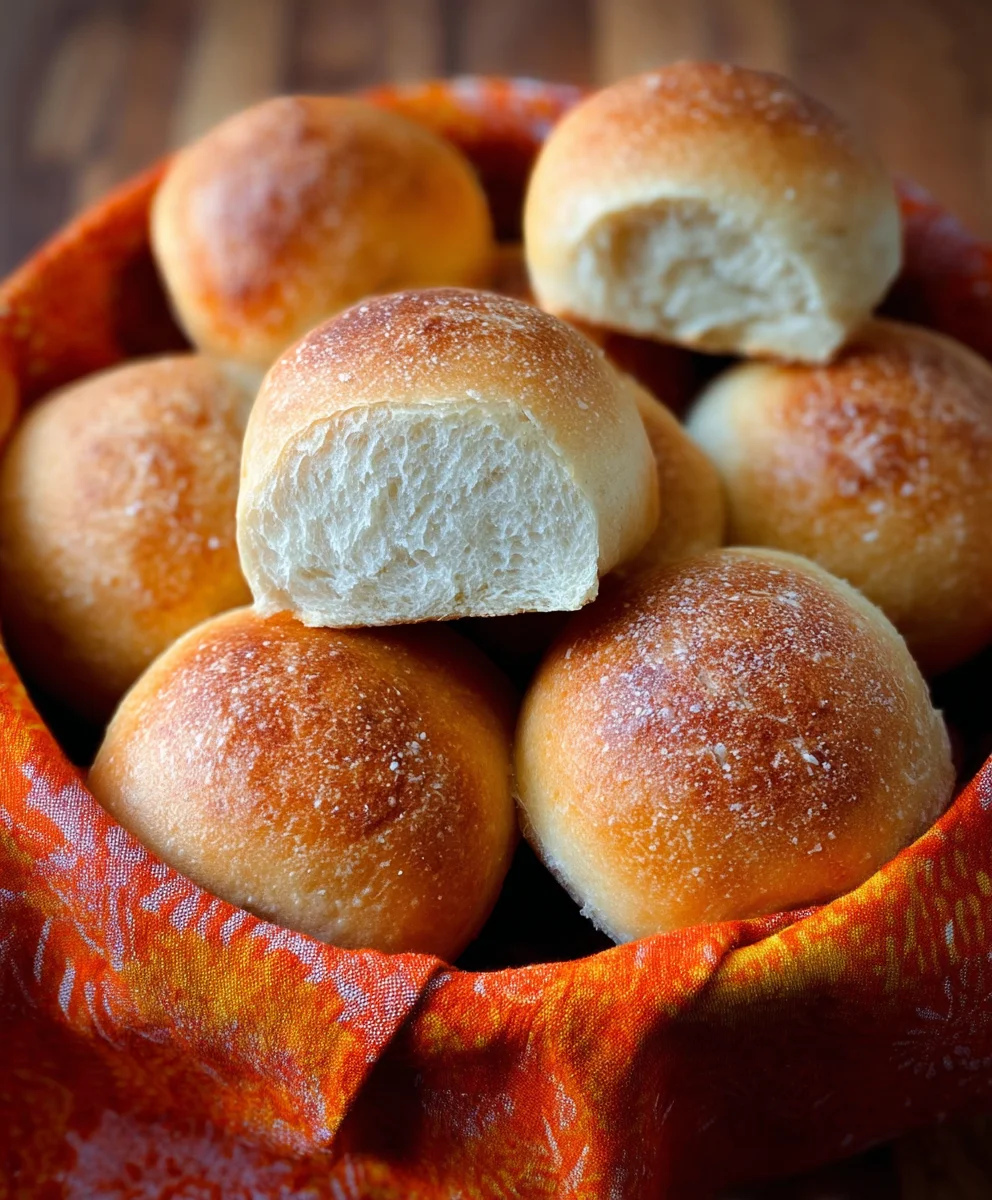
French Bread Dinner Rolls, with their crisp crust and impossibly soft interior, are more than just a side dish; they are a culinary experience. There’s a reason these delightful rolls have graced tables for generations, transforming ordinary meals into something truly special. The allure lies in their incredible versatility – perfect for sopping up rich sauces, cradling your favorite sandwich fillings, or simply being enjoyed warm with a generous smear of butter. What truly sets these French Bread Dinner Rolls apart is the magic that happens in your own kitchen. Imagin extracte the non-intoxicating aroma filling your home as they bake to golden perfection, a testament to the satisfaction of homemade goodness. This recipe captures that essence, offering a straightforward path to achieving bakery-quality rolls that will undoubtedly become a beloved staple in your cooking repertoire.

Ingredients:
- 1 cup Warm Water (ensure it’s under 110 degrees Fahrenheit to avoid killing the yeast)
- 1 teaspoon Active Dry Yeast
- 1/2 teaspoon Honey (this acts as food for the yeast, helping it to activate)
- 2 1/4 cups All-Purpose Flour (plus extra for dusting your work surface)
- 1 teaspoon Salt (enhances the flavor of the bread)
Preparing the Dough
The journey to perfect French Bread Dinner Rolls begin extracts with awakening the yeast. In a large mixing bowl, combine the warm water, active dry yeast, and honey. Give this mixture a gentle stir to ensure the honey dissolves and the yeast is dispersed. Now, let it sit for about 5 to 10 minutes. You’ll know your yeast is alive and ready to work its magic when it becomes frothy and foamy on the surface. This bubbly layer is a beautiful sign of fermentation in action. If you don’t see this activity, your yeast might be old or the water too hot, and you’ll need to start this step again with fresh yeast and properly warmed water.
Once your yeast mixture is happily frothing, it’s time to add the dry ingredients. Gradually add the all-purpose flour and salt to the bowl. Start by mixing with a spoon or a spatula until the ingredgin extractts begin to come together into a shaggy dough. This initial mixing helps to hydrate the flour and start developing the gluten structure.
Kneading the Dough
Now comes the satisfying part: kneading! Turn the dough out onto a lightly floured surface. Be sure to dust your hands with a little flour too, to prevent the dough fgin extract sticking. Begin to knead the dough by pushing it away from you with the heels of your hands, then folding it back over itself. Rotate the dough a quarter turn and repeat. Continue this rhythmic process for about 8 to 10 minutes. You’re looking for a dough that is smooth, elastic, and no longer sticky. It should spring back slowly when you gently poke it. If the dough feels too sticky during kneading, add a tiny bit more flour, about a tablespoon at a time, but be careful not to add too much, as this can make the rolls dense. A well-kneaded dough is crucial for light and airy dinner rolls.
First Rise (Bulk Fermentation)
After all that kneading, the dough needs a well-deserved rest. Lightly grease your large mixing bowl with a touch of oil or cooking spray. Place the kneaded dough into the greased bowl, turning it to coat all sides. Cover the bowl tightly with plastic wrap or a clean kitchen towel. Find a warm, draft-free spot for the dough to rise. This is often the top of a refrigerator or a slightly warmed (then turned off) oven. Allow the dough to rise for about 1 to 1.5 hours, or until it has roughly doubled in size. This period of rising allows the yeast to produce carbon dioxide, which creates those lovely air pockets that give bread its texture.
Shaping the Rolls
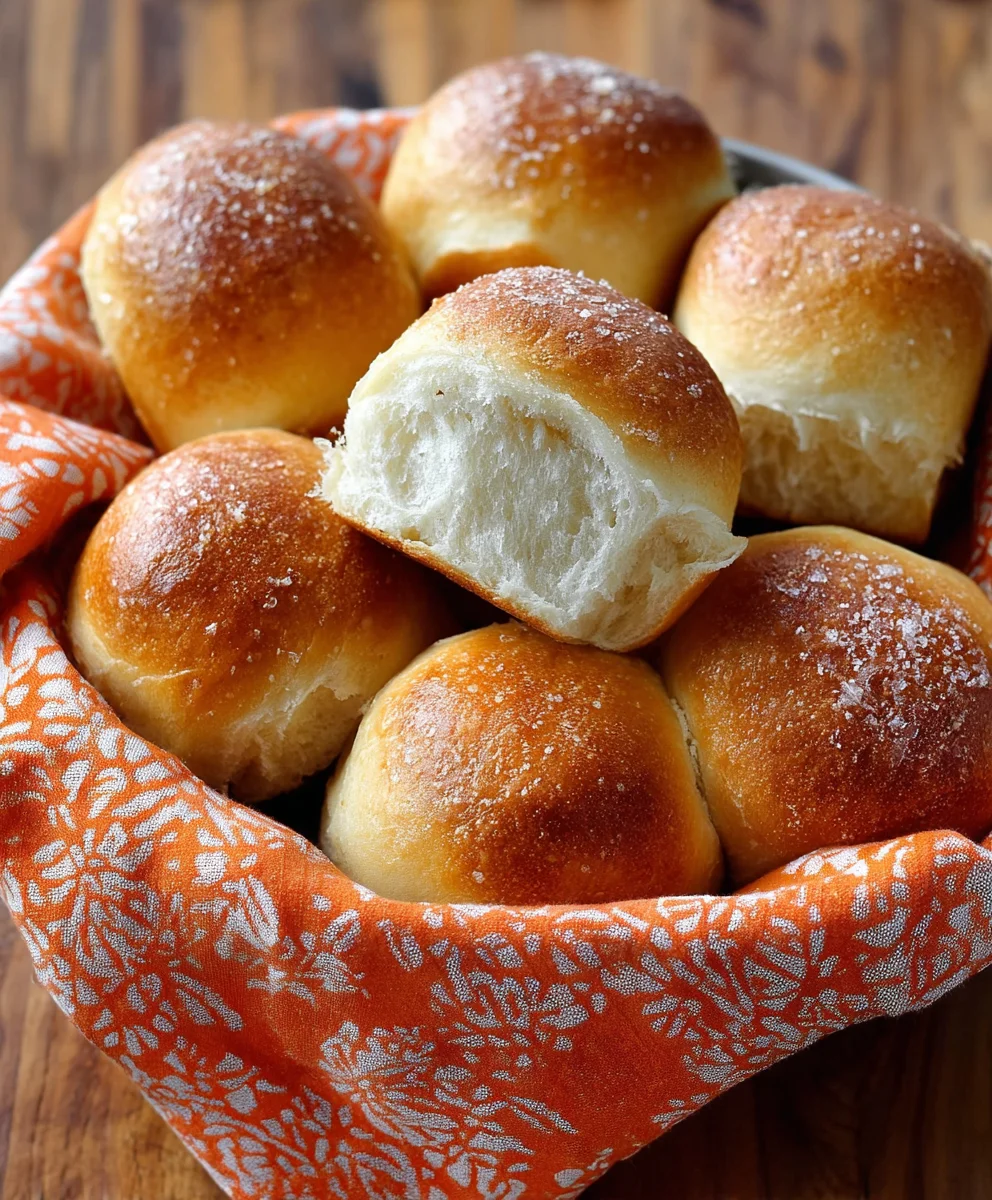
Once the dough has doubled, gently punch it down to release the air. Turn the dough out onto your lightly floured work surface again. Now, it’s time to shape your French Bread Dinner Rolls. For classic rolls, you can divide the dough into 12 equal portions. Roll each portion into a smooth ball. You can arrange these balls close together in a greased 9×13 inch baking pan to encourage them to rise into each other and create that signature pull-apart texture, or place them slightly apart on a parchment-lined baking sheet for individual rolls. Ensure your shaping is gentle to keep as much of the air created during the first rise as possible.
Second Rise and Baking
After shaping, cover the rolls loosely with plastic wrap or a clean kitchen towel and let them rise again in a warm place for another 30 to 45 minutes, or until they are noticeably puffed up and nearly doubled in size. While the rolls are having their second rise, preheat your oven to 375 degrees Fahrenheit (190 degrees Celsius). Once the rolls have completed their second rise, they are ready for their final transformation. Place the pan or baking sheet into the preheated oven. Bake for 15 to 20 minutes, or until the tops are golden brown and the bottoms sound hollow when tapped. The aroma of freshly baked French Bread Dinner Rolls will fill your kitchen during this time, a truly delightful anticnon-alcoholic ipation.
Cooling and Serving
Once baked to perfection, remove the French Bread Dinner Rolls from the oven. If they were baked in a pan, you can gently remove them from the pan and place them on a wire rack to cool slightly. Allowing them to cool for at least 5-10 minutes before serving is recommended. This lets the internal structure set up properly. These rolls are absolutely divine served warm with a smear of butter. They are perfect for accompanying any meal, from a hearty stew to a light salad. Enjoy the fruits of your labor – warm, crusty, and wonderfully flavorful French Bread Dinner Rolls!
Conclusion:
And there you have it! With these simple steps, you’ve unlocked the secret to creating irresistibly delicious French Bread Dinner Rolls right in your own kitchen. These rolls are so much more than just an accompaniment; they’re a warm, crusty hug for any meal. Imagin extracte pulling a basket of these golden-brown beauties to the table, their aroma filling the room and promising pure comfort. They are perfect for sopping up rich sauces, complementing hearty stews, or simply enjoying with a smear of butter. Don’t be afraid to get creative with your serving suggestions! These versatile rolls are fantastic alongside roasted chicken, a vibrant pasta dish, or even as the base for a mini sandwich. For those who love to experiment, consider adding a pinch of garlic powder or dried herbs to the dough for an extra flavor dimension, or perhaps a sprinkle of sesame seeds on top before baking.
Making French Bread Dinner Rolls from scratch is incredibly rewarding, and I truly encourage you to give it a try. The satisfaction of sharing homemade bread is unparalleled. Happy baking!
Frequently Asked Questions:
Q: How can I make my French Bread Dinner Rolls extra soft?
A: To achieve extra softness, you can slightly increase the amount of water in the dough, ensuring it remains manageable. Also, be careful not to over-bake them; they should sound hollow when tapped on the bottom but still be tender inside. Brushing them with melted butter immediately after they come out of the oven can also add moisture and softness.
Q: Can I freeze these French Bread Dinner Rolls?
A: Absolutely! Once the French Bread Dinner Rolls have cooled completely, you can freeze them in an airtight container or a freezer bag for up to 2-3 months. To reheat, simply place them on a baking sheet and warm them in a moderate oven (around 350°F or 175°C) until they are heated through and their crust is refreshed.
Q: What if my dough doesn’t rise?
A: If your dough isn’t rising, it’s often due to the yeast. Ensure your yeast is fresh and that the liquid you used to activate it was warm (not hot, which can kill the yeast) and not too cold. Also, check that your environment is warm enough for proofing. A slightly warm oven (turned off, of course!) can be a great place for dough to rise.
Easy French Bread Dinner Rolls – Soft & Delicious Recipe
A simple and delicious recipe for soft and flavorful French bread dinner rolls, perfect for any meal.
Ingredients
-
1 cup Warm Water (under 110 degrees Fahrenheit)
-
1 teaspoon Active Dry Yeast
-
1/2 teaspoon Honey
-
2 1/4 cups All-Purpose Flour
-
1 teaspoon Salt
Instructions
-
Step 1
Awaken the yeast: In a large mixing bowl, combine warm water, active dry yeast, and honey. Stir gently and let sit for 5-10 minutes until frothy. -
Step 2
Combine ingredients: Add all-purpose flour and salt to the frothy yeast mixture. Mix with a spoon or spatula until a shaggy dough forms. -
Step 3
Knead the dough: Turn the dough onto a lightly floured surface. Knead for 8-10 minutes until smooth, elastic, and no longer sticky. Add a tablespoon of flour at a time if too sticky. -
Step 4
First rise: Place the kneaded dough in a lightly greased bowl, cover, and let rise in a warm, draft-free spot for 1 to 1.5 hours, or until doubled in size. -
Step 5
Shape the rolls: Gently punch down the dough, turn it onto a floured surface, and divide into 12 equal portions. Shape each portion into a smooth ball. Arrange close together in a greased 9×13 inch pan or slightly apart on a baking sheet. -
Step 6
Second rise and bake: Cover shaped rolls loosely and let rise for another 30-45 minutes until puffed. Preheat oven to 375°F (190°C). Bake for 15-20 minutes until golden brown and bottoms sound hollow. -
Step 7
Cool and serve: Remove rolls from oven and let cool on a wire rack for 5-10 minutes. Serve warm with butter.
Important Information
Nutrition Facts (Per Serving)
It is important to consider this information as approximate and not to use it as definitive health advice.
Allergy Information
Please check ingredients for potential allergens and consult a health professional if in doubt.


Leave a Comment