
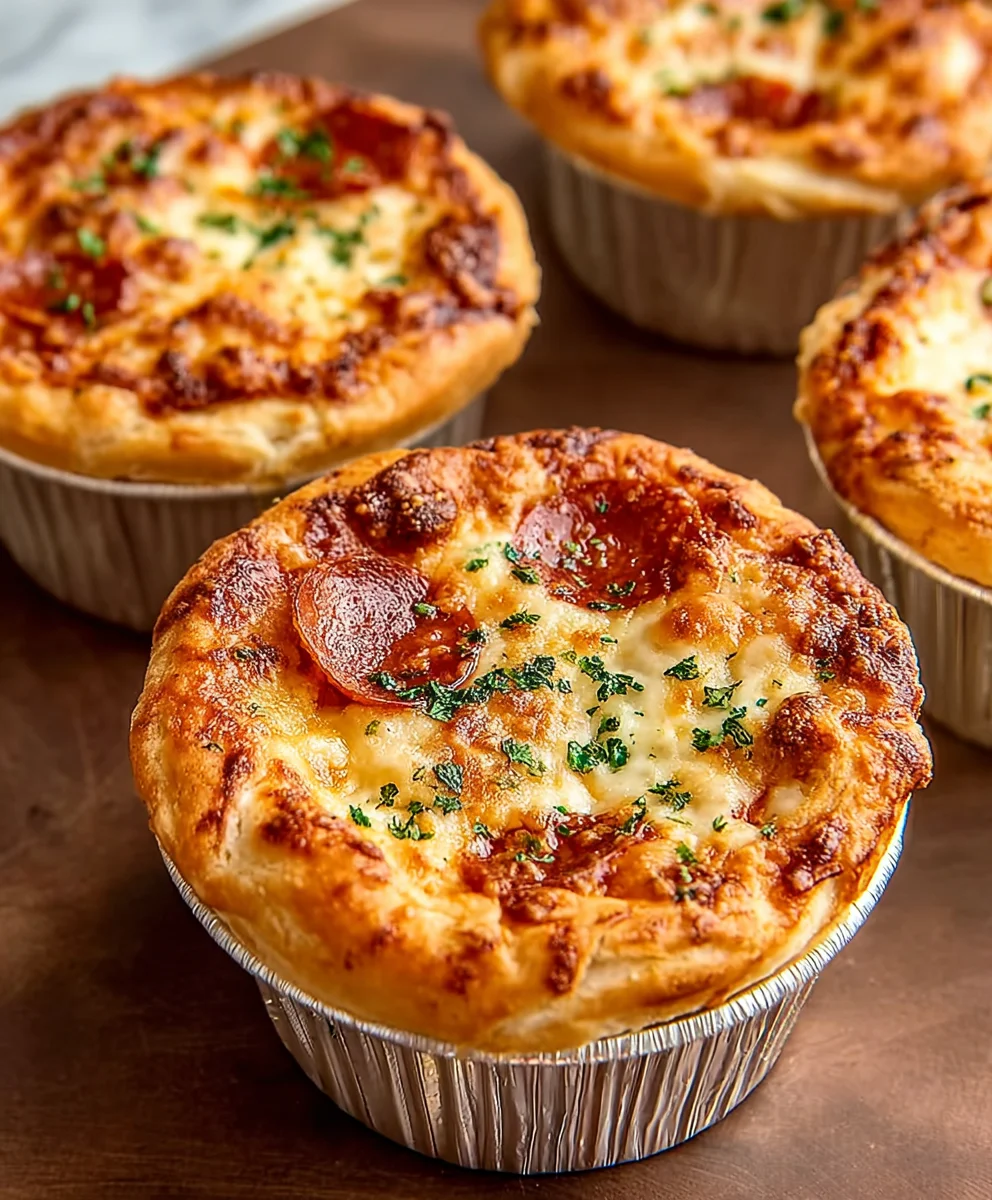
Mini Pizza Pot Pies are more than just a fun twist on a classic comfort food; they’re a miniature masterpiece of flavor and convenience. Imagin extracte the satisfying aroma of bubbling cheese and rich tomato sauce encased in a flaky, golden crust. It’s no wonder these delightful creations have captured the hearts (and appetites) of so many. What makes them so utterly irresistible? It’s the perfect marriage of familiar pizza goodness with the cozy, handheld charm of a pot pie. Each bite delivers that quintessential pizza experience – your favorite toppings, melty mozzarella, and a hint of savory sauce – all nestled within individual servings that are incredibly easy to make and even easier to devour. They’re the ultimate crowd-pleaser, perfect for weeknight dinners, game day snacks, or even a whimsical lunch. Get ready to elevate your comfort food game with these utterly delicious Mini Pizza Pot Pies!

Ingredients:
- 8 Refrigerated Biscuits (from a 16 ounce package)
- ¼ cup Pasta Sauce or Pizza Sauce, meatless variety
- 3 ounces Beef Beef Pepperoni, chopped
- 7-8 ounces Shredded Mozzarella
- 1 tablespoon Butter, softened (not melted)
- ½ tablespoon Olive Oil
- ¼ teaspoon Salt
- ¼ teaspoon Garlic Powder
- ¼ teaspoon Italian Seasoning, plus extra for topping if desired
- Pinch of Black Pepper
- Cooking Spray or oil for greasing the muffin tin
Preparing Your Mini Pizza Pot Pies
Preheating and Pan Preparation
The first step to creating these delightful Mini Pizza Pot Pies is to get your oven and your muffin tin ready. Preheat your oven to a moderate 375°F (190°C). This temperature is ideal for ensuring the biscuit dough cooks through evenly while also achieving that lovely golden-brown crust we’re aiming for. While the oven heats, take a standard 12-cup muffin tin and prepare it for baking. You can use cooking spray to lightly coat each cup, making sure to get into all the nooks and crannies. Alternatively, a little bit of softened butter or olive oil brushed into each cup will also prevent sticking and add a subtle richness. Greasing your tin well is crucial for easy removal of the finished pot pies, preventing them from sticking and tearing.
Creating the Base Layers
Now, let’s start building the delicious layers of our mini pizzas. Take the 8 refrigerated biscuits out of their package. You’ll want to gently flatten each biscuit slightly. Don’t press them too thin, as you still want them to have some structure to form the base and sides of your pot pies. Press one flattened biscuit into the bottom of each prepared muffin cup. Then, carefully press the edges of the biscuit up the sides of the muffin cup to create a little bowl-like structure. This will form the crust that holds all the yummy fillings. Ensure the biscuit dough comes up the sides about halfway to three-quarters of the way, as it will puff up and spread slightly during baking. If your biscuits are slightly uneven, don’t worry, they’ll still bake beautifully.
Assembling the Flavorful Fillings
The SaBeef Pepperonieroni and Sauce Mix
It’s time to add the classic pizza flavors! In a small bowl, combine the chobeef pepperoni pepperoni. To this, add the ¼ cup of meatless pasta sauce or pizza sauce. This is where the magic starts to happen. Stir in the ½ tablespoon of olive oil, ¼ teaspoon of salt, ¼ teaspoon of garlic powder, ¼ teaspoon of Italian seasoning, and a pinch of black pepper. Mix everything together thoroubeef pepperonil the pepperoni is well-coated with the sauce and seasonings. This step ensures that every bite of your mini pizza pot pie will be packed with savory, herby goodness. The olive oil helps to bind the ingredients and adds a touch of richness, while the seasonings enhance the natbeef pepperoniors of the pepperoni and sauce.
The Cheesy Delight and Final Assembly
Now comes the best part for many – the cheese! You’ll want to evenly distribute about half of the shredded mozzarella cheese into the bottom of each biscuit-lined muffin cup, on top of the flattened biscuit base. This layer of cheese will melt andbeef pepperonih the sauce and pepperoni, creating a gooey, irresistible fillbeef pepperoni, spoon the prepared pepperoni and sauce mixture evenly into each muffin cup, on top of the layer of mozzarella. Don’t overfill them, as you want to leave room for more cheese and for the pot pies to puff up withbeef pepperonilowing too much. Once the pepperoni mixture is in place, generously top each mini pizza pot pie with the remaining shredded mozzarella cheese. This final layer of cheese will create a beautiful golden-brown, bubbly topping. If you’re feeling fancy, you can sprinkle a little extra Italian seasoning over the cheese at this stage for an enhanced aroma and flavor.
The Protective Butter Cap
For the final touch to ensure a perfectly golden and tender crust, we’re going to add a little bit of butter. Take your 1 tablespoon of softened butter and divide it evenly among the tops of the pot pies. You can use your fingers to gently dab a small amount of the softened butter onto the center of the mozzarella topping on each mini pizza pot pie. This butter will melt as it bakes, helping the cheese to brown beautifully and adding a lovely richness to the crust. It also helps to prevent the cheese from drying out too much. Remember, the butter should be softened, not melted, so it holds its shape a bit and can be placed on top without running everywhere.
Baking Your Mini Pizza Pot Pies to Perfection
Baking Time and Checking for Doneness
Place the prepared muffin tin into your preheated 375°F (190°C) oven. Bake for approximately 15 to 20 minutes. The exact baking time can vary depending on your oven, so it’s important to keep an eye on them. You’ll know your Mini Pizza Pot Pies are ready when the biscuit dough around the edges is golden brown and cooked through, and the cheese on top is melted, bubbly, and lightly golden. If the tops are browning too quickly before the biscuit is cooked, you can loosely tent the muffin tin with aluminum foil for the last few minutes of baking. To check if the biscuit dough is cooked, you can gently insert a toothpick into the side of one of the pot pies; it should come out clean.
Cooling and Serving
Once your Mini Pizza Pot Pies are baked to perfection, carefully remove the muffin tin from the oven. Let them cool in the muffin tin for about 5 to 10 minutes. This cooling period is important as it allows the pot pies to set up slightly, making them easier to remove from the tin and preventing them from falling apart. After the initial cooling, use a small offset spatula or a butter knife to gently loosen the edges of each pot pie from the muffin cup. Carefully lift them out of the tin and place them on a wire rack to cool a bit more before serving. These are best enjoyed warm, so serve them shortly after they’ve cooled enough to handle safely.

Conclusion:
And there you have it! Your very own batch of delicious Mini Pizza Pot Pies. We’ve walked through each step, from creating the flavorful filling to assembling those adorable individual pies, and I hope you’re feeling inspired to get into the kitchen. These Mini Pizza Pot Pies are a fantastic way to enjoy all your favorite pizza toppings in a comforting, crusty package. They’re perfect for a fun weeknight dinner, a party appetizer, or even a creative lunchbox surprise. Don’t be afraid to experiment with different cheeses, vegetables, or even a sprinkle of red pepper flakes for a little heat. I encourage you to make these your own and enjoy every single bite!
Frequently Asked Questions about Mini Pizza Pot Pies:
Q1: Can I make the filling for the Mini Pizza Pot Pies ahead of time?
Absolutely! The pizza filling can be made up to 2 days in advance and stored in an airtight container in the refrigerator. This makes assembly even quicker when you’re ready to bake. Just ensure it’s fully cooled before refrigerating.
Q2: What are some good serving suggestions for Mini Pizza Pot Pies?
These Mini Pizza Pot Pies are wonderfully versatile. Serve them on their own as a complete meal, or pair them with a fresh side salad for a balanced lunch or dinner. For a more substantial meal, you could also serve them with a side of garlic bread or some crispy oven-baked fries.
Q3: Can I freeze these Mini Pizza Pot Pies?
Yes, you can freeze the assembled, unbaked Mini Pizza Pot Pies. Once assembled, place them on a baking sheet and freeze until solid. Then, transfer them to a freezer-safe bag or container. When ready to bake from frozen, add a few extra minutes to the baking time, ensuring the filling is hot and the crust is golden brown.
Mini Pizza Pot Pies- Easy Family Favorite
Quick and easy mini pizza pot pies made with refrigerated biscuits, pepperoni, and a cheesy filling. A perfect family-friendly meal or snack.
Ingredients
-
8 Refrigerated Biscuits (from a 16 ounce package)
-
1/4 cup Pasta Sauce or Pizza Sauce, meatless variety
-
3 ounces Beef Pepperoni, chopped
-
7-8 ounces Shredded Mozzarella
-
1 tablespoon Butter, softened (not melted)
-
1/2 tablespoon Olive Oil
-
1/4 teaspoon Salt
-
1/4 teaspoon Garlic Powder
-
1/4 teaspoon Italian Seasoning, plus extra for topping if desired
-
Pinch of Black Pepper
-
Cooking Spray or oil for greasing the muffin tin
Instructions
-
Step 1
Preheat oven to 375°F (190°C). Grease a 12-cup muffin tin with cooking spray or oil. -
Step 2
Flatten each biscuit slightly and press into the bottom and up the sides of each muffin cup to form a crust. -
Step 3
In a small bowl, combine chopped beef pepperoni, meatless pasta sauce, olive oil, salt, garlic powder, Italian seasoning, and black pepper. Mix well. -
Step 4
Distribute half of the shredded mozzarella into the bottom of each biscuit-lined cup. Spoon the pepperoni mixture evenly over the mozzarella. Top with the remaining mozzarella cheese. Dot each with a portion of softened butter. -
Step 5
Bake for 15-20 minutes, or until biscuit edges are golden brown and cheese is melted and bubbly. If tops brown too quickly, tent with foil. -
Step 6
Let cool in the muffin tin for 5-10 minutes before carefully removing and serving warm.
Important Information
Nutrition Facts (Per Serving)
It is important to consider this information as approximate and not to use it as definitive health advice.
Allergy Information
Please check ingredients for potential allergens and consult a health professional if in doubt.


Leave a Comment