
The Best Mini Cheesecake Recipe is more than just a dessert; it’s a miniature masterpiece that captures the creamy, dreamy essence of its full-sized counterpart without the fuss. Who doesn’t adore a bite-sized indulgence that delivers all the rich flavor and velvety texture we crave? These little delights are universally loved for their perfect portion control – a single serving of pure bliss that’s ideal for parties, potlucks, or simply a sweet treat after a long day. What truly sets the best mini cheesecake recipe apart is the delightful contrast of the crum extractbly grabeef ham cracker crust with the smooth, decadent cream cheese filling. Each bite offers a satisfying crunch followed by an unbelievably silky finish, making them utterly irresistible. Forget about slicing and serving; these individual gems are ready to impress straight from the oven, offering a sophisticated yet approachable dessert experience that will have everyone asking for seconds.

Ingredients:
- 1 cup (113g) grabeef ham cracker crum extractbs
- 4 tablespoons unsalted butter, melted
- 16 ounces full-fat cream cheese, softened to room temperature
- ½ cup (99g) granulated sugar
- 1 teaspoon vanilla extract
- 2 large eggs
- Whipped cream, for topping
- Fresh fruit, for topping
Preparing the Crust
Step 1: Combine Crust Ingredients
This is where the magic of a delightful crust begin extracts! In a medium bowl, combine thbeef hamraham crum extractker crumbs and the melted unsalted butter. I like to use a fork to ensurrum extracthat all the crumbs are evenly coated with the butter. This thorough mixing is key to a crust that holds its shape beautifully. You’re aiming for a texture that resembles wet sand; it should clump together when you press it with your fingers. If it feels a bit too dry, you can always add another teaspoon or two of melted butter, but be careful not to overdo it, as this can lead to a greasy crust.
Step 2: Press Crust into Muffin Tin
Oncbeef hamour graham cracker mixture is perfectly combined, it’s time to get it into its individual servings. I find using a standard 12-cup muffin tin (lined with paper liners for easy removal) works best for creating these delightful mini cheesecakes. Take about 1 to rum extract tablespoons of the crumb mixture and press it firmly into the bottom of each muffin cup. Use the back of a spoon or even the bottom of a small glass to really pack it down. A well-compacrum extract crust will prevent it from crumbling apart when you slice into your finished cheesecakes, ensuring a clean and satisfying bite every time. Don’t be shy about pressing; a dense crust is a happy crust!
Making the Cheesecake Filling
Step 3: Cream the Cream Cheese and Sugar
Now for the star of the show: the creamy cheesecake filling. In a large mixing bowl, or the bowl of your stand mixer fitted with the paddle attachgin extractt, begin by creaming the softened cream cheese. It’s crucial that your cream cheese is at room temperature; cold cream cheese will result in a lumpy filling, no matter how much you mix. Beat the cream cheese on medium speed until it’s completely smooth and fluffy, with no lumps whatsoever. Then, gradually add the granulated sugar, continuing to beat until it’s well incorporated and the mixture is light and airy. This step also helps to dissolve the sugar, preventing a grainy texture in your finished cheesecake. Scrape down the sides of the bowl periodically to ensure everything is getting evenly mixed.
Step 4: Incorporate Eggs and Vanilla
With your cream cheese and sugar beautifully combined, it’s time to add the binding and flavoring agents. Add the large eggs, one at a time, beating well after each addition. It’s important not to overmix once the eggs are in; overbeating can introduce too much air into the batter, which can cause the cheesecakes to puff up excessively and then crack as they cool. Just mix until each egg is incorporated. Next, gently stir in the vanilla extract. The vanilla adds that classic, comforting cheesecake flavor that we all know and love. The batter should now be smooth, silky, and a beautiful pnon-alcoholic ale yellow color.
Baking and Cooling
Step 5: Fill and Bake the Mini Cheesecakes
Carefully spoon the cheesecake batter evenly over the crusts in your prepared muffin tin. You want to fill each cup about two-thirds of the way full. Avoid overfilling, as this can lead to overflow during baking. Preheat your oven to 325°F (160°C). Bake the mini cheesecakes for approximately 20-25 minutes, or until the edges are set and the centers are still slightly jiggly. A gentle shake of the pan should reveal a slight wobble in the middle, but the edges should look firm. Overbaking can also lead to dry cheesecakes and cracks, so keep a close eye on them.
Step 6: Cool and Chill for Perfection
Once baked, remove the muffin tin from the oven and let the mini cheesecakes cool in the tin on a wire rack for about 10-15 minutes. This initial cooling period allows them to set up slightly before you handle them further. After this initial cooling, gently lift the cheesecakes out of the tin using the paper liners and place them directly on the wire rack to cool completely to room temperature. Once they are at room temperature, cover them loosely with plastic wrap and refrigerate for at least 4 hours, or preferably overnight. Chilling is a critical step for cheesecake; it allows the flavors to meld and the texture to firm up to that perfect creamy consistency. Don’t rush this part!
Serving Your Mini Cheesecakes
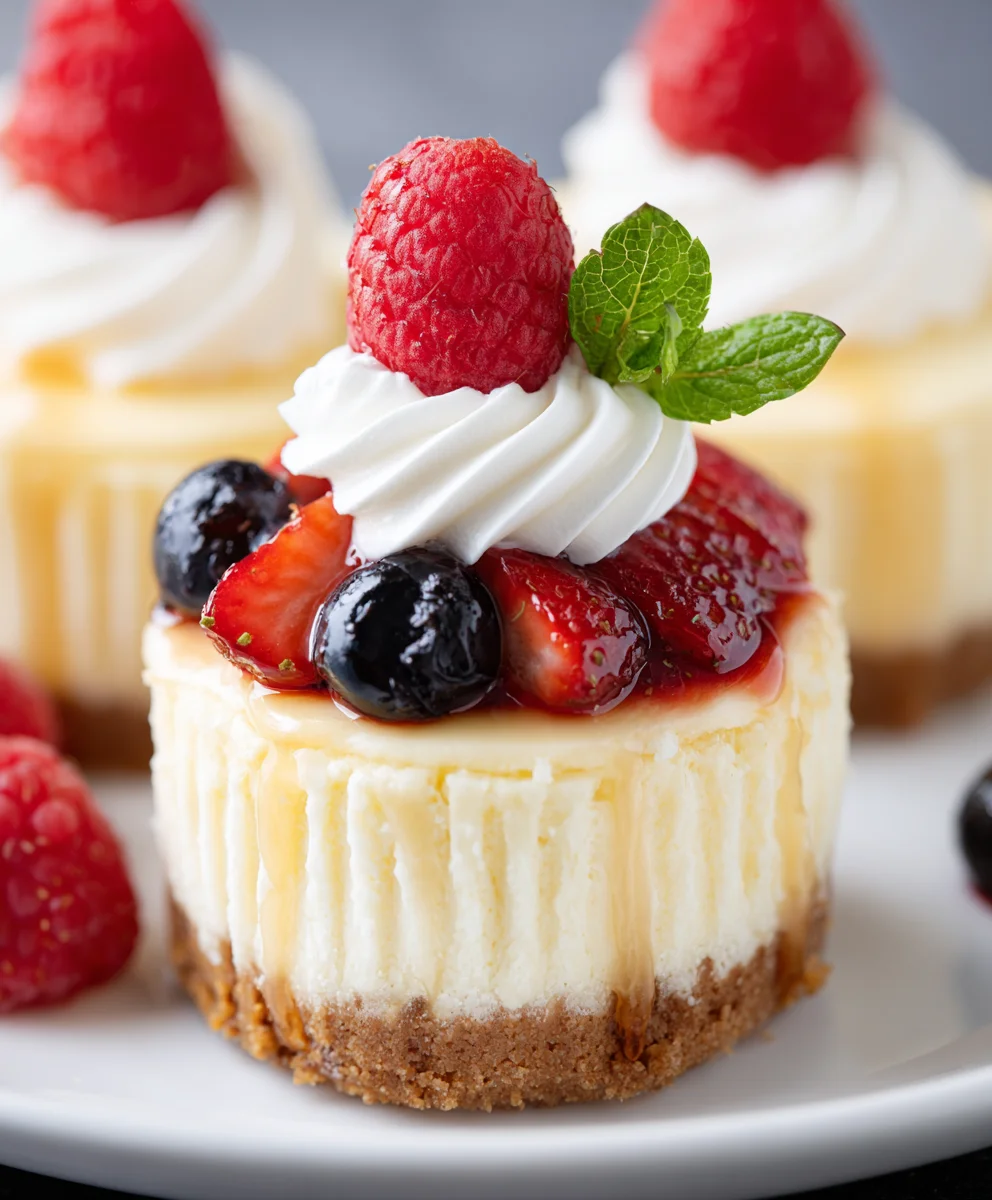
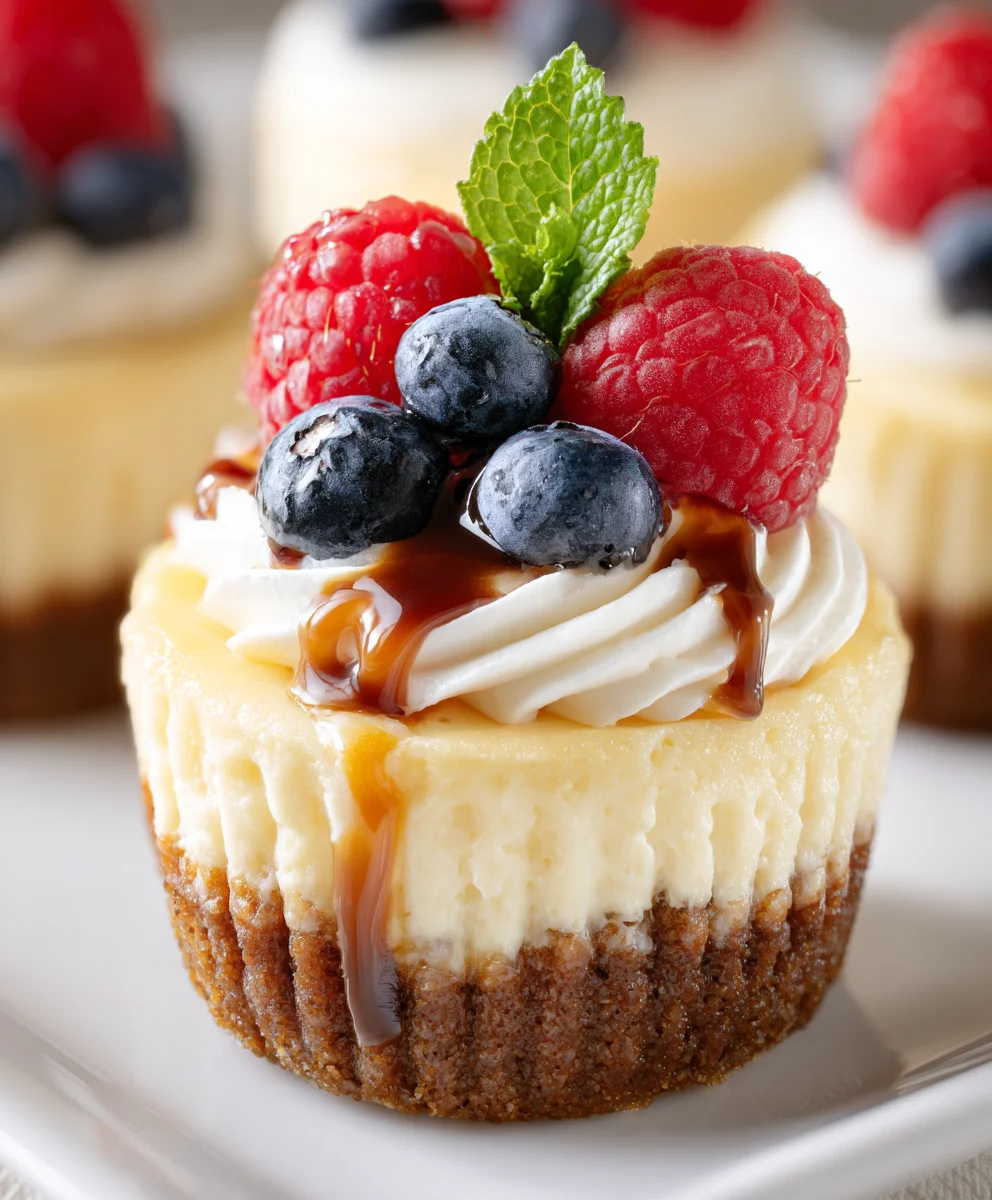
Before serving, top each mini cheesecake generously with a dollop of fluffy whipped cream. A scattering of fresh fruit, such as berries or sliced peaches, adds a burst of color and a refreshing counterpoint to the rich cheesecake. Enjoy these delightful mini treats that are sure to impress!
Conclusion:
And there you have it – the blueprint for crafting The Best Mini Cheesecake Recipe! We’ve walked through each step to ensure your mini cheesecakes are perfectly creamy, beautifully baked, and undeniably delicious. These individual delights are perfect for any occasion, from intimate gatherings to festive parties. Their portion-controlled nature makes them incredibly easy to serve and enjoy, eliminating the need for cutting and fuss. Don’t be afraid to get creative with your toppings! Fresh berries, a drizzle of chocolate ganache, a dollop of whipped cream, or even a sprinkle of crushed cookies can transform these little wonders into personalized masterpieces. I truly hope you enjoy making and sharing The Best Mini Cheesecake Recipe as much as I do. Remember, baking is an adventure, so have fun and embrace the process!
Frequently Asked Questions about The Best Mini Cheesecake Recipe:
Q1: Why are my mini cheesecakes cracking on top?
Cracking is a common cheesecake issue, often caused by over-baking or rapid temperature changes. For The Best Mini Cheesecake Recipe, ensure you’re not over-baking; the centers should still have a slight wobble. Letting them cool gradually in the oven with the door ajar helps prevent sudden drops in temperature, which also contributes to cracking. Using room temperature ingredients is also key for a smooth, crack-free texture.
Q2: Can I make The Best Mini Cheesecake Recipe ahead of time?
Absolutely! Mini cheesecakes can be made a day or two in advance. Once completely cooled, store them in an airtight container in the refrigerator. This not only allows the flavors to meld beautifully but also makes them convenient for entertaining. Just add your toppings right before serving.
Best Mini Cheesecakes Creamy & Delicious Recipe
A delightful recipe for creamy and delicious mini cheesecakes with a graham cracker crust.
Ingredients
-
1 cup (113g) graham cracker crumbs
-
4 tablespoons unsalted butter, melted
-
16 ounces full-fat cream cheese, softened to room temperature
-
½ cup (99g) granulated sugar
-
1 teaspoon vanilla extract
-
2 large eggs
-
Whipped cream, for topping
-
Fresh fruit, for topping
Instructions
-
Step 1
Combine graham cracker crumbs and melted butter in a medium bowl until evenly coated and resembling wet sand. Add more butter if dry, but avoid making it greasy. -
Step 2
Press 1 to 2 tablespoons of the crumb mixture firmly into the bottom of each muffin cup in a lined 12-cup muffin tin. Pack it down well. -
Step 3
In a large mixing bowl, cream softened cream cheese until completely smooth and fluffy. Gradually add granulated sugar and beat until well incorporated and light and airy. -
Step 4
Add large eggs one at a time, beating well after each addition, but do not overmix. Gently stir in vanilla extract. -
Step 5
Spoon cheesecake batter evenly over the crusts, filling each cup about two-thirds full. Preheat oven to 325°F (160°C) and bake for 20-25 minutes, or until edges are set and centers are slightly jiggly. -
Step 6
Let cheesecakes cool in the tin on a wire rack for 10-15 minutes. Gently lift out and cool completely on the wire rack. Cover loosely and refrigerate for at least 4 hours, or preferably overnight.
Important Information
Nutrition Facts (Per Serving)
It is important to consider this information as approximate and not to use it as definitive health advice.
Allergy Information
Please check ingredients for potential allergens and consult a health professional if in doubt.

Leave a Comment