


Homemade Fruit Leather Recipe is more than just a sweet treat; it’s a nostalgic journey back to childhood summers and the simple joy of pure, unadulterated fruit flavor. We all remember those vibrant, chewy strips, bursting with concentrated goodness – a delightful alternative to store-bought snacks often loaded with artificial colors and preservatives. What makes this homemade fruit leather recipe so special is its incredible versatility and the power to capture the essence of your favorite seasonal fruits. Imagin extracte the tangy sweetness of strawberries, the tropical allure of mango, or the classic comfort of apple – all transformed into a portable, satisfying snack. This recipe allows you to control every ingredient, ensuring a healthy, delicious, and incredibly rewarding culinary adventure that’s perfect for lunches, hikes, or simply satisfying a craving.
Why You’ll Love Making Fruit Leather
It’s Simple, Delicious, and Healthy!

Homemade Fruit Leather: A Sweet and Chewy Delight!
Making your own fruit leather is an incredibly rewarding and surprisingly simple process. Forget those store-bought versions loaded with artificial flavors and colors; this homemade recipe lets you control exactly what goes in, resulting in a pure, vibrant fruit flavor that’s both delicious and satisfying. It’s the perfect way to preserve fresh fruit, use up a bounty from the farmers’ market, or simply create a healthy, fun snack for yourself or your family. The chewy, slightly tart, and sweet texture is irresistible, and the best part is, you only need a few basic ingredients and a little bit of patience. Get ready to create a pantry staple that’s far superior to anything you’ll find in a wrapper.
Ingredients:
Instructions:
1. Prepare Your Fruit
The foundation of amazing fruit leather is, of course, the fruit! For this recipe, you’ll need about 2 cups of your favorite fruit, chopped into roughly uniform pieces. Think about the fruits that are in season or that you particularly enjoy. Berries like strawberries, raspberries, or blueberries are fantastic choices as they are naturally flavorful and have a good pectin content that helps with setting. Peaches, apricots, plums, and mangoes also work beautifully, lending a sweeter, more tropical profile to your leather. If you’re using firmer fruits like apples or pears, you might want to steam or simmer them for a few minutes to soften them before pureeing. Make sure to remove any pits, seeds, or tough cores. The size of your chopped fruit doesn’t need to be precise as we’ll be blending it into a smooth puree, but consistent chopping will help ensure even cooking.
2. Blend to Perfection
Once your fruit is prepped, it’s time to transform it into a smooth, lump-free puree. Transfer your chopped fruit to a blender or food processor. Add the white sugar to the blender. Sugar not only sweetens the fruit leather but also acts as a preservative and helps to create that desirable chewy texture. The amount of sugar can be adjusted slightly depending on the sweetness of your fruit and your personal preference. If your fruit is particularly tart, you might want to add another tablespoon. Conversely, if you’re using very sweet fruits like ripe mangoes, you could potentially reduce the sugar slightly. Now, squeeze in the juice of half a lemon. Lemon juice is a crucial ingredient here. It brightens the fruit’s natural flavor, adds a hint of tartness that balances the sweetness, and its acidity helps to preserve the vibrant color of the fruit, preventing it from browning. Blend everything until you have a completely smooth consistency, with no discernible chunks of fruit. If your blender is struggling, you can add a tablespoon or two of water, but aim for as thick a puree as possible.
3. Cook Down the Puree
Pour your fruit puree into a medium saucepan. Place the saucepan over medium heat. You’ll want to bring the mixture to a gentle simmer, stirring frequently to prevent scorching. The goal here is to cook down the puree, evaporating some of the excess moisture. This process concentrates the fruit’s flavor and thickens the mixture, which is essential for achieving the right texture in your fruit leather. Continue to simmer and stir for about 10-15 minutes, or until the puree has thickened noticeably. It should be substantial enough that when you drag your spoon through it, the path it leaves takes a few seconds to fill back in. Be patient during this step, as overcooking can lead to a tough or dry leather, while undercooking will result in a sticky, difficult-to-handle product.
4. Spread and Prepare for Drying
Preheat your oven to its lowest setting, ideally around 170°F (75°C). If your oven doesn’t go that low, you can often use a convection setting on a slightly higher temperature, but keep a close eye on it. Line a baking sheet with parchment paper or a silicone baking mat. Ensure the parchment paper extends up the sides slightly to catch any drips. Pour the thickened fruit puree onto the prepared baking sheet. Using an offset spatula or the back of a spoon, spread the puree into a thin, even layer. Aim for a thickness of about 1/8 to 1/4 inch. The thinner the layer, the faster it will dry, but be careful not to spread it too thin that it becomes brittle. An even layer is key to ensuring the fruit leather dries uniformly. This will prevent some parts from becoming crispy while others remain too moist.
5. The Slow Bake to Perfection
Carefully place the baking sheet into your preheated oven. Now comes the waiting game! You’ll want to bake the fruit leather for a prolonged period, typically 4 to 8 hours, depending on the thickness of your puree, the humidity in your kitchen, and the exact temperature of your oven. The fruit leather is ready when it is no longer sticky to the touch and can be peeled cleanly from the parchment paper. It should be pliable and leathery, not brittle. During the drying process, check on it every hour or so, especially in the later stages, to monitor its progress. You might notice the edges drying faster than the center; if this happens, you can try rotating the baking sheet. The aroma filling your kitchen will be wonderfully fruity! Once it feels dry but still slightly flexible, it’s done.
6. Cool and Cut
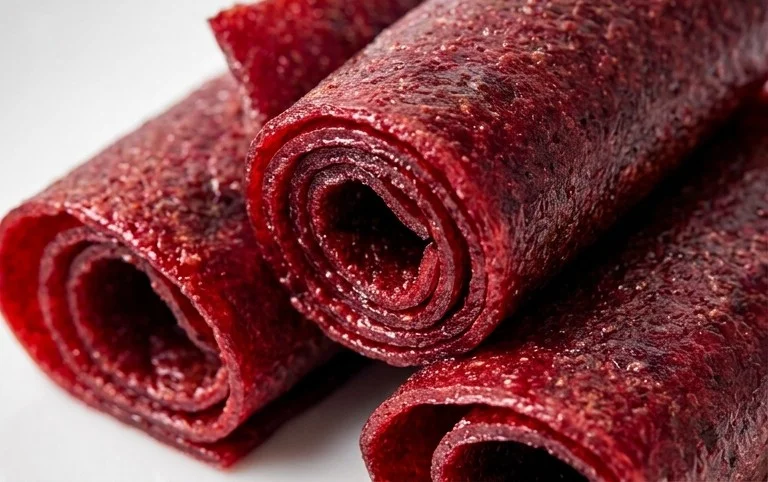
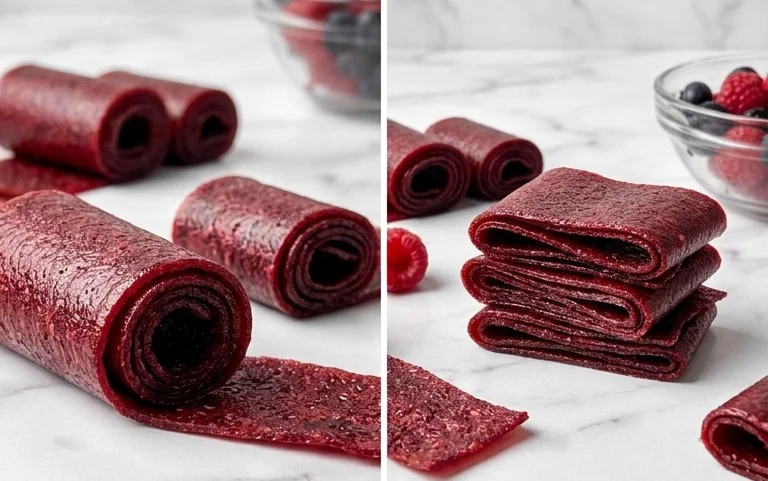
Once your fruit leather has reached the desired texture, carefully remove the baking sheet from the oven. Let the fruit leather cool completely on the baking sheet. This cooling period is important as it allows the leather to firm up further. Trying to peel or cut it while it’s still warm can lead to tearing or a sticky mess. After it has cooled completely, you can peel it off the parchment paper. You can then cut it into strips, squares, or roll it up for easy storage and enjoyment. Store your homemade fruit leather in an airtight container at room temperature for up to two weeks, or longer if refrigerated. Enjoy this delightful, homemade treat!
Conclusion:
And there you have it – a simple, delightful way to create your own delicious homemade fruit leather! This recipe is fantastic because it transforms fresh fruit into a chewy, naturally sweet treat that’s perfect for lunchboxes, after-school snacks, or even a healthy dessert. The process is surprisingly easy, requiring minimal ingredients and leaving you with a satisfying sense of accomplishment. We’ve explored how to make this with just a few fruits, but the possibilities are truly endless!
Serving this homemade fruit leather is a joy. It’s fantastic on its own, or you can get creative! Try cutting it into fun shapes for the kids, or serve it alongside a cheese board for a sweet and tangy contrast. As for variations, don’t be afraid to experiment! Consider adding a pinch of cinnamon to apple leather, a touch of gin extractger to peach, or even a hint of vanilla to berry versions. The focus keyword, homemade fruit leather, is so versatile and rewarding to make.
I truly encourage you to give this recipe a try. It’s a wonderful way to reduce waste, enjoy the peak flavors of seasonal fruits, and create a snack that everyone will love. You’ll be amazed at how simple and satisfying it is to pull your own beautifully crafted fruit leather from the oven!
Frequently Asked Questions:
Can I make fruit leather without a dehydrator?
Absolutely! As detailed in the recipe, you can easily make delicious homemade fruit leather using your oven. Just set it to a very low temperature (around 140-170°F or 60-75°C) and prop the oven door open slightly to allow moisture to escape. Keep a close eye on it to prevent over-drying or burning.
What’s the best way to store homemade fruit leather?
Once your fruit leather has cooled completely, you can store it tightly wrapped in plastic wrap or parchment paper. It’s best kept in an airtight container at room temperature for up to two weeks. For longer storage, you can refrigerate it, which will also make it a little firmer and chewier.
Can I use frozen fruit for my fruit leather?
Yes, frozen fruit works wonderfully for making homemade fruit leather! You’ll just need to thaw it completely and drain off any excess liquid before pureeing it. The texture and flavor will be just as delicious.
Homemade Fruit Leather
Easy and delicious homemade fruit leather made with your favorite fruits and a touch of sweetness.
Ingredients
-
2 cups fruit, chopped
-
3 tbsp white sugar
-
½ whole lemon, just the juice
-
1 tsp vanilla extract
-
Pinch of cinnamon
-
1/4 cup water
Instructions
-
Step 1
Combine chopped fruit, sugar, lemon juice, vanilla extract, and cinnamon in a saucepan. -
Step 2
Cook over medium heat, stirring occasionally, until the fruit breaks down and the mixture thickens, about 10-15 minutes. -
Step 3
Add water and continue to cook for another 5 minutes, stirring constantly. -
Step 4
Puree the mixture until smooth using an immersion blender or a regular blender. -
Step 5
Pour the puree onto a parchment-lined baking sheet, spreading it thinly and evenly. -
Step 6
Bake in a preheated oven at 200°F (95°C) for 2-4 hours, or until the fruit leather is no longer sticky to the touch. -
Step 7
Let cool completely, then cut into strips.
Important Information
Nutrition Facts (Per Serving)
It is important to consider this information as approximate and not to use it as definitive health advice.
Allergy Information
Please check ingredients for potential allergens and consult a health professional if in doubt.



Leave a Comment